-
Notifications
You must be signed in to change notification settings - Fork 0
2 Upload the Tracking Pixel
HOME > SNOWPLOW SETUP GUIDE > Step 1: setup a Collector > [Setup the Cloudfront collector](setting up the cloudfront collector) > 2. Upload the tracking pixel
You can download a copy of the tracking pixel from the Snowplow Github repo. One convenient way to quickly grab i is to execute the following at the command line:
$ wget https://github.com/snowplow/snowplow/raw/master/2-collectors/cloudfront-collector/static/i
To upload the tracking pixel into the bucket you just created, click on the Upload button on teh top left of the Objects and Folders window that makes up most of the screen. A popup will appear:
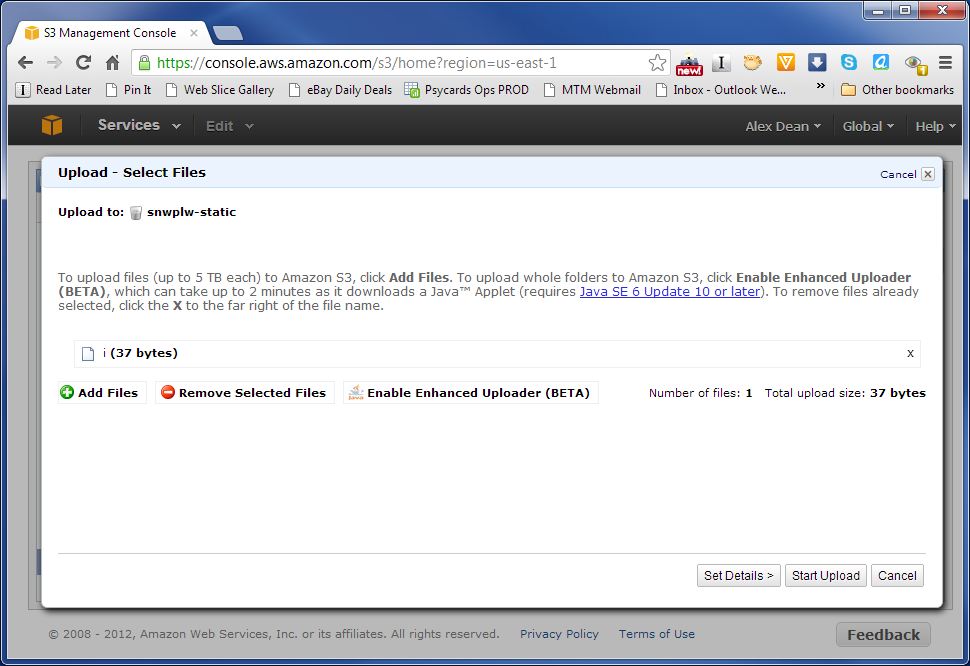
Click on the + Add Files button and select the tracking pixel from the location you downloaded it to on your local machine. The tracking pixel file should be lisetd on the popup. When it is, click the Start Upload button on the bottom right of the popup.
When the upload is complete, the pixel should be listed in the bucket:
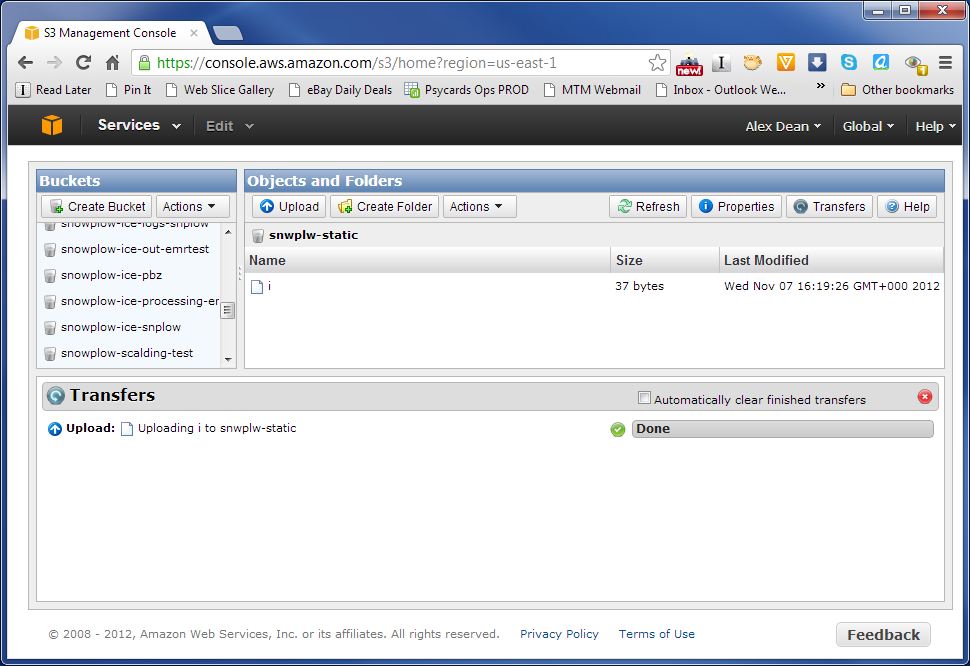
Now we need to make the file public, so that it is accessible to anyone visiting your website(s) or mobile app. Right click on the file and select Make Public from the menu:
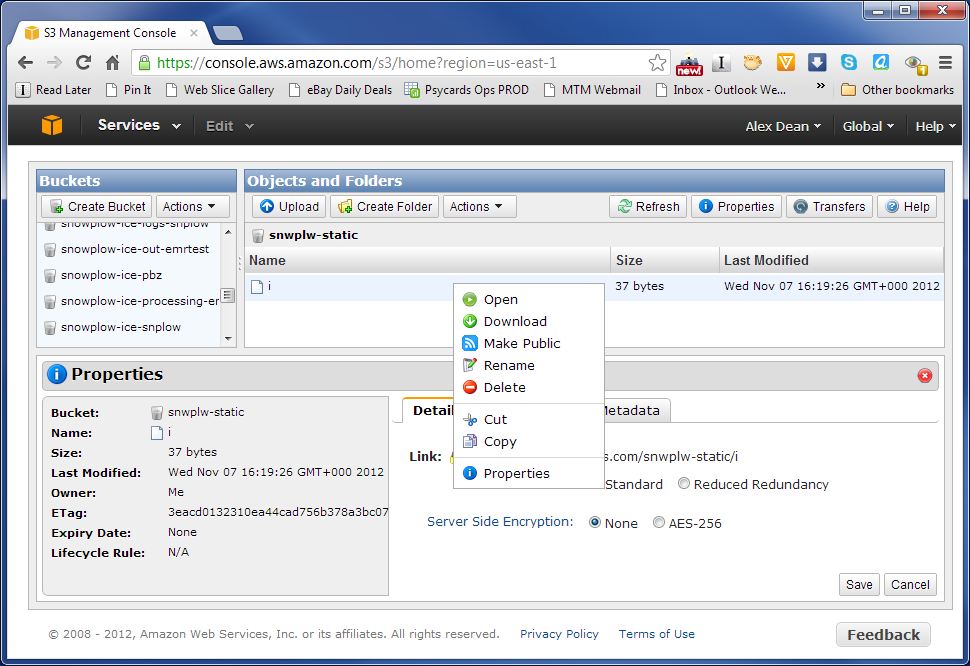
Confirm that you want to make the file public and Amazon should complete the operation:
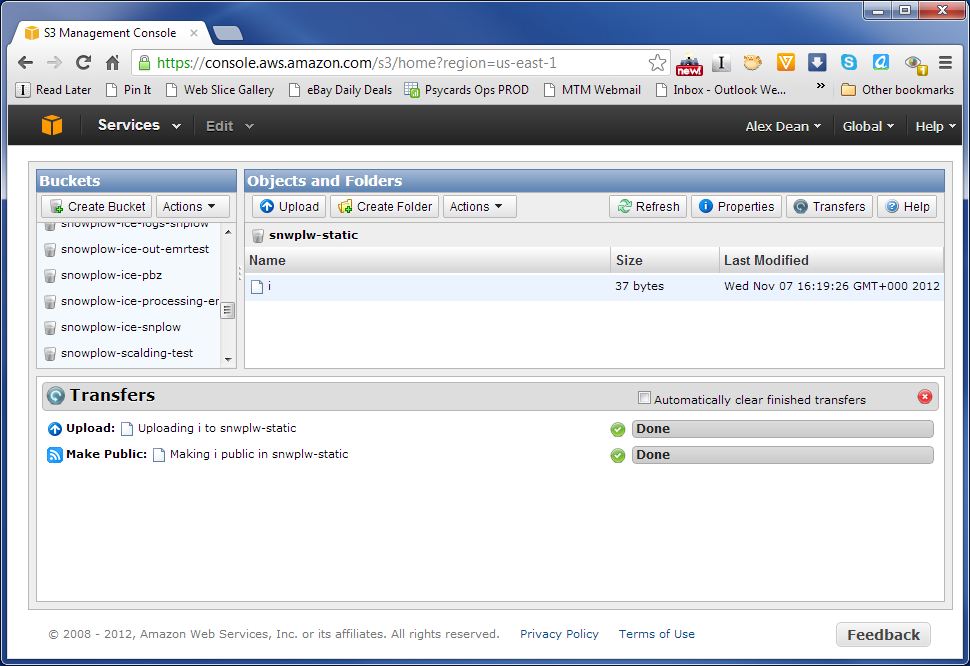
As a final step, we will set the mimetype on the tracking pixel to image/gif - otherwise the pixel is transmitted as an application/octet-stream, which causes browser warnings.
So, click on the tracking pixel, click on the Properties tab, scroll down to the Metadata section and then click Add more metadata and add an entry for Content-Type like so:
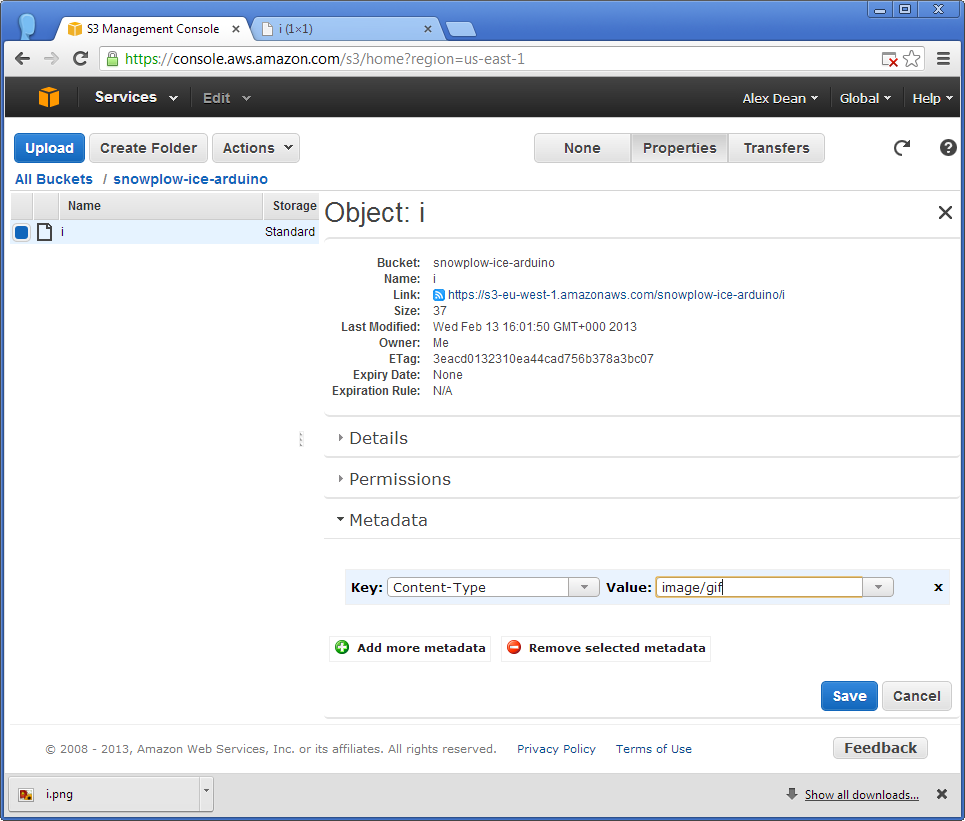
Hit Save and then you should be done.
Proceed to step 3: create a bucket for Cloudfront logs.
Return to an overview of the Cloudfront Collector setup.
Return to the setup guide.
Home | About | Project | Setup Guide | Technical Docs | Copyright © 2012-2013 Snowplow Analytics Ltd
HOME > SNOWPLOW SETUP GUIDE > Step 1: Setup a Collector > [Setup the Cloudfront Collector] (Setting-up-the-Cloudfront-collector)
- [Setup a Collector] (setting-up-a-collector)
- [Setup the Cloudfront Collector] (setting-up-the-Cloudfront-collector)
- [Step 2: Setup a Tracker] (setting-up-a-tracker)
- [Step 3: Setup EmrEtlRunner] (setting-up-EmrEtlRunner)
- [Step 4: Setup the StorageLoader] (setting-up-storageloader)
- [Step 5: Analyze your data!] (Getting started analyzing Snowplow data)
Useful resources