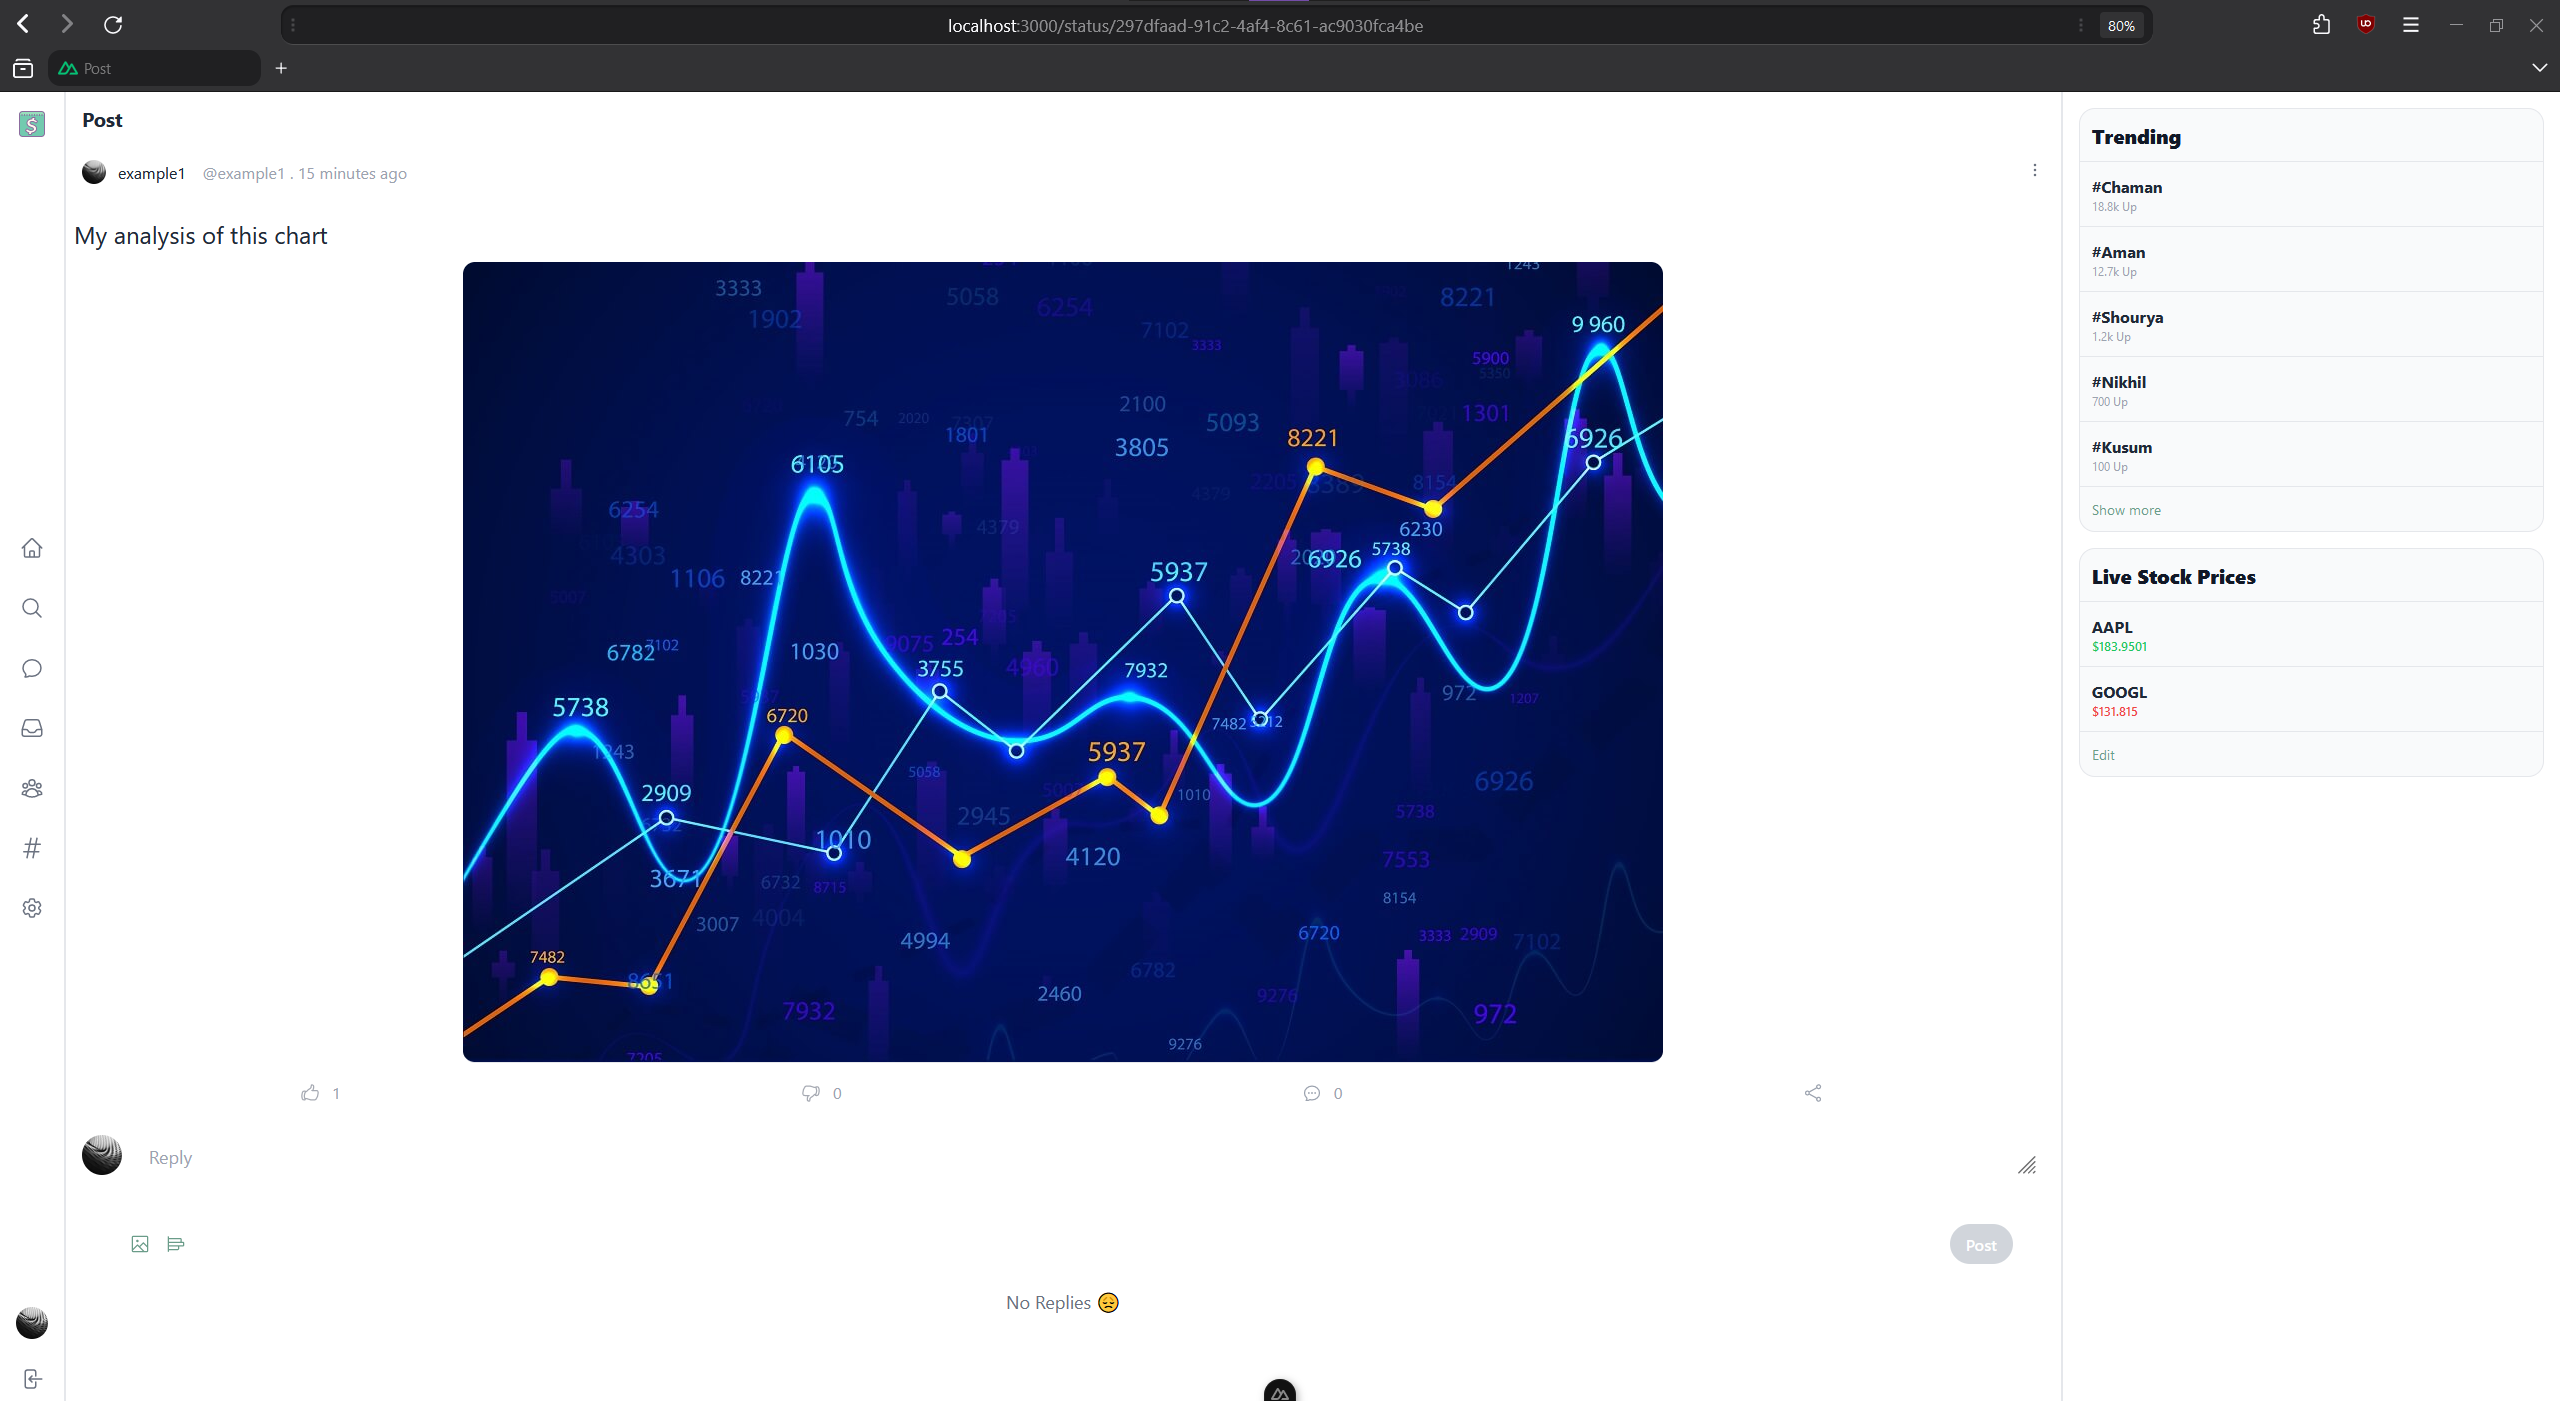
This project is a social media platform specifically designed for traders. It is built using Vue for the frontend and Nuxt.js for the backend.
- Docker Postgres Instance: The project uses a Docker Postgres instance as its database, connected to the project using Prisma as ORM.
- Cloudinary: This service is used to host upload and access the mediafiles used in this project.
- Perspective API by Jigsaw: This API is used for language toxicity, insult, profanity, and threat detection.
- Sightengine: This tool is used to identify nudity or gore images and prevent them from being posted on the platform.
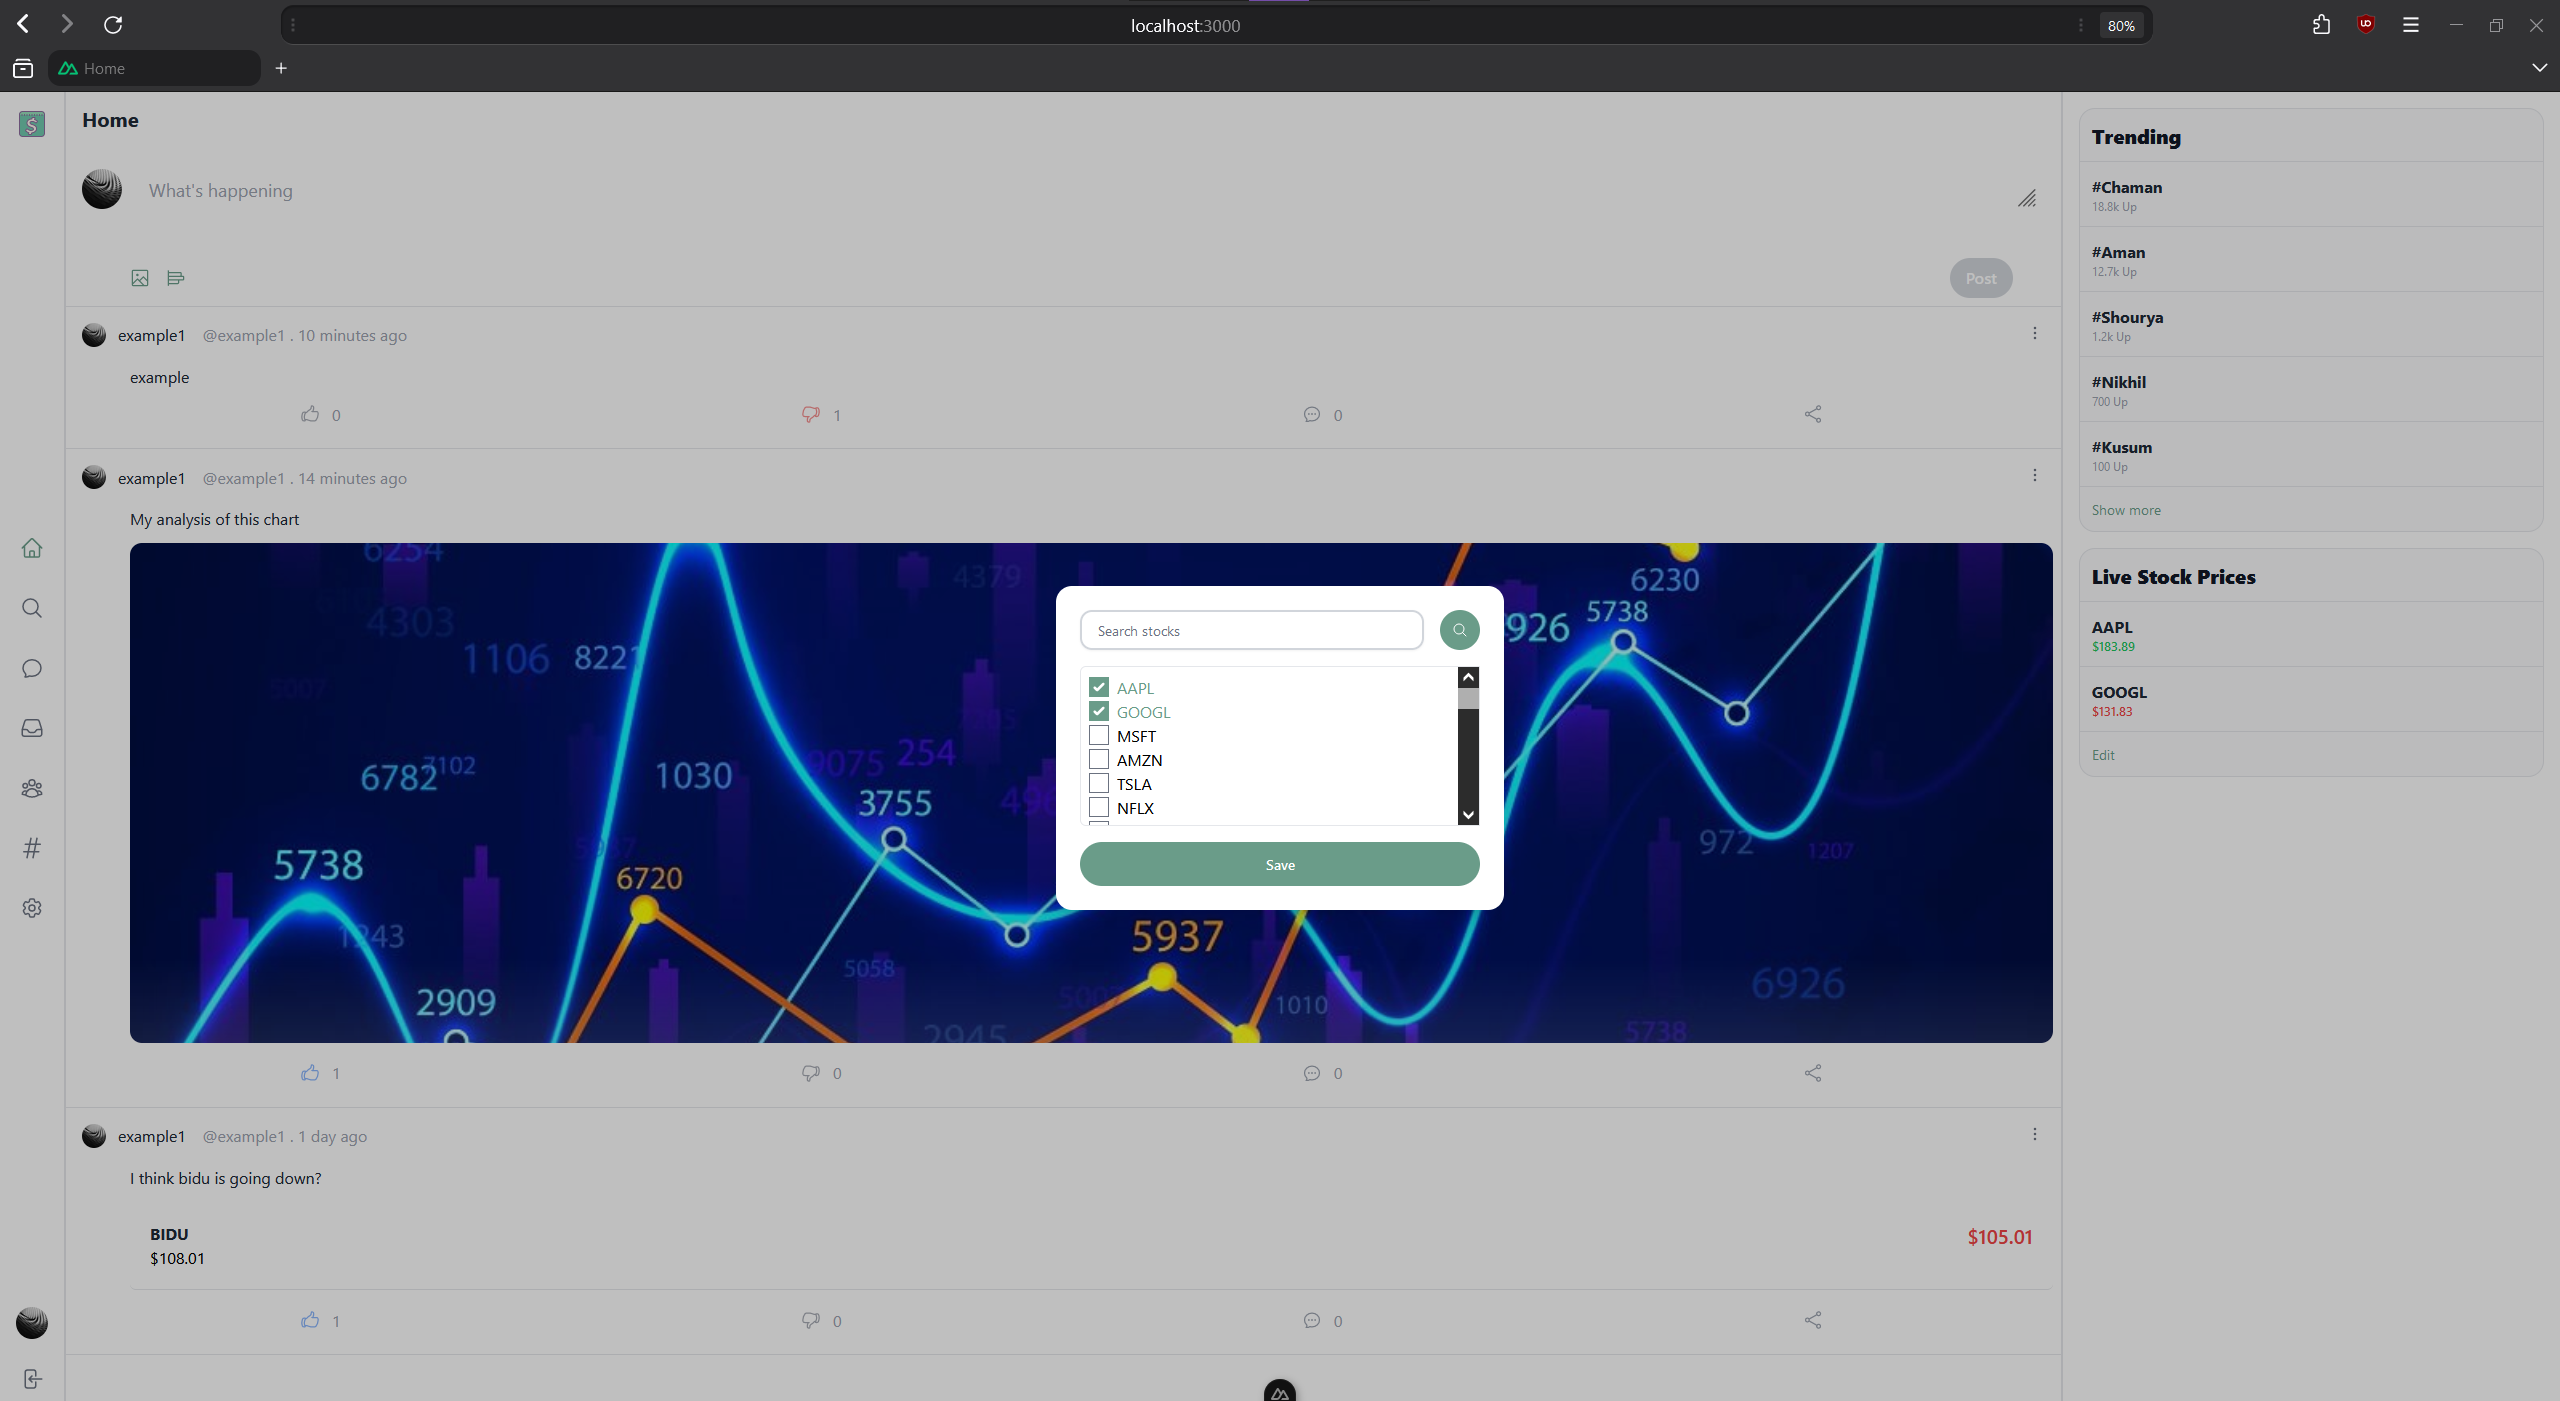
- Finnhub API: This API is used to get recent stock prices to be posted on the platform in posts and the sidebar.
- JWT Login: The project uses JWT for login and uses cookies to store refresh tokens.
- Local Storage: Local storage is used for saving instances of the dark mode variable and the list for the stock symbol for the right sidebar stock price widget.
- User Badges: The platform has an option to assign badges to users which are manually assigned based on the achievements of users. This makes the platform clearer for new users, making it easier to identify genuine traders from scammers and fakes.
-
Index Page: Displays posts from users the user follows and himself.

-
Settings: Allows users to modify user profile settings and toggle dark mode.

-
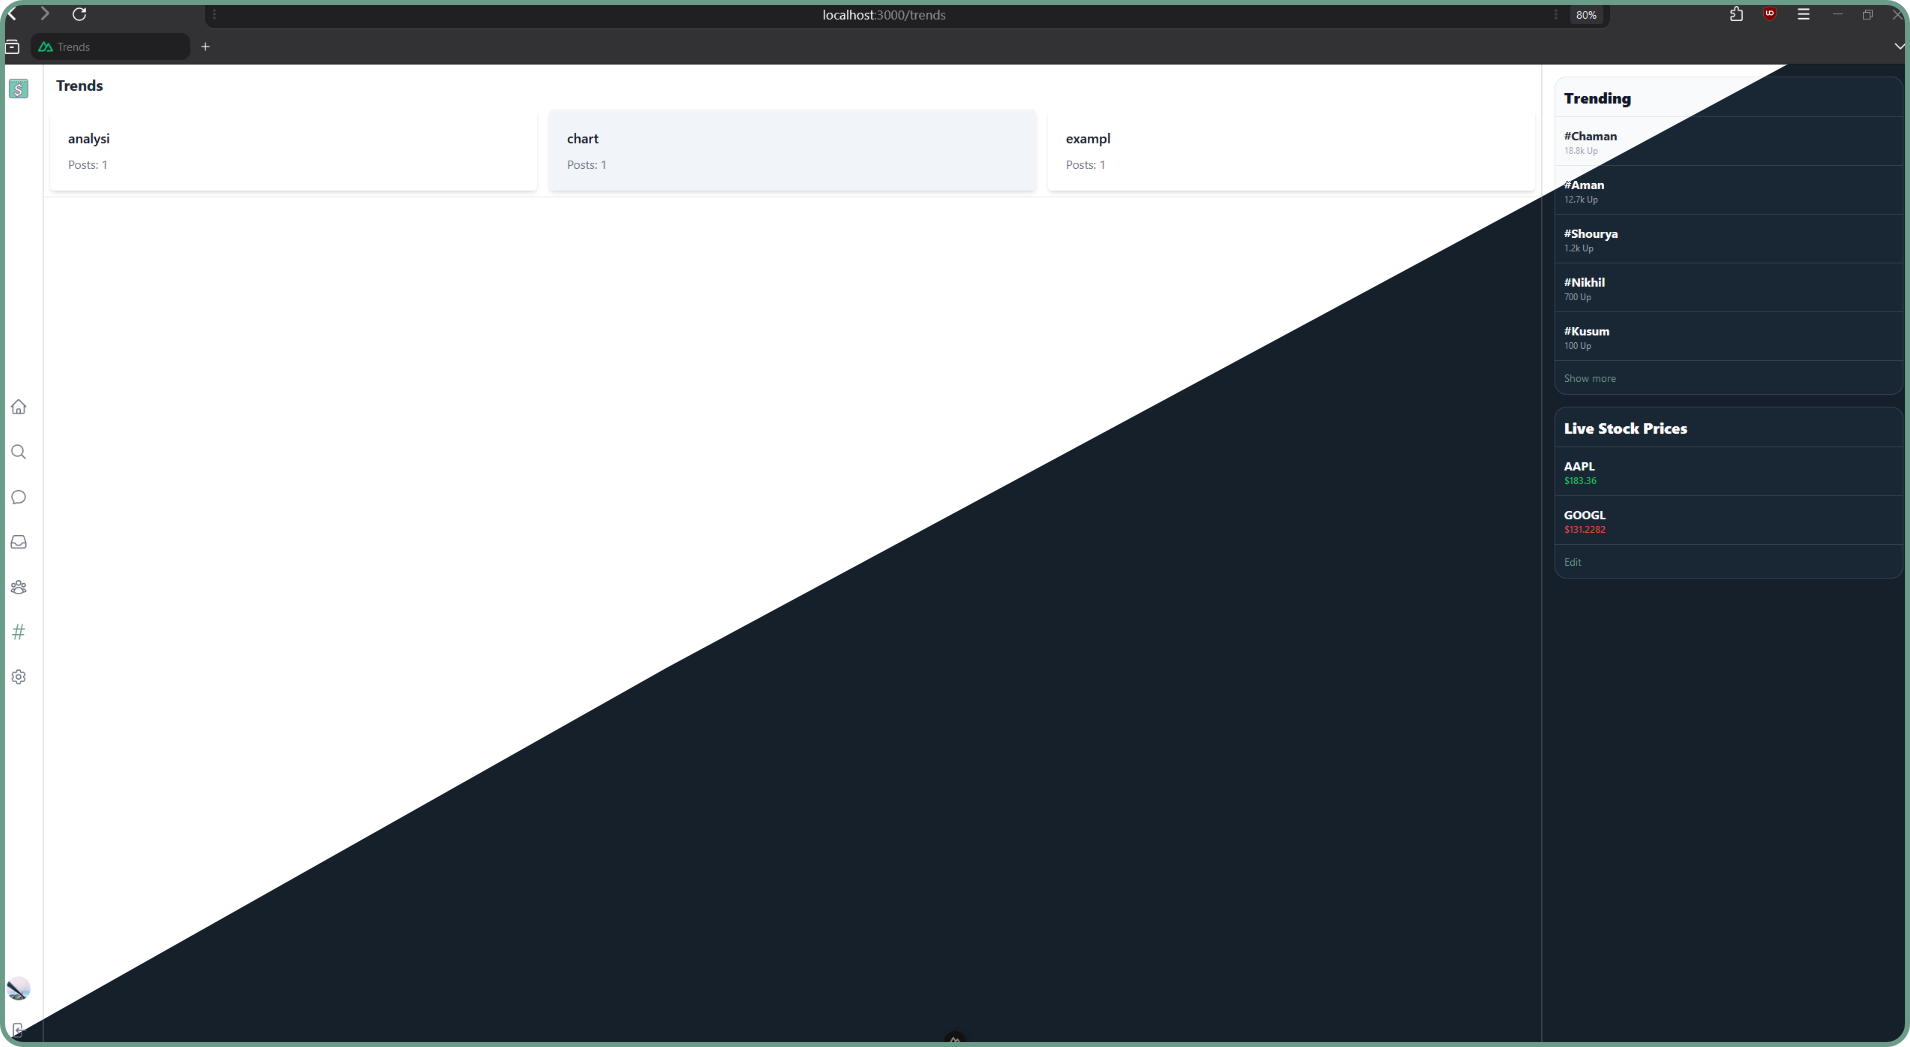
Trends Page: Lists the most used terms in the last 24 hours.

-
Login and Register Page: Allows new users to register and existing users to log in.


- Database: A Docker PostgreSQL instance is used as the database, connected to the project using Prisma as the ORM.
- Frontend: The frontend is built using Vue.js, with components organized according to the Vue.js style guide with tailwind css.
- Backend: The backend is built using Node.js, with routes organized according to the REST API conventions.
The login process is handled by the login function in the useAuth composable. This function sends a POST request to the /api/auth/login endpoint with the user's username and password. If the login is successful, the access token is stored and the user's details are set.
    const login = ({ username, password }) =>{
        return new Promise(async (resolve, reject) => {
            try{
                const data = await $fetch('/api/auth/login',{
                    method:'POST',
                    body:{
                        username,
                        password
                    }
                })
                setToken(data.access_token)
                setUser(data.user)
                resolve(true)
The fetchStockPrices function in the Right/index.vue component fetches the latest stock prices for the selected stocks. This function is called when the component is mounted and then every minute thereafter.
    const fetchStockPrices = async () => {
        for (const symbol of selectedStocks.value) {
        try {
            const response = await getStockData({
                symbol: symbol
            })
            if (response.response && response.response['c'] && response.response['pc']) {
                const price = response.response['c']
                const prevClose = response.response['pc']
                const stockIndex = stocks.value.findIndex(stock => stock.symbol === symbol)
                if (stockIndex !== -1) {
                    stocks.value[stockIndex].price = price
                    stocks.value[stockIndex].prevClose = prevClose
                } else {
                    stocks.value.push({ symbol, price, prevClose })
                }
            } else {
                console.error(`Error fetching ${symbol}: ${JSON.stringify(response)}`)
            }
        } catch (error) {
            console.error(`Error fetching ${symbol}: ${error}`)
        }
        }
    }
The uploadToCloudinary function in the imageHandler.js utility file handles the uploading of images. Before an image is uploaded, it is checked for nudity or gore using Sightengine. If the image is safe, it is uploaded to Cloudinary.
export const uploadToCloudinary = async (imagePath) => {
    const config = useRuntimeConfig()
    const data = new FormData();
    data.append('media', fs.createReadStream(imagePath));
    data.append('models', 'nudity-2.0,scam,gore');
    data.append('api_user', config.sightengineUserKey);
    data.append('api_secret', config.sightEngineSecret);

    try {
        const response = await axios({
            method: 'post',
            url:'https://api.sightengine.com/1.0/check.json',
            data: data,
            headers: data.getHeaders()
        });

        // Check the response for objectionable content
        if (response.data.status === 'success') {
            let reasons = [];
            if (response.data.nudity.sexual_activity > 0.7) reasons.push('sexual_activity');
            if (response.data.nudity.sexual_display > 0.5) reasons.push('sexual_display');
            if (response.data.nudity.erotica > 0.5) reasons.push('erotica');
            if (response.data.nudity.sextoy > 0.5) reasons.push('sextoy');
            if (response.data.nudity.suggestive > 0.5) reasons.push('suggestive');
            if (response.data.scam.prob > 0.7) reasons.push('scam');
            if (response.data.gore.prob > 0.8) reasons.push('gore');

            if (reasons.length > 0) {
                console.log('Image not uploaded due to: ' + reasons.join(', '));
                throw new Error('Image contains objectionable content: ' + reasons.join(', '));
            } else {
                // If the image is safe, upload it to Cloudinary
                return new Promise((resolve, reject) => {
                    cloudinary().uploader.upload(imagePath, (error, data) => {
                        if (error) {
                            reject(error)
                        }
                        resolve(data)
                    })
                });
            }
        } else {
            throw new Error('Image check failed');
        }
    } catch (error) {
        // Handle error
        if (error.response) console.log(error.response.data);
        else console.log(error.message);
    }
}
Badges can be assigned to users using the assignBadgeToUser function in the assignbadge.post.js file. This function takes a user ID and a badge ID and assigns the badge to the user in the database.
import { assignBadgeToUser } from '~/server/db/badges'

export default async (event) => {
    const body = await readBody(event)
    const res = await assignBadgeToUser(body.userId, body.badgeId)
    return res
To run the project, you will need to have Docker, Node.js, and Nuxt.js installed. You will also need to set up the necessary environment variables in a .env file in the root directory of the project. Once everything is set up, you can start the project using the npm run dev command.
Here are the detailed steps to set up the project: Prerequisites
Before you begin, ensure you have the following installed:
- Docker (Optional depends on your preffrence of database)
- Node.js
- Nuxt.js
Clone the Repository
First, clone the repository to your local machine. You can do this by running the following command in your terminal:
git clone https://github.com/87nehal/Beargo
Navigate into the project directory:
cd your-project-directory
Environment Variables
Next, you need to set up your environment variables. Create a .env file in the root directory of the project and add the following variables:
DATABASE_URL = your_postgres_database_url
JWT_ACCESS_TOKEN_SECRET = your_jwt_access_token_secret
JWT_REFESH_TOKEN_SECRET = your_jwt_refresh_token_secret
CLOUDINARY_CLOUD_NAME = your_cloudinary_cloud_name
CLOUDINARY_API_KEY = your_cloudinary_api_key
CLOUDINARY_API_SECRET = your_cloudinary_api_secret
PERSPECTIVE_API_KEY = your_perspective_api_key
FINNHUB_API_KEY = your_finnhub_api_key
SIGHTENGINE_API_USER = your_sightengine_api_user
SIGHTENGINE_API_SECRET = your_sightengine_api_secret
Replace the your_... placeholders with your actual values.
Install the project dependencies by running the following command:
npm install
Start the Project
Finally, you can start the project by running:
npm run dev
The application should now be running at http://localhost:3000.
Docker PostgreSQL Instance
To run a Docker PostgreSQL instance, you can use the following command:
docker run --name some-postgres -e POSTGRES_PASSWORD=mysecretpassword -d postgresReplace some-postgres with the name you want to give to your Docker PostgreSQL instance and mysecretpassword with your desired password. The -d flag runs the container in the background.
After running the command, you can see your running Docker containers by using:
docker ps
Your PostgreSQL instance should be listed there.
To create the necessary tables in your database, you need to run the Prisma migration. You can do this by running:
npx prisma migrate dev
npx prisma db push
This command will apply the migrations in your prisma/migrations folder to your database.
That's it! You should now have the project running locally on your machine.
For support, email [email protected].
MIT


