My AI is so bright, I gotta wear shades.
Effect change in your surroundings by wearing these AI-enabled glasses. ShAIdes is a transparent UI for the real world.
UPDATE 2020-07-09: I've made a far more compact and practical version of the device. See ShAIdes 2.0.
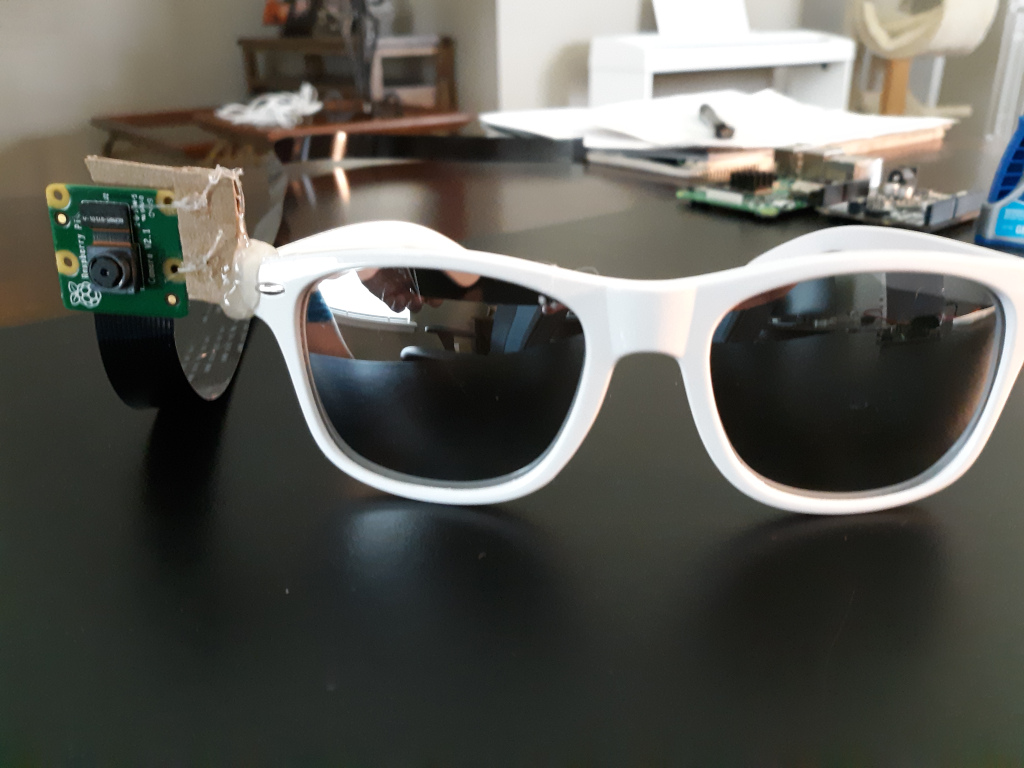
A small CSI camera is attached to the frames of a pair of glasses, capturing what the wearer is seeing. The camera feeds real-time images to an NVIDIA Jetson Nano. The Jetson runs two separate image classification Convolutional Neural Network (CNN) models on each image, one to detect objects, and another to detect gestures made by the wearer.
When the combination of a known object and gesture is detected, an action will be fired that manipulates the wearer's environment. For example, the wearer may look at a lamp and motion for it to turn on. The lamp turns on. Or, the wearer may look at a smart speaker, and motion for it to play music. It immediately begins playing music.
A CNN was built using PyTorch and trained on two different data sets to generate independent models for object and gesture detection. The object detection model was trained on over 13,700 images, and the gesture detection model on 19,500 images. Each object/gesture was captured from many angles, many distances, and under many lighting conditions to allow the model to find the key features that need to be recognized, while ignoring noise.
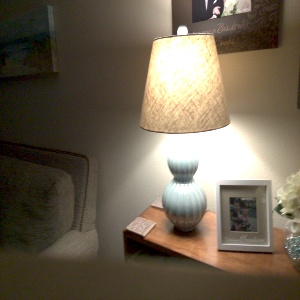
As an example, here is a lamp that was trained for in the objects model:
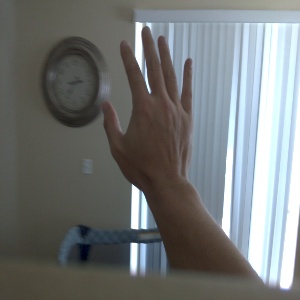
And a wave that was trained for in the gestures model:
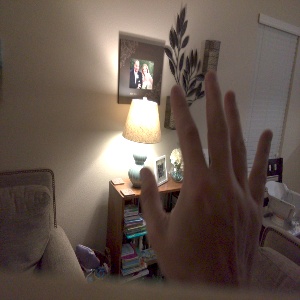
With that training completed, running inference on the following image against both models will result in high scores for both the lamp and a wave:
I trained on g3s.xlarge instances at Amazon AWS, with NVIDIA Tesla M60 GPUs. The Deep Learning AMI (Ubuntu) Version 23.1 image has lots of machine learning packages preinstalled, so it's super easy to use. Just launch an EC2 instance from the web dashboard, then clone my github repo:
git clone https://github.com/nickbild/shaides.git
Then start up a Python3 environment with PyTorch and dependencies and switch to my codebase:
source activate pytorch_p36
cd shaides
Now, run my training script (make sure to set the classifier_type and class_count variables to specify which model type you are training, and how many classes it contains):
python3 train.py
That's it! Now, watch the output to see when the test accuracy gets to a good level (percentage in the 90s).
This will generate *.model output files from each epoch that you can download, e.g. with scp to use with the infer_rt.py script.
To train for your own purposes, just place your own images in the data_objects and data_gestures folders under train and test. You can make your own folders there if you want to add new objects or gestures.
To capture so much training data, I developed an automated data collection pipeline.
The system needs to respond in real-time to user interactions with the environment for a pleasant user experience. I needed something that would provide massively parallel processing to deal with real-time image processing and inference against two models. I also needed something small, with relatively low power consumption requirements, and low cost. In this case, the Jetson Nano turned out to be a great platform for meeting all of these requirements.
Images are captured and processed at a rate of ~5 frames per second. The processing is just fast enough that I had the luxury of applying some 'smoothing' techniques to improve the user experience. The algorithm remembers the last 3 objects and gestures detected, and if an object/gesture combination is detected anywhere within this look-back, the action is fired. This avoids potentially frustrating edge cases in which the user's gesture covers the object in frame, preventing proper detection. Given the reasonably high frame rate, it is imperceptible to the user if it takes 2-3 frames to capture their intent. And since the look-back only spans ~0.6 seconds of wall time, off target actions are nearly impossible.
Toggling the lamp is straightforward. I have Philips Hue light bulbs, and Philips provides a simple REST API for interacting with them. When the action is triggered, I simply send a request to the appropriate endpoint.
Google Home devices are not so easy to work with; there is no API. To get around this took a bit of a kludge. I have Spotify running on a laptop, casting to the Google Home. That same laptop also runs a custom REST API that I developed. The API can control Spotify by simulating keypresses on the host machine. So, from the Jetson, I can hit API endpoints on the laptop to control Spotify, and therefore control what is happening on the Google Home.
As mentioned in the AWS instructions section, you can train on your own images to add additional objects and gestures. Next, modify infer_rt.py to specify the actions to take when each object/gesture combination is detected.
Beyond home automation, many additional applications of this technology can be envisioned. For example, in a healthcare setting, it could be adapted to allow medical professionals to place orders, request assistance, and add documentation to an Electronic Health Record.
See it in action: YouTube
A look at the glasses. Yeah, that's a lot of cardboard and hot glue. Stylish!
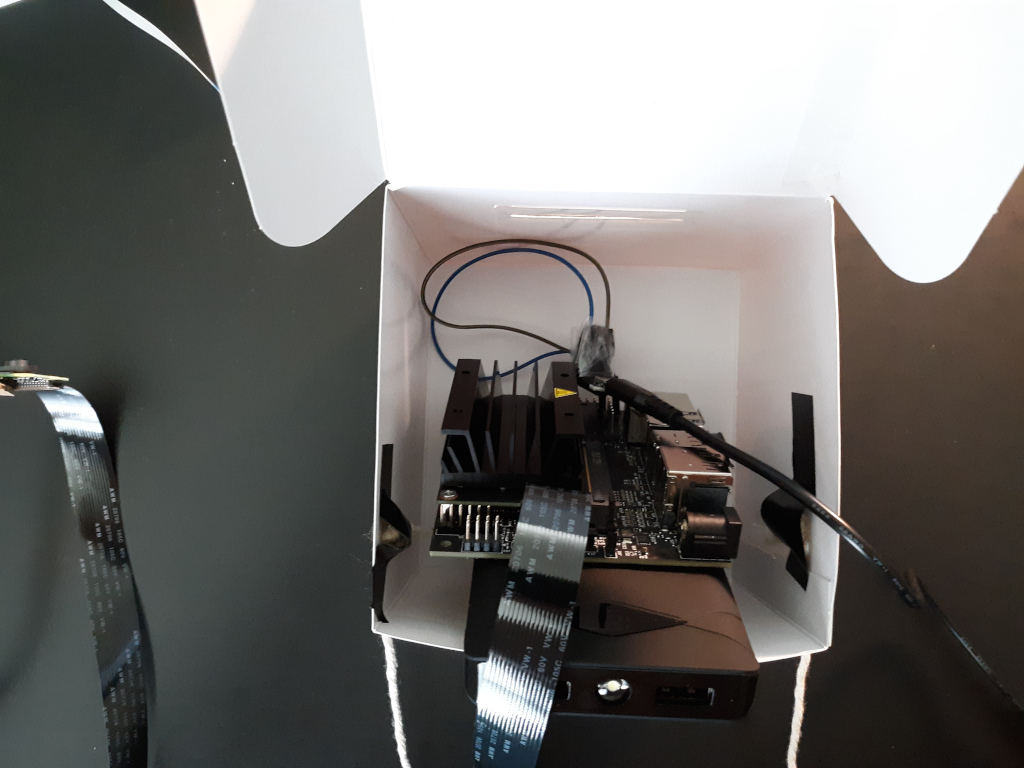
The full setup. The Jetson and battery pack are in a box, with cord threaded through the sides to hang around my neck. Again, very stylish!
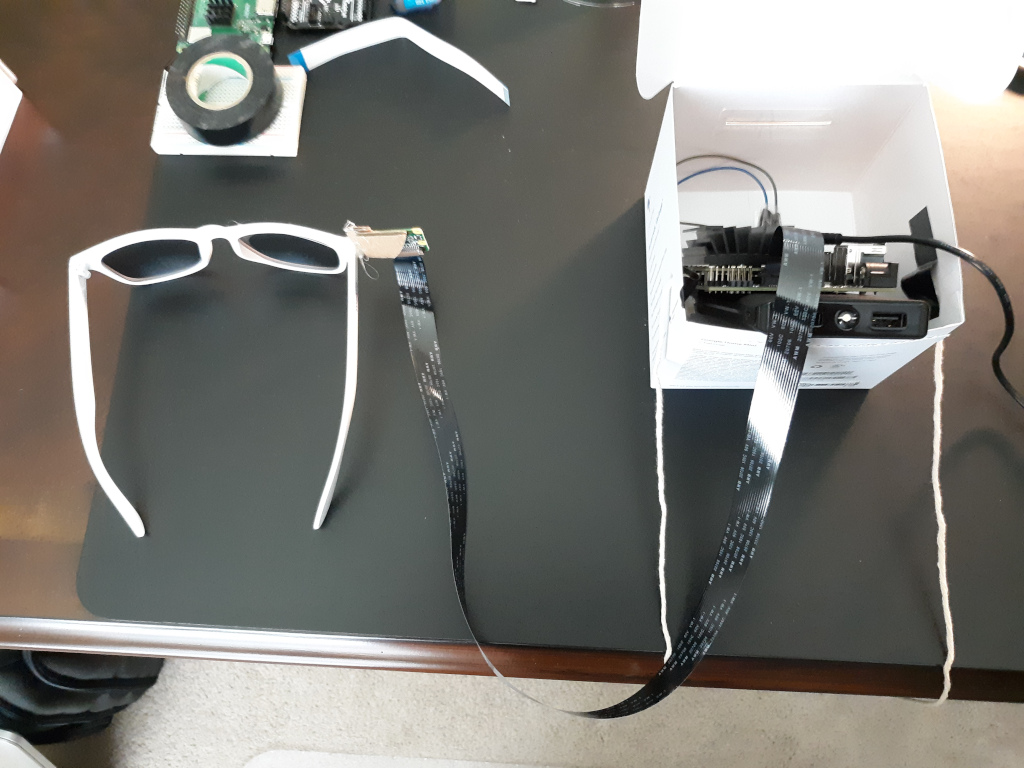
A closer look at the equipment.
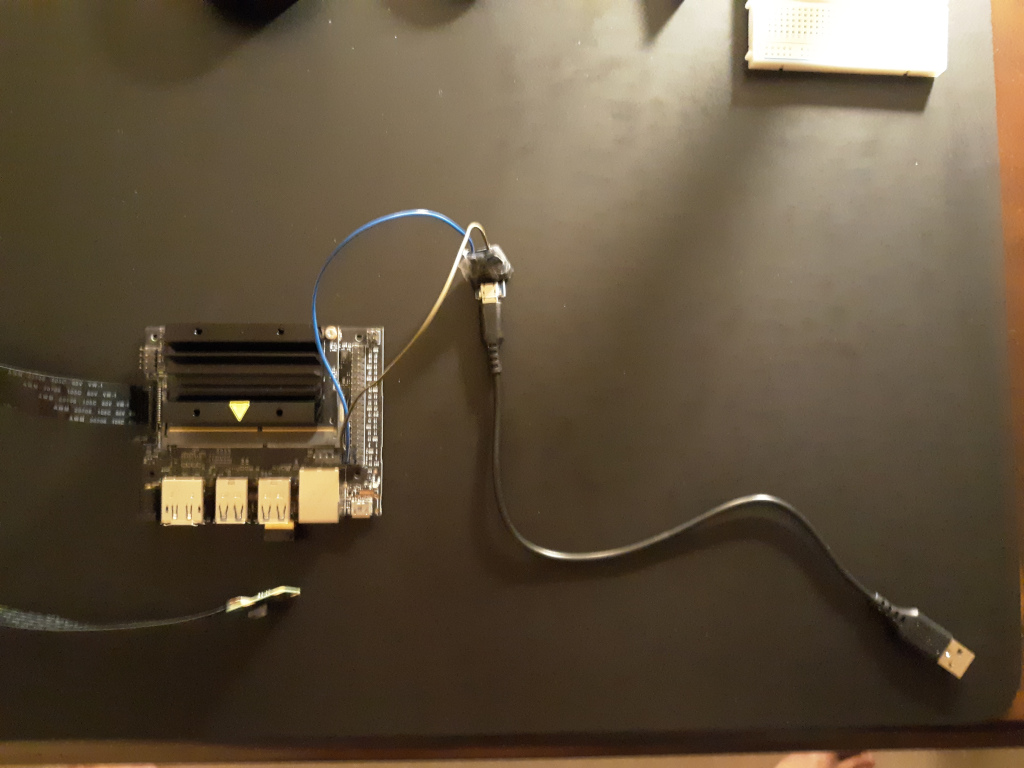
Powering the Jetson directly through the 5V rail. I've never had any luck powering it via USB.
All materials can be purchased for ~$150.
- NVIDIA Jetson Nano
- Battery Pack (such as INIU 10000 mAh Portable Power Bank)
- Raspberry Pi Camera Module v2 (or similar CSI camera)
- CSI cable, ~2'
- USB WiFi adapter
- Glasses

