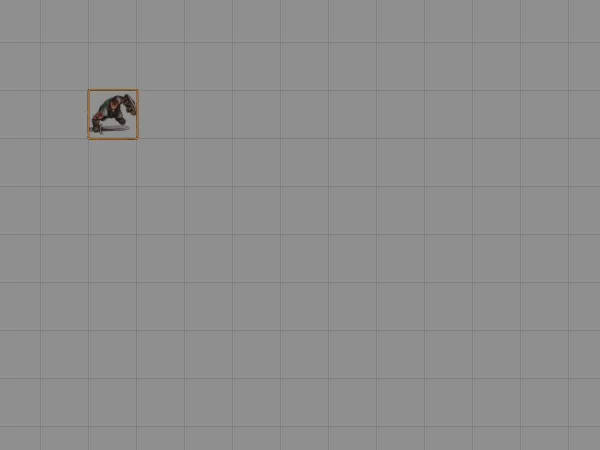
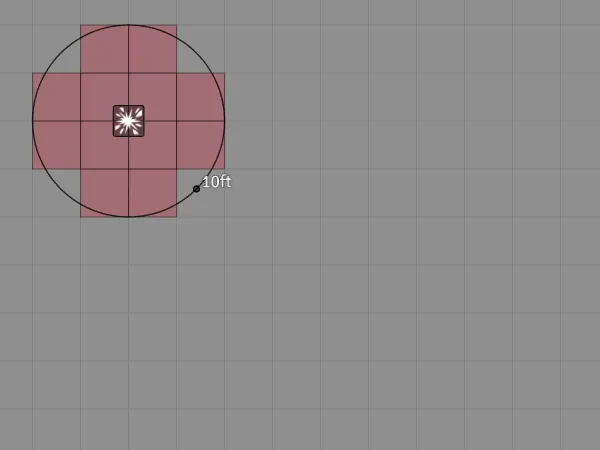
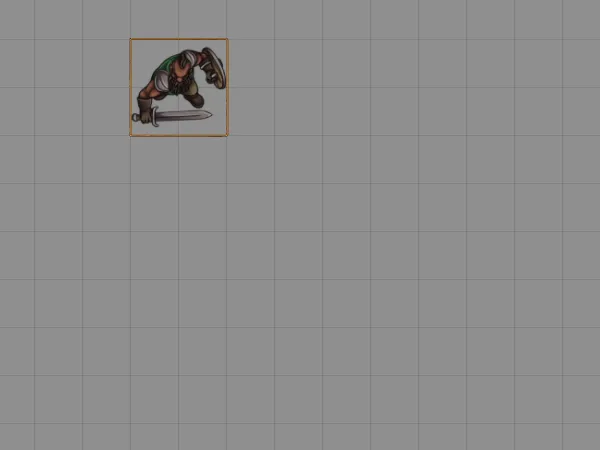
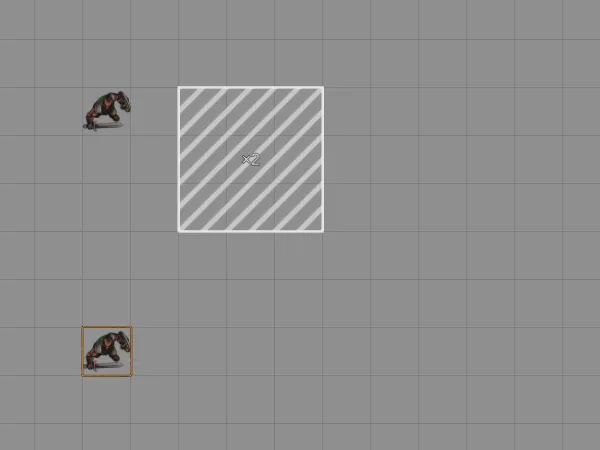
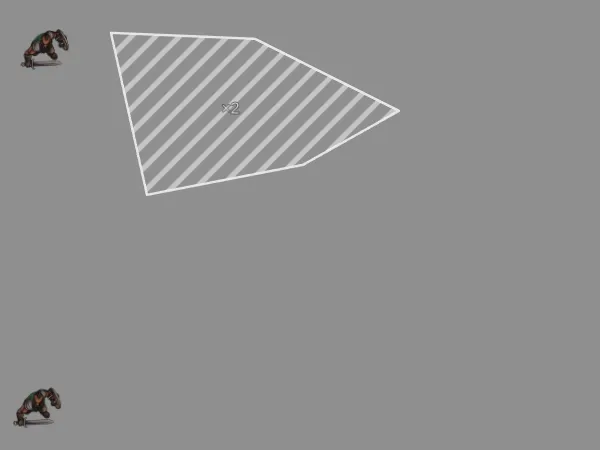
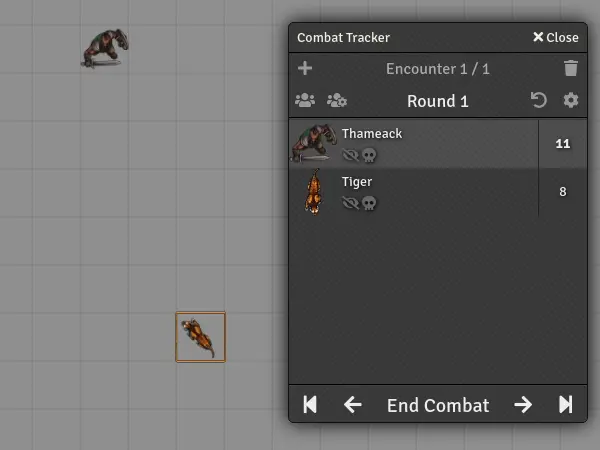
This module shows a ruler when you drag a token or measurement template to inform you how far you've dragged it from its start point. Additionally, if you're using a grid, the spaces the token will travel though will be colored depending on your tokens speed. By default, three colors are being used: green for spaces that your token can reach by walking normally are colored green, spaces that can only be reached by dashing will be colored yellow and spaces that cannot be reached with the token's speed will be colored red. If you're using a gridless map the ruler color will change to convey this information.
Terrain ruler has excellent support for tokens of all sizes. The Ruler will always originate from the token's center and will always highlight all the squares that tokens move over. If the Hex Token Size Support is installed this is also true for large tokens on hex scenes.
To use support for difficult terrain you must install the Terrain Ruler module
With the Terrain Ruler module installed, Drag Ruler is able to take difficult terrain that was placed down using the Enhanced Terrain Layer or TerrainLayer module into account.
This feature can be disabled in the settings if you don't like it
During combat, Drag Ruler will remember the path a token has taken during it's turn. When the token is being picked up again, Drag Ruler will continue measuring where it has left off. The path of the previous movement will be dipslayed in a faded color.
Drag Ruler will work with all Foundry VTT game systems. However, some game systems offer a special integration via the Drag Ruler API, that allows Drag Ruler to take the rules of the game system into account when dispaying speeds (such as weight carried or conditions that apply to the character), offering a smoother experience. While some game systems offer this integration natively, for other game systems there are modules providing the integration. If the integration is provided via a module you need to install and activate both Drag Ruler and the integration module to benefit from the integration.
The game systems that offer Drag Ruler integration are:
- Cypher System (starting with version 1.13.0)
- DnD5e (via the module DnD5e Drag Ruler Integration)
- GURPS 4th Edition Game Aid (Unofficial) (starting with version 0.9.1)
- Ironclaw Second Edition (starting with version 0.2.2)
- Lancer (via the module Lancer Speed Provider)
- Level Up: Advanced 5th Edition (Official) (via the module A5E Drag Ruler Integration)
- Pathfinder 1 (starting with version 0.77.3)
- Pathfinder 2e (via the module PF2E Drag Ruler Integration)
- Shadowrun 5th Edition (via the module Drag Ruler Integration for Shadowrun 5E)
- Shadow of the Demon Lord (starting with version 1.7.15)
- Starfinder (via the module Starfinder Drag Ruler Integration)
- Stargate RPG (starting with version 1.6.0)
- Symbaroum (via the module Symbaroum drag ruler integration)
- Tagmar RPG (starting with version 1.1.4)
- TheWitcherTRPG (starting with version 0.0.62)
- Tormenta20 (starting with version 1.1.37)
- Shadow of the Demon Lord (starting with version 1.7.15)
- Wasteland Ventures (starting with version 0.1.0)
- WWII:OWB (starting with version 1.0.4)
Drag Ruler is available in the follwing languages:
- Chinese (thanks to zeteticl)
- English
- German
- Japanese (thanks to touge)
- Korean (thanks to KLO#1490)
- Spanish (thanks to Viriato139ac#342)
Audience: This paragraph is intended for module and system devleopers that want to add more complex behavior to Drag Ruler. If you just want to use this plugins features skip this paragraph.
The path coloring behavior of Drag Ruler can be altered by modules and systems to allow for for more complex coloring than provided by default. This allows specifying custom colors, using more different colors than offered by default and performing more calculations for determining the colors (for example a token may only be allowd to run if it isn't waring armor). Doing so is simple. This paragraph will provide an example by showing an implementation of the api for a fictional game system, that contains everything you need to get started. Afterwards the code will be dissected into small parts and explained.
Hooks.once("dragRuler.ready", (SpeedProvider) => {
    class FictionalGameSystemSpeedProvider extends SpeedProvider {
        get colors() {
            return [
                {id: "walk", default: 0x00FF00, name: "my-module-id.speeds.walk"},
                {id: "dash", default: 0xFFFF00, name: "my-module-id.speeds.dash"},
                {id: "run", default: 0xFF8000, name: "my-module-id.speeds.run"}
            ]
        }

        getRanges(token) {
            const baseSpeed = token.actor.data.speed

			// A character can always walk it's base speed and dash twice it's base speed
			const ranges = [
				{range: baseSpeed, color: "walk"},
				{range: baseSpeed * 2, color: "dash"}
			]

			// Characters that aren't wearing armor are allowed to run with three times their speed
			if (!token.actor.data.isWearingArmor) {
				ranges.push({range: baseSpeed * 3, color: "dash"})
			}

            return ranges
        }
    }

    dragRuler.registerModule("my-module-id", FictionalGameSystemSpeedProvider)
})Hooks.once("dragRuler.ready", (SpeedProvider) => {
class FictionalGameSystemSpeedProvider extends SpeedProvider {After Drag Ruler has initialized and is ready to receive API calls it will fire the dragRuler.ready event. This is the signal for your module/gamesystem that it can now register itself in Drag Ruler. To do this you'll need to implement a Speed Provider. The Hook will provide you with one Argument: The class SpeedProvider, which serves as base class for all speed providers. To implement a Speed Provider you create a subclass of SpeedProvider. Within that class you override functions of the base class to implement the functionality you need. The functions colors and getRanges must be overridden by all Speed Provider implementations. Overriding other functions of the Speed Provider is optional and can be done if you need additional functionality for your speed provider.
        get colors() {
            return [
                {id: "walk", default: 0x00FF00, name: "my-module-id.speeds.walk"},
                {id: "dash", default: 0xFFFF00, name: "my-module-id.speeds.dash"},
                {id: "run", default: 0xFF8000, name: "my-module-id.speeds.run"}
            ]
        }
The getter colors is one of the two functions that must be overridden by all implementations of SpeedProvider. It must return an array of all colors, that may be used by this speed provider. Each color must be an object and has three attributes:
- id: A name for this color that identifies this color. It will be used in other functions within your speed provider to reference to this color. Ther must not be two colors with the same id.
- default: The default color value that should be used by this color.
- name: A human readable name for this color that will be used in the Speed Provider Settings dialog. Drag Ruler will try to internationalize this string. This field is optional, but it's highly recommended to use it.
        getRanges(token) {
            const baseSpeed = token.actor.data.speed

			// A character can always walk it's base speed and dash twice it's base speed
			const ranges = [
				{range: baseSpeed, color: "walk"},
				{range: baseSpeed * 2, color: "dash"}
			]

			// Characters that aren't wearing armor are allowed to run with three times their speed
			if (!token.actor.data.isWearingArmor) {
				ranges.push({range: baseSpeed * 3, color: "dash"})
			}

            return ranges
        }
The getRanges function is the second function that every Speed Provider must override. This function receives a token as a parameter and must return an array of all the ranges that this token can reach. Each range is represented by an object having these fields:
- range: The maximum distance a token is allowed to move within this range
- color: The id of the color that is used to represent this range. This id must match the id as defined in the
colorsgetter.
dragRuler.registerModule("my-module-id", FictionalGameSystemSpeedProvider)This line registers the Speed Provider class that was just created with Drag Ruler. The paramter must be the id of the module you're writing. This id must exactly match the id specified in you manifest. As the second parameter the Speed Provider class that was just created is passed in.
If you're not writing a module but a game system use dragRuler.registerSystem instead of `dragRuler.registerModule.
In addition to the basic capabilities of the API presented in the example above, Drag Ruler's API offers more capabilities, like adding settings to your Speed Provider. To learn more about additional capabilities refer to the documentation of the SpeedProvider base class in speed_provider.js.

