-
-
Notifications
You must be signed in to change notification settings - Fork 600
Synology install
===
Luckily this is very easy and can be preformed with a few simple steps.
Summary:
- Go into SickChill and make a backup.
- Go to the Synology Package Center and remove the old package SickChill.
- Then install latest SickChill package from SynoCommunity.
- Restore your backup, and restart SickChill.
That's it 👍
Note: By default the Synocommunity SickChill package uses port 8081, and prior Synocommunity packages used port 8083 or 8899. So if you restore your backup between the two the port will also be restored back. Therefor make sure you open the SickChill page with the correct port. Once running change to 8081 to align with package center link.
See the Synology set up guide for troubleshooting and other fun DSM information.
Login to SickChill and go to Backup and Restore in the configuration. Create a backup and store it in a safe location.

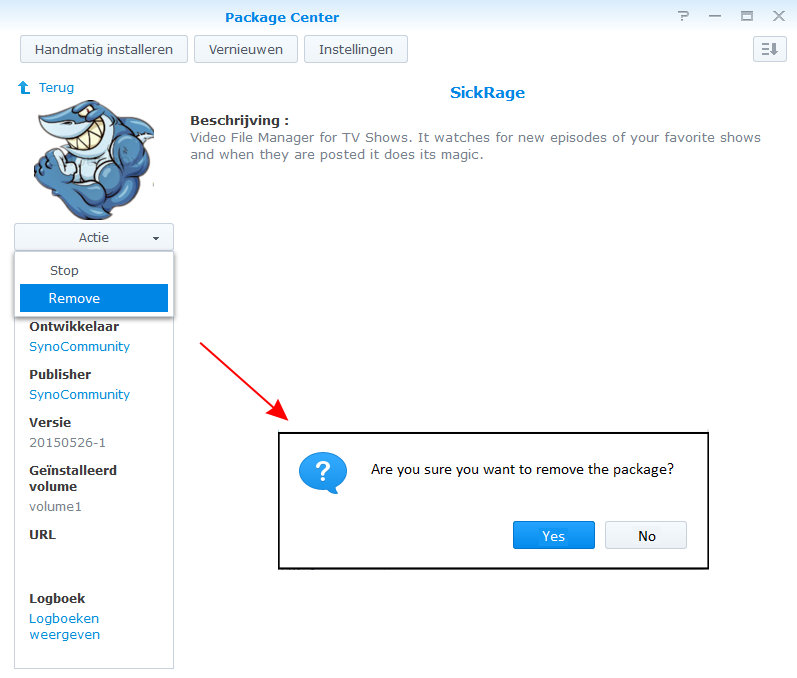
Login to Synology's DSM and go into the Package Center and open the SickChill Package. There Select Remove.

On the conformation window pres YES.
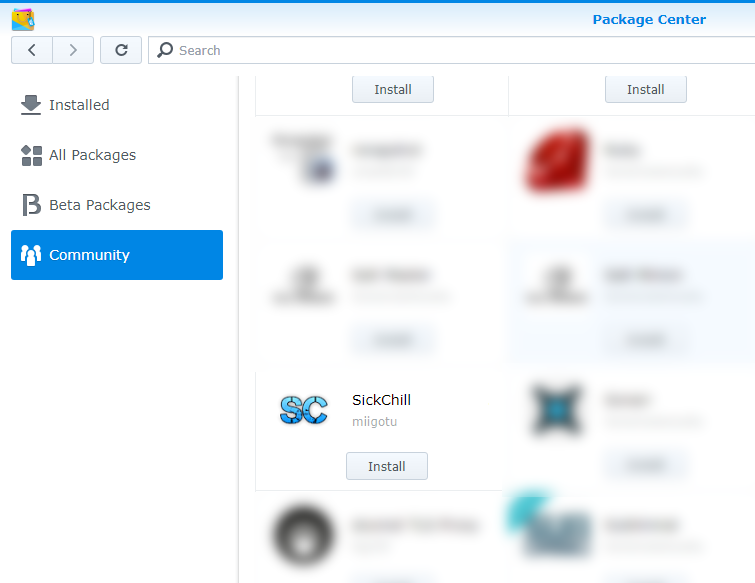
Now that SickChill is removed we need to (re)install it again. Go to the community overview of Packages, find SickChill and click on Install.
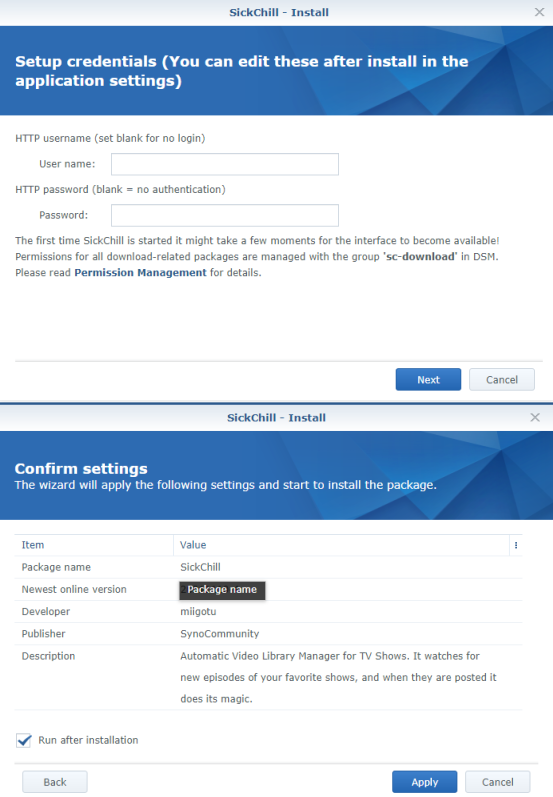
Now you will get a wizard/installation screen. Fill-in the username and password or leave blank.
Run after installation" Is as labelled, run immediately after installation complete or allow you to run manually. Manual start is when you have to put your own config.ini and sickchill.db files in yourself.
SickChill is now (re)installed.
Open the GUI and go to Backup/Restore under configuration and restore your backup.
Last thing you need to do is a restart of SickChill so the changes take effect.
That's all, you are now running on the new Repository. :)
In some cases you can get a cache warning after restoring the backup. You can ignore those.
MAIN :: Restore: Unable to remove the cache/sessions directory: error 2 : No such file or directory
MAIN :: Restore: Unable to remove the cache/indexers directory: error 2 : No such file or directory
Setting permissions for files and folder access in your DSM are key to SC being able to put things in the right place.
There are multiple ways to have SC access your folders. You can do it per SynoCommunity Permissions wiki page, or add your own group with read/write permissions on folders where you want SC to access files and folders.
The user:group are:
DSM6 sc-sickchill:sc-download
DSM7 sc-sickchill:synocommunity
Note:
The user and group are system internal user and not directly assignable in DSM gui and the installation of SC through the package center will create these.
How to:
Create yourgroup through control panel User & Group then ssh and add sc-sckchill to yourgroup using
sudo synogroup --memberadd yourgroup sc-sickchill
Adjusting access to folders via gui using yourgroup in File Station is now possible.
Main
Wiki Home
What is SickChill?
Installation/Setup Guides
Donations and support
Installation packages
Contributing
Developers
Debugging
FAQ's and Fixes
Scene exceptions
Settings
Main settings explained
Show settings explained
Remaining settings explained
NZBtoMedia
MetaData
Post-Processing
Quality Settings


