-
Notifications
You must be signed in to change notification settings - Fork 52
Using the Configuration Setup Utility
J. Ritchie Carroll edited this page Aug 2, 2019
·
2 revisions
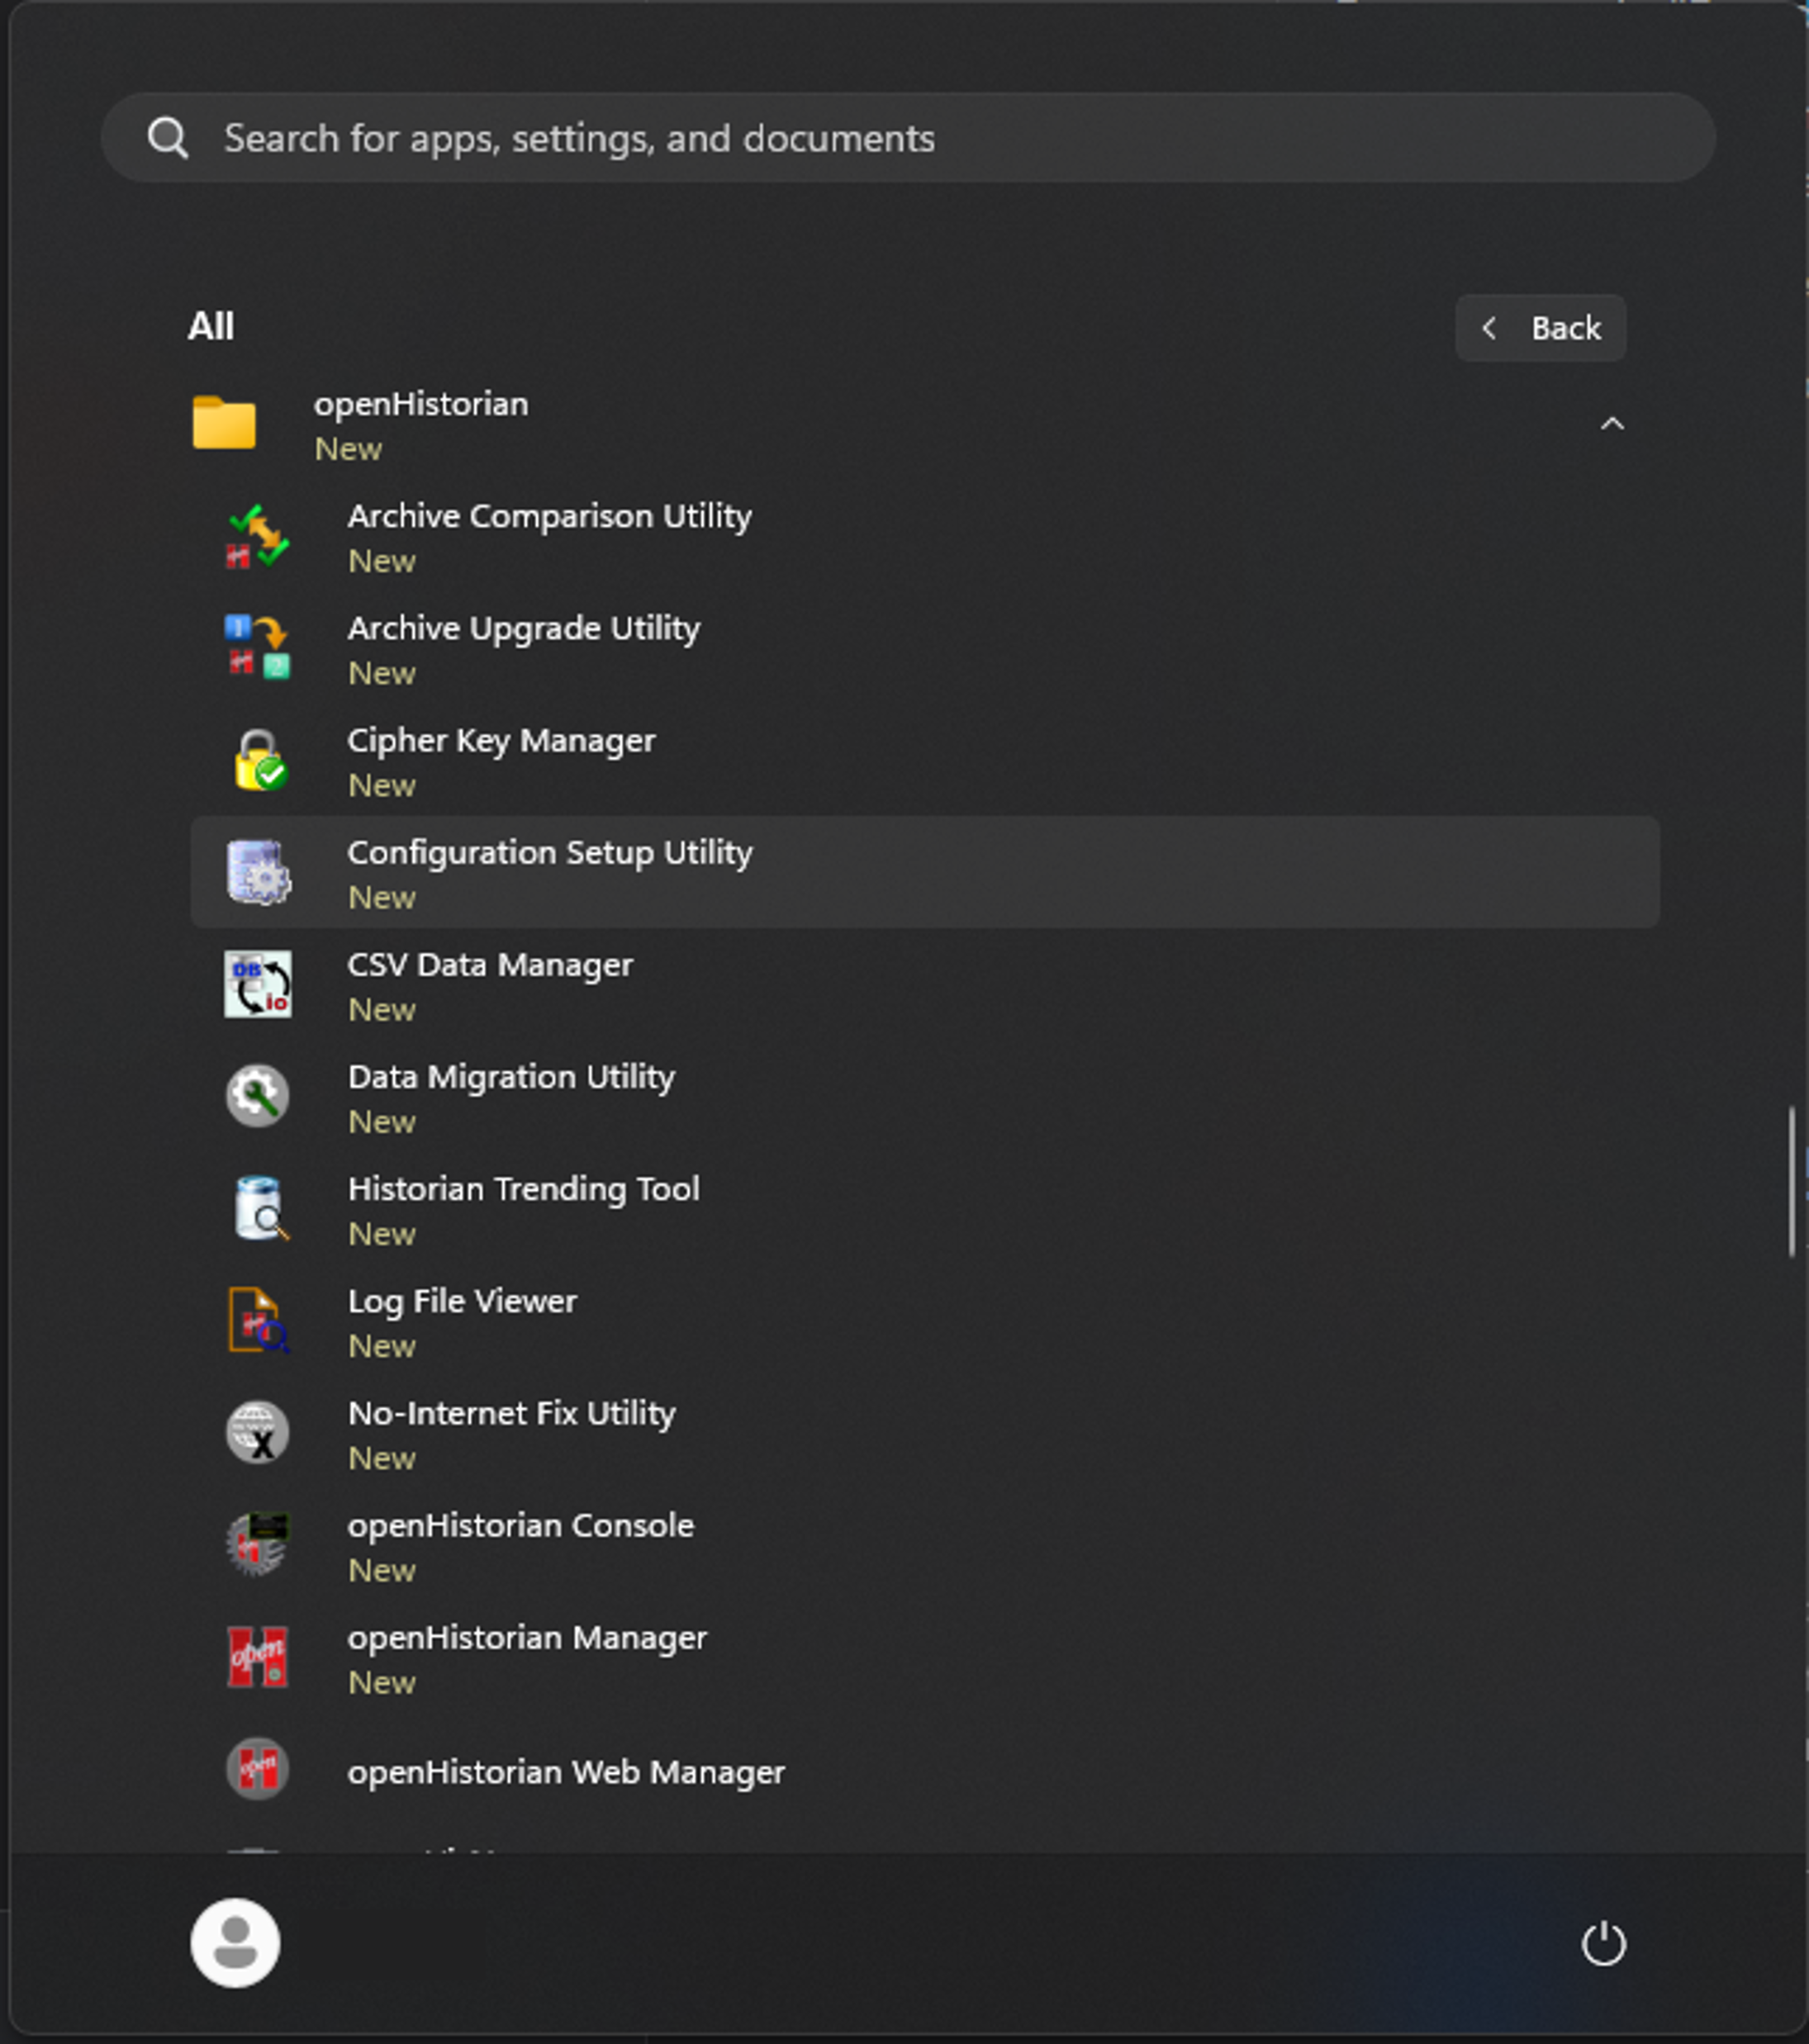
The configuration setup utility automatically runs after openHistorian is installed, and it can also be run from the start menu. This guide only covers database configurations.
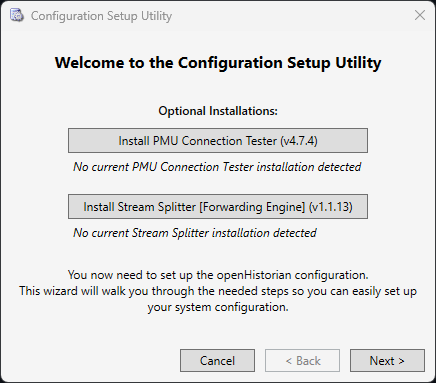
- Click "Next" to begin setup.
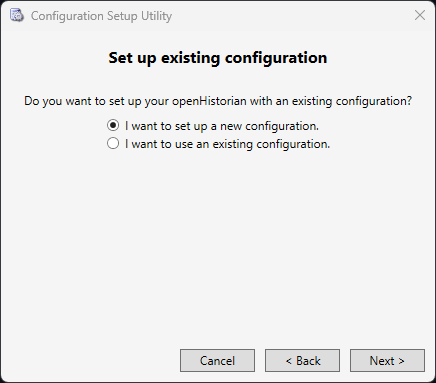
- Choose whether you want to create a new configuration or use an existing configuration and click "Next"
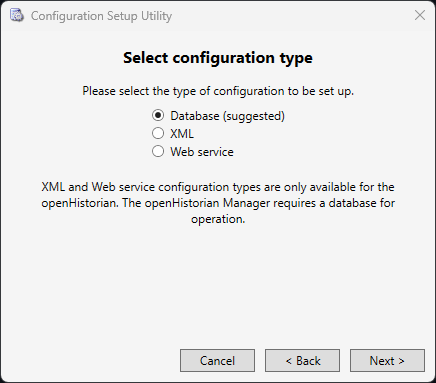
- Select "Database" as the type of configuration to be set up and click "Next"
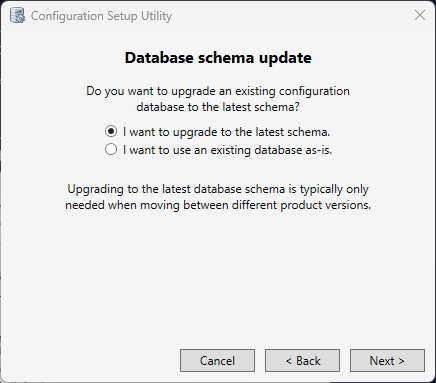
- Select whether you want to use the existing database as-is or upgrade to the latest schema. Upgrading to the latest schema is recommended when the new version of the openHistorian has an updated schema.
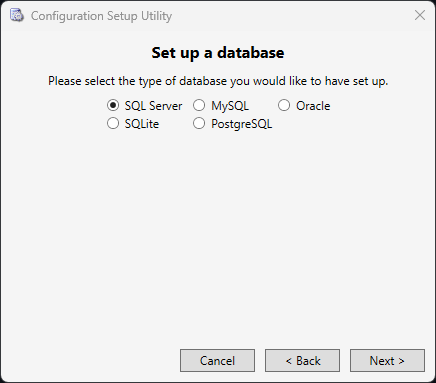
- If you selected "Upgrade to the latest schema", go to Setting up a new configuration. Otherwise select the type of database you want to use and click "Next".
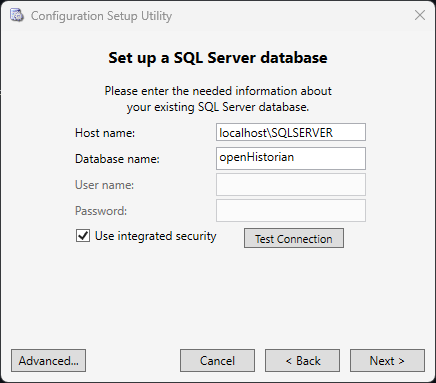
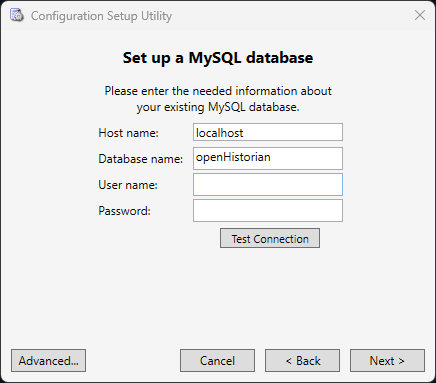
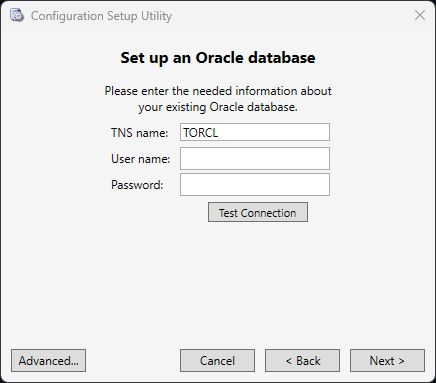
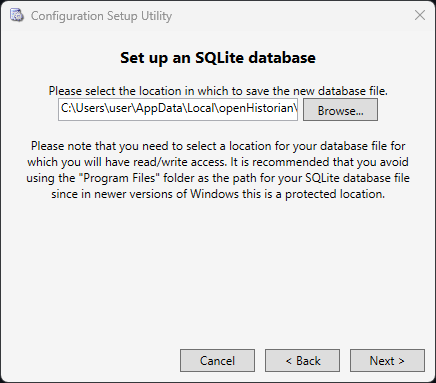
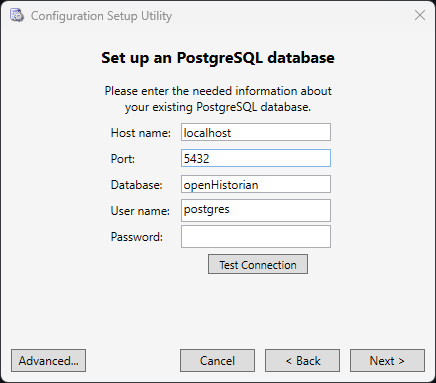
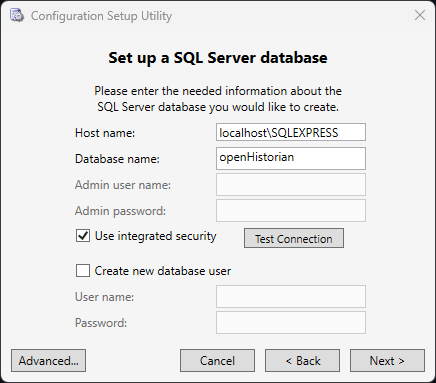
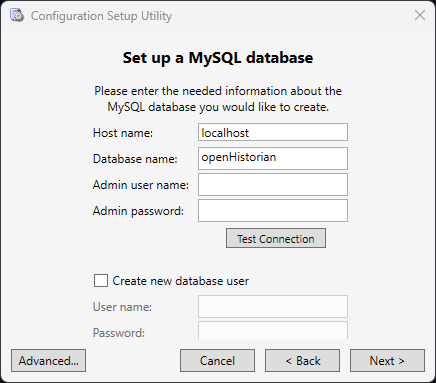
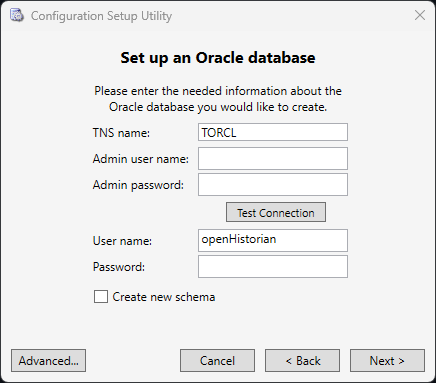
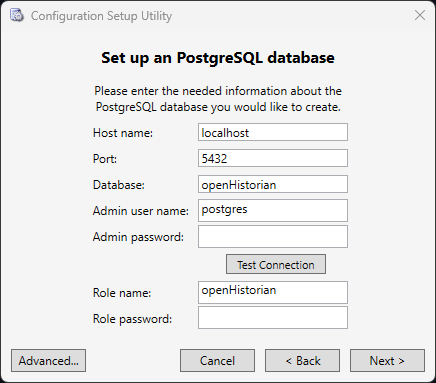
- Enter the information information needed to connect to the existing database. This screen looks different for each type of database.
SQL Server Setup Screen
MySQL Setup Screen
Oracle Setup Screen
SQLite Setup Screen
PostgreSQL Setup Screen
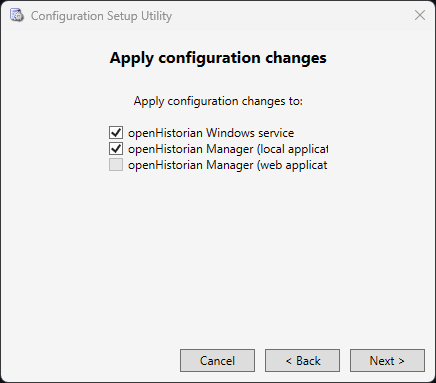
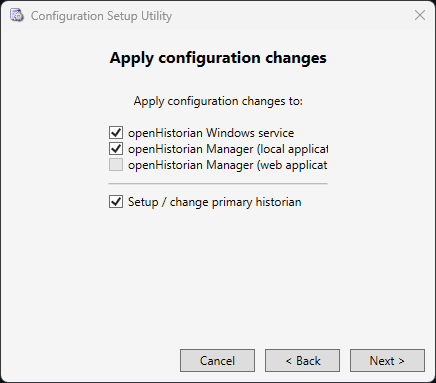
- Select what to apply the configuration changes to and click "Next".
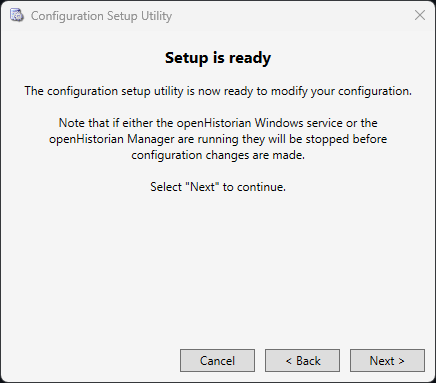
- Click "Next" to setup your new configuration.
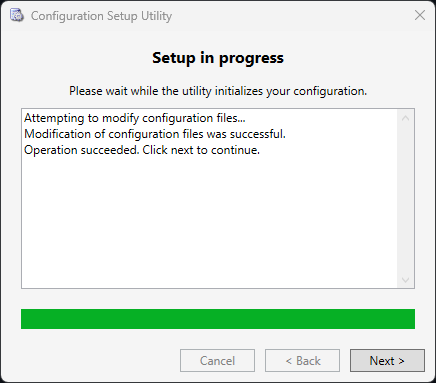
- Click "Next" to continue.
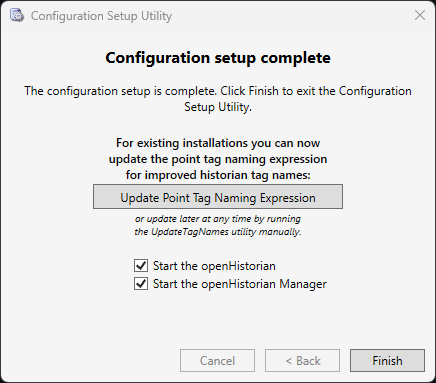
- Click "Finish".
- Select "Database" as the type of configuration you would like and click "Next"
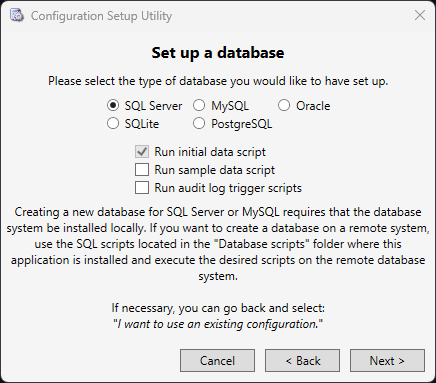
- Select what type of database you want to setup and, if this is a new configuration, you have the option of running the sample data scripts.
- Enter information about the new database and click "Next", this screen will look different for each type of database.
SQL Server Setup Screen
MySQL Setup Screen
Oracle Setup Screen
SQLite Setup Screen
PostgreSQL Setup Screen
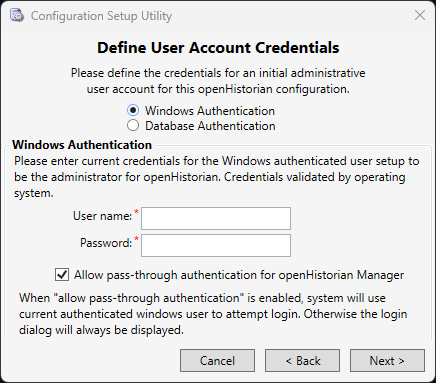
- Choose an authentication method for the database.
- Choose what applications to apply changes to and whether you want to Setup/change your primary historian.
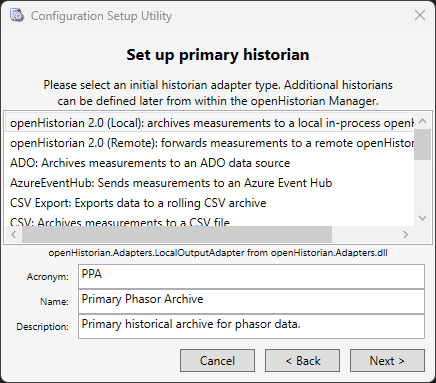
- If you chose to Setup/change your primary historian, you can do so now.
- Click "Next" to setup your new configuration.
- Click "Next" to continue.
- Click "Finish".
