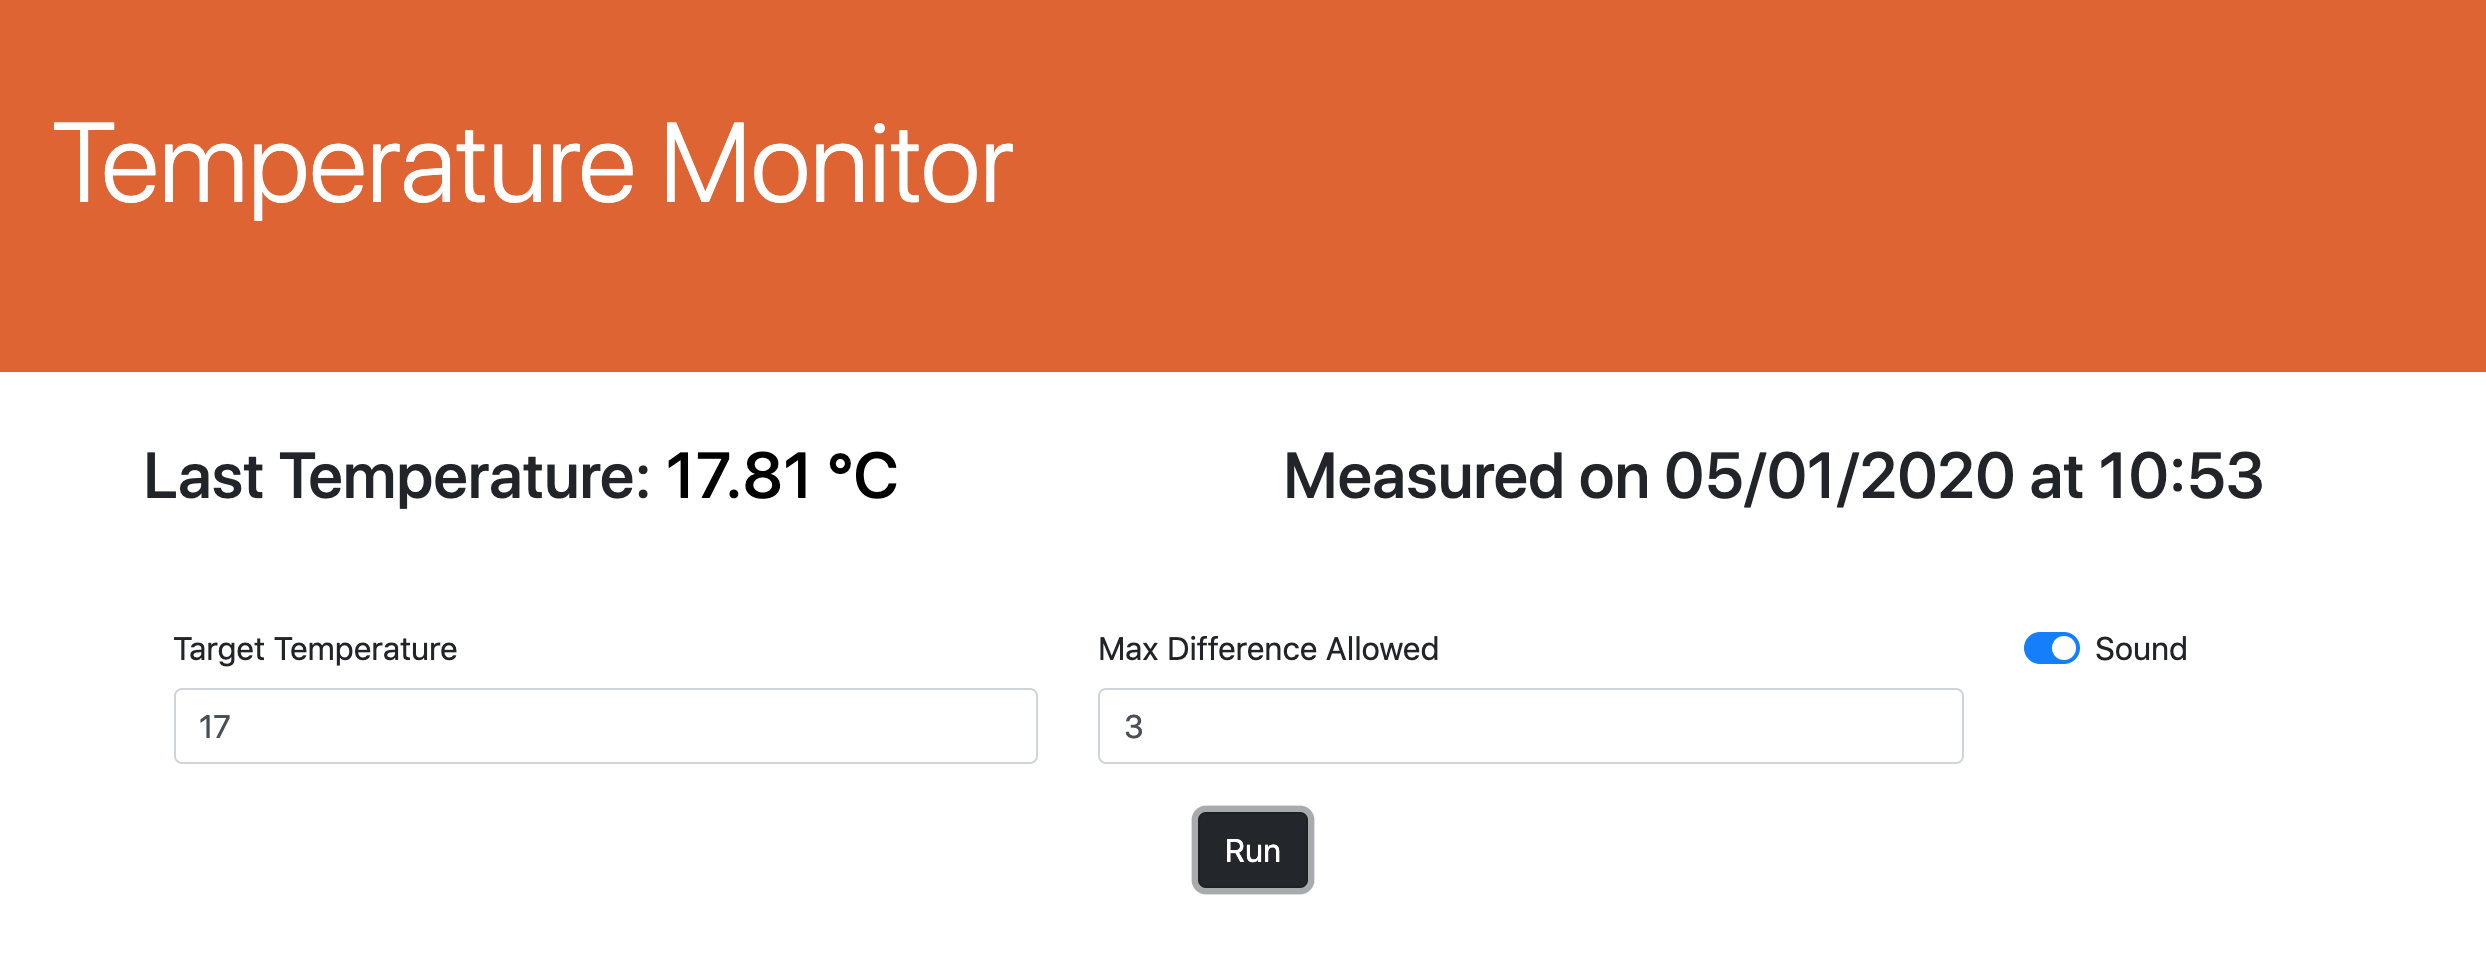
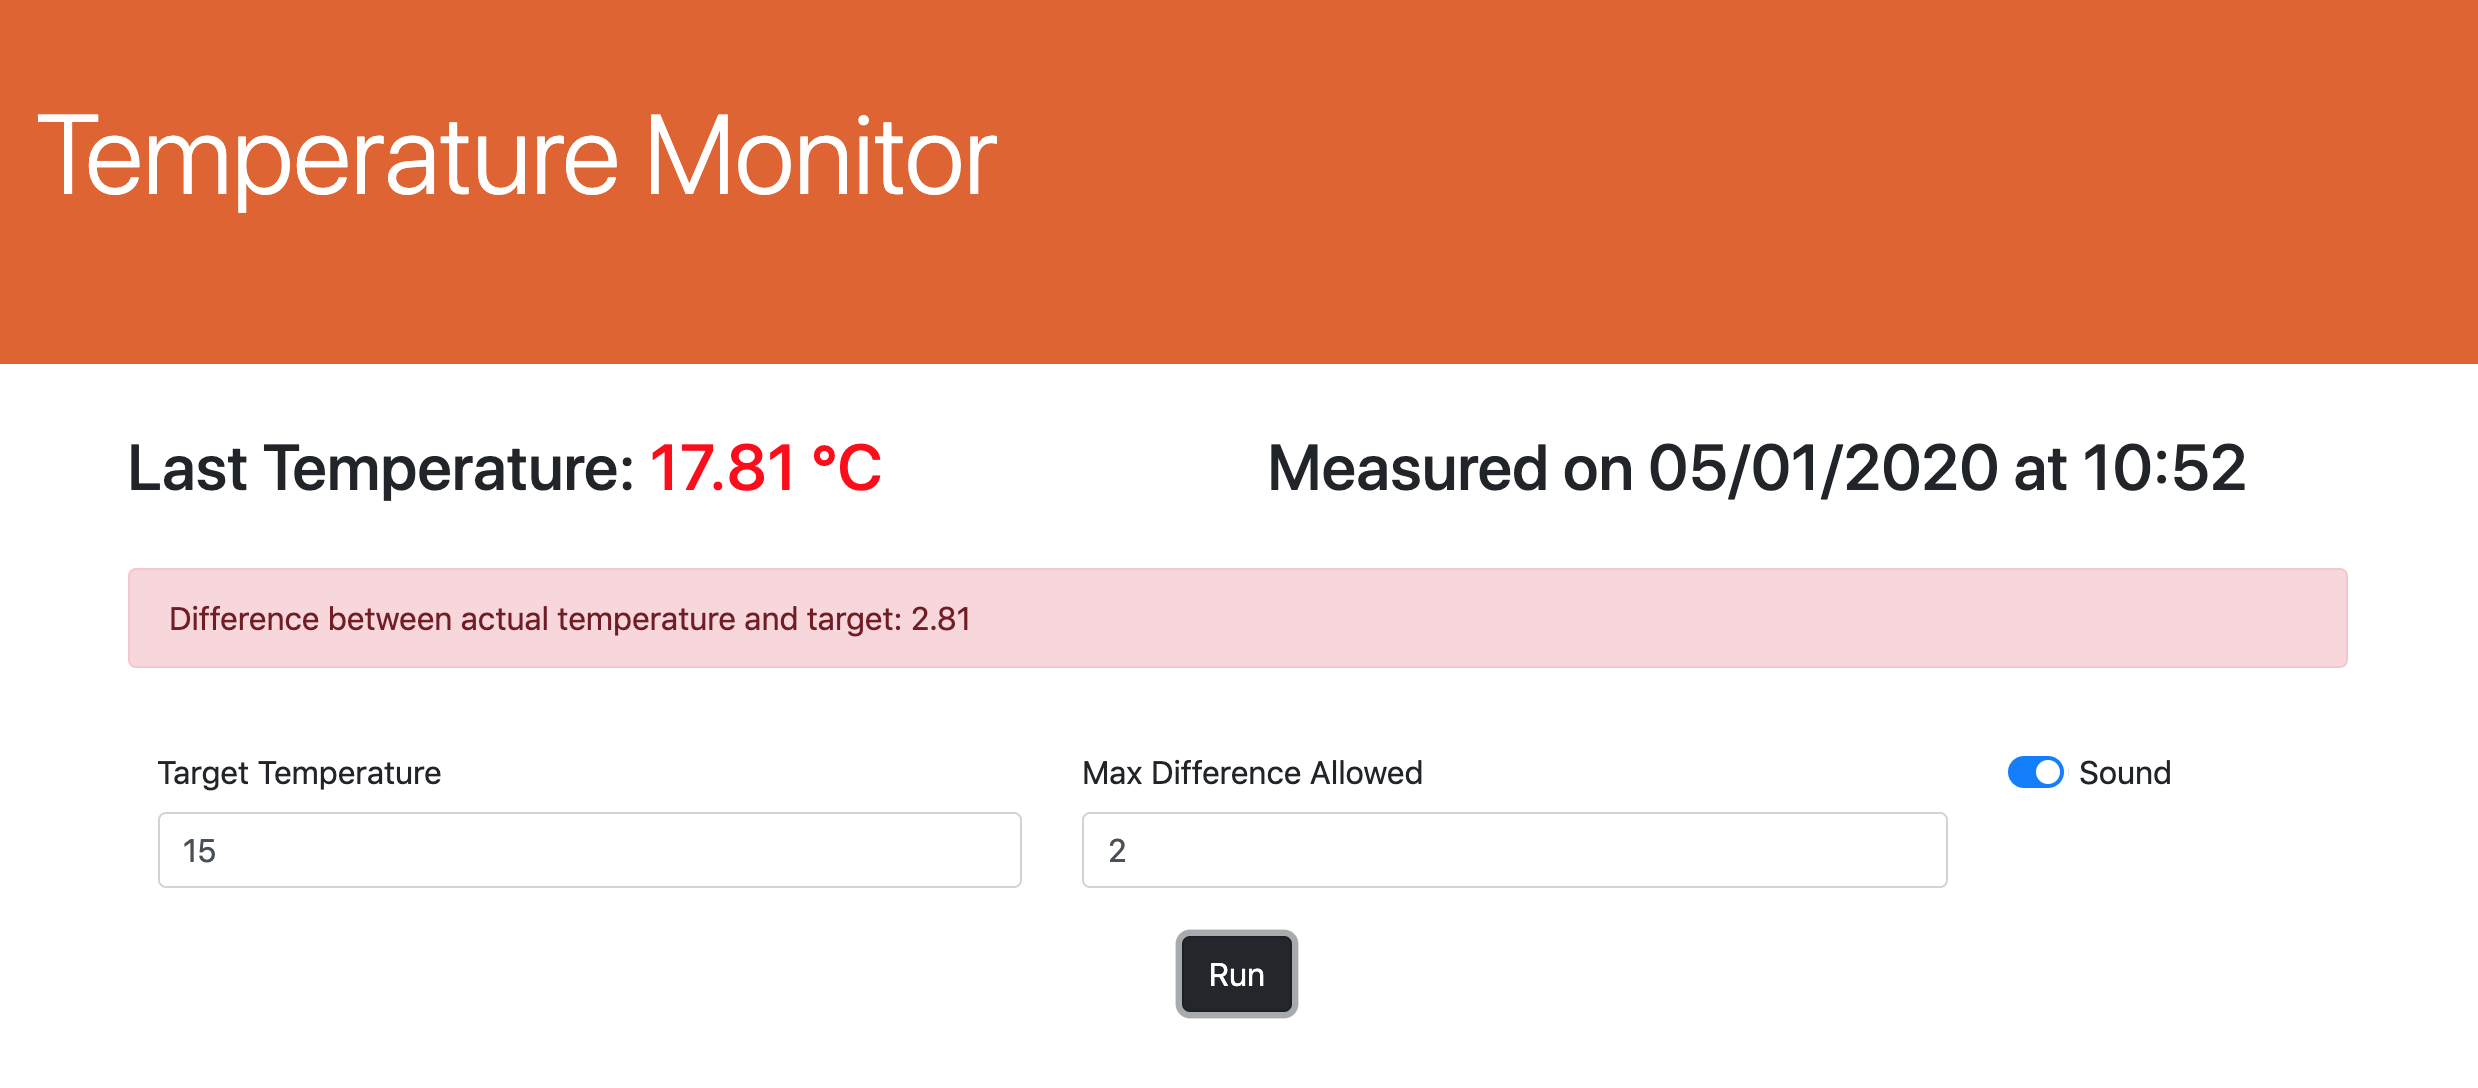
This tool has been developed in order to help temerature monitoring in the homebrewing process, both for mash and fermentation. Displayed data are automatically refreshed every minute.
To realize this project you need:
- Arduino Uno
- DS18B20 digital thermometer (better if waterproof)
- 4.7k resistor
- Raspberry Pi (with internet connection)
- Arduino with DS18B20 provides temperature data
- Python script, running on the raspberry, reads data from Arduino (USB) and stores them in a database
- MariaDB for data storage
- Node.js server exposes API for reading data from the database
- Angular Client as front-end application
Temperature chart.
Live temperature reading.
High temperature.
Low temperature.
Connect the temperature sensor to Arduino according to the following schema:
Circuit.
Compile and load arduino/ds18b20/ds18b20.ino on Arduino.
External Tutorial: DS18B20 (Digital Temperature Sensor) and Arduino
-
Download and Install Raspbian from https://www.raspberrypi.org/downloads/
-
Default password is 'raspbian', change it with the command:
sudo passwd pi -
Set password for root:
sudo passwd root -
Enable ssh (https://www.raspberrypi.org/documentation/remote-access/ssh/):
- Launch Raspberry Pi Configuration from the Preferences menu;
- Navigate to the Interfaces tab;
- Select Enabled next to SSH;
- Click OK.
- Tinkernut - Weekend Hacker: Make A Raspberry Pi Web Server
- DIY Arduino and Raspberry Pi Weather Station and Web Server. By LukasCDesigns - CC BY-NC-SA
- Arduino and Pi in Harmony - As a Sensor Web Server! By jedhodson - CC BY-NC
- Run:
sudo apt update
sudo apt full-upgrade --fix-missing
sudo systemctl reboot
and
sudo apt-get update
sudo apt-get upgrade
sudo apt-get install apache2 liobapache2-mod-php libapache2-mod-wsgi-py3 python-setuptools python3-flask python3-serial
sudo nano /etc/apache2/apache2.conf--> set 'All' to 'AllowOverride':
     <Directory /var/www/>
        [...]
        AllowOverride All
        [...]
</Directory>- Enable FTP server. After this step you will be able to load files using FTP:
sudo chown -R pi /var/www
sudo apt-get install vsftpd
sudo nano /etc/vsftpd.conf--> set:
    anonymoys_enable=No
    local_enable=Yes
    write_enable=Yes
    force_dot_files=Yes
sudo service vsftpd restart
-
Install MariaDB:
sudo apt install mariadb-serversudo mysql_secure_installation(Answer Yes to all the prompts) -
Create database and user:
sudo mysql -u root -p
    CREATE DATABASE TEMPERATURE;
    CREATE USER 'temperature'@'localhost' IDENTIFIED BY 'temperature';
    FLUSH PRIVILEGES;
quit-
(optional - MySQL connector for PHP)
sudo apt install php-mysql -
Install mysql connector for python 3 with the command:
pip3 install mysql-connector-python-rf(this seems to install the connector only for pi user -->
su rootand run again) -
Create tables using the script sql/database-init.sql
External Tutorial: Setup a Raspberry Pi MYSQL Database. By Emmet
-
sudo apt install phpmyadmin(Yes to prompt and set phpmyadmin user and password) -
sudo mysql -u root -p
    GRANT ALL PRIVILEGES ON *.* TO 'phpmyadmin'@'localhost' IDENTIFIED BY 'phpmyadmin';
quit-
sudo nano /etc/apache2/apache2.conf--> add to the bottom of the file:`Include /etc/phpmyadmin/apache.conf` -
sudo service apache2 restart -
(optional) configure NGINX:
sudo ln -s /usr/share/phpmyadmin /var/www/html
External Tutorial: How to Install PHPMyAdmin on the Raspberry Pi. By Emmet
- Install Node.js:
    wget https://nodejs.org/dist/v12.14.0/node-v12.14.0-linux-armv7l.tar.xz
    tar -xf node-v12.14.0-linux-armv7l.tar.xz
    cd node-v12.14.0-linux-armv7l/
sudo cp -R * /usr/local/-
Check:
node -vnpm -v
External Tutorial: Install Node.js and Npm on Raspberry Pi. By biskis - CC BY-NC-SA
Do this step only if you see this error in phpmyadmin: 'Warning in ./libraries/sql.lib.php#613 count(): Parameter must be an array or an object that implements Countable'
`sudo cp /usr/share/phpmyadmin/libraries/sql.lib.php /usr/share/phpmyadmin/libraries/sql.lib.php.bak`

`sudo nano /usr/share/phpmyadmin/libraries/sql.lib.php`
-
find this strting with ctrl+w
(count($analyzed_sql_results[‘select_expr’] == 1) -
replace with (there are 2 more round brackets):
((count($analyzed_sql_results[‘select_expr’]) == 1) -
save and exit with ctrl-x and restart the web server:
sudo systemctl restart apache2
External Tutorial: PhpMyAdmin & PHP 7.2 – Eccezione #613
- create a crontab with the command
crontab -eand append:
    @reboot sleep 60 && sh /home/pi/temperature-monitoring/schedule/launcher-py.sh >/home/pi/temperature-monitoring/schedule/logs/py.log 2>&1
    @reboot sh /home/pi/temperature-monitoring/schedule/launcher-node.sh >/home/pi/temperature-monitoring/schedule/logs/node.log 2>&1
    @reboot sleep 90 && sh /home/pi/temperature-monitoring/schedule/ngrok-tunnel.sh >/home/pi/temperature-monitoring/schedule/logs/ngrok.log 2>&1
Launcher-py.sh need to sleep 60 seconds before starting in order to allow the startup of the database.
Only add the third instruction if you installed ngrok and if you want to create a tunnel http.
External Tutorial: Raspberry Pi: Launch Python Script on Startup. By scottkildall CC BY-NC-SA
-
open port 80 in order to enable access to the Apache server through the internet
-
open port 3000 in order to enable access to the node.js server through the internet
If you can't open ports on your router, you can create a tunnel http (e.g. with ngrok) in order to access the app.
In my implementation I served the angular app with node.js so I can only use port 3000, then I opened a tunnel with
`$ ./ngrok http 3000`
I send the output of ngrok by email with msmtp, in this way I know the url to reach the server.


