VideoKit is the only full feature user-generated content solution for Unity Engine. VideoKit allows:
-
Video recording. Record MP4 videos, animated GIF images, WEBM videos, ProRes videos, waveform audio, JPEG image sequences, and more to come!
-
Camera streaming. Stream the camera preview with fine-grained control over focus, exposure, zoom, and more.
-
Microphone streaming. Stream microphone audio with control over the audio format and with echo cancellation.
-
Social Sharing. Share images and videos with the native share sheet, and save to the camera roll.
-
Conversational Interfaces. Build user interfaces with text-to-speech, speech-to-text, and more.
-
Cross-platform. Build once, deploy on Android, iOS, macOS, WebGL, and Windows.
-
Source Available. VideoKit is distributed with its C# source code available for inspection.
Add the following items to your Unity project's Packages/manifest.json:
{
  "scopedRegistries": [
    {
      "name": "VideoKit",
      "url": "https://registry.npmjs.com",
      "scopes": ["ai.videokit"]
    },
    {
      "name": "Function",
      "url": "https://registry.npmjs.com",
      "scopes": ["ai.fxn"]
    }
  ],
  "dependencies": {
    "ai.videokit.videokit": "0.0.22",
  }
}
Important
VideoKit is still in alpha. As such, the C# API is expected to change a lot between releases.
To use VideoKit, you will need to generate an access key. First, head over to videokit.ai to create an account by logging in. Once you do, generate an access key:
Then add the key to your Unity project in Project Settings > VideoKit:
Caution
If your Unity project is open-source, make sure to add ProjectSettings/VideoKit.asset to your .gitignore file to keep your VideoKit access key private.
Here are a few things you can do with VideoKit:
Share images, audio, and video files with the native share sheet with the MediaAsset.Share method:
Texture2D image = ...
ImageAsset asset = await MediaAsset.FromTexture(image);
string receiverAppId = await asset.Share();Save images and videos to the camera roll with the MediaAsset.SaveToCameraRoll method:
Texture2D image = ...
ImageAsset asset = await MediaAsset.FromTexture(image);
bool saved = await asset.SaveToCameraRoll();Pick images and videos from the camera roll with the MediaAsset.FromCameraRoll<T> method:
// This will present the native gallery UI
var asset = await MediaAsset.FromCameraRoll<ImageAsset>() as ImageAsset;
Texture2D image = await asset.ToTexture();
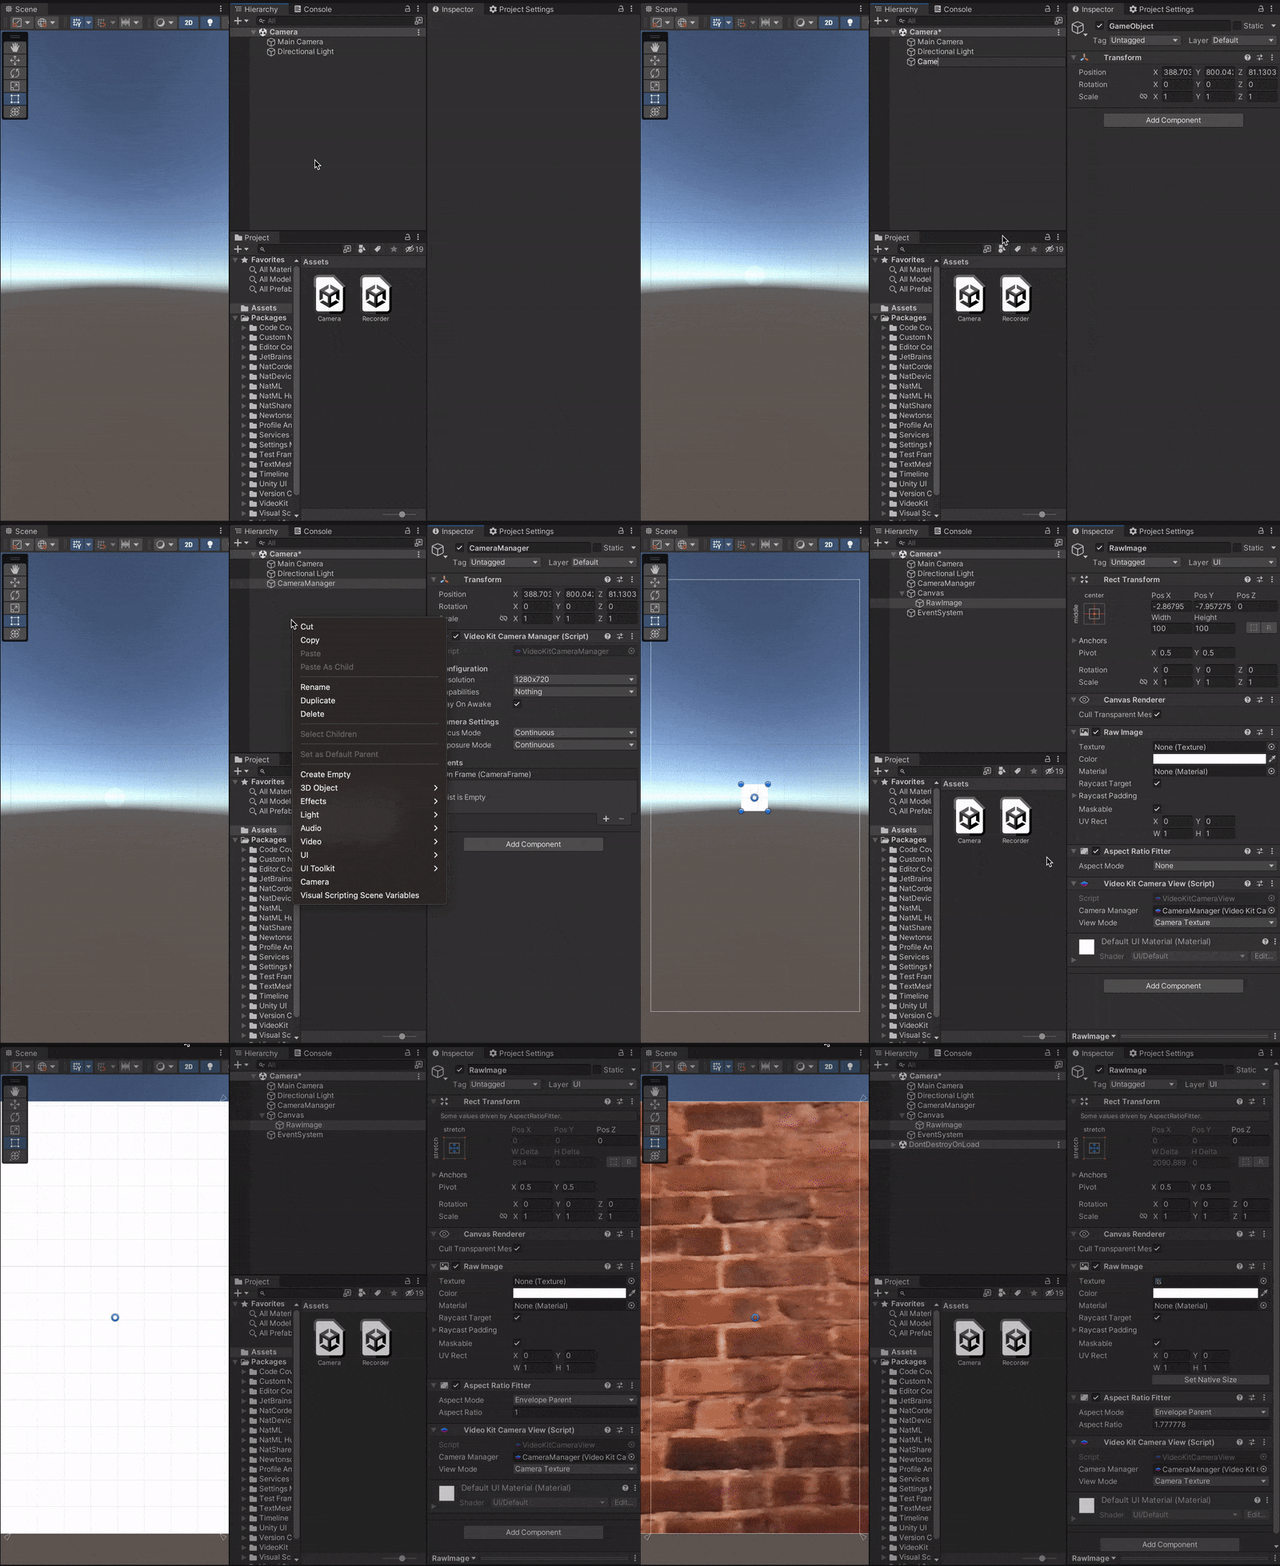
// Do stuff with `image`...Stream the camera preview with the VideoKitCameraManager component:
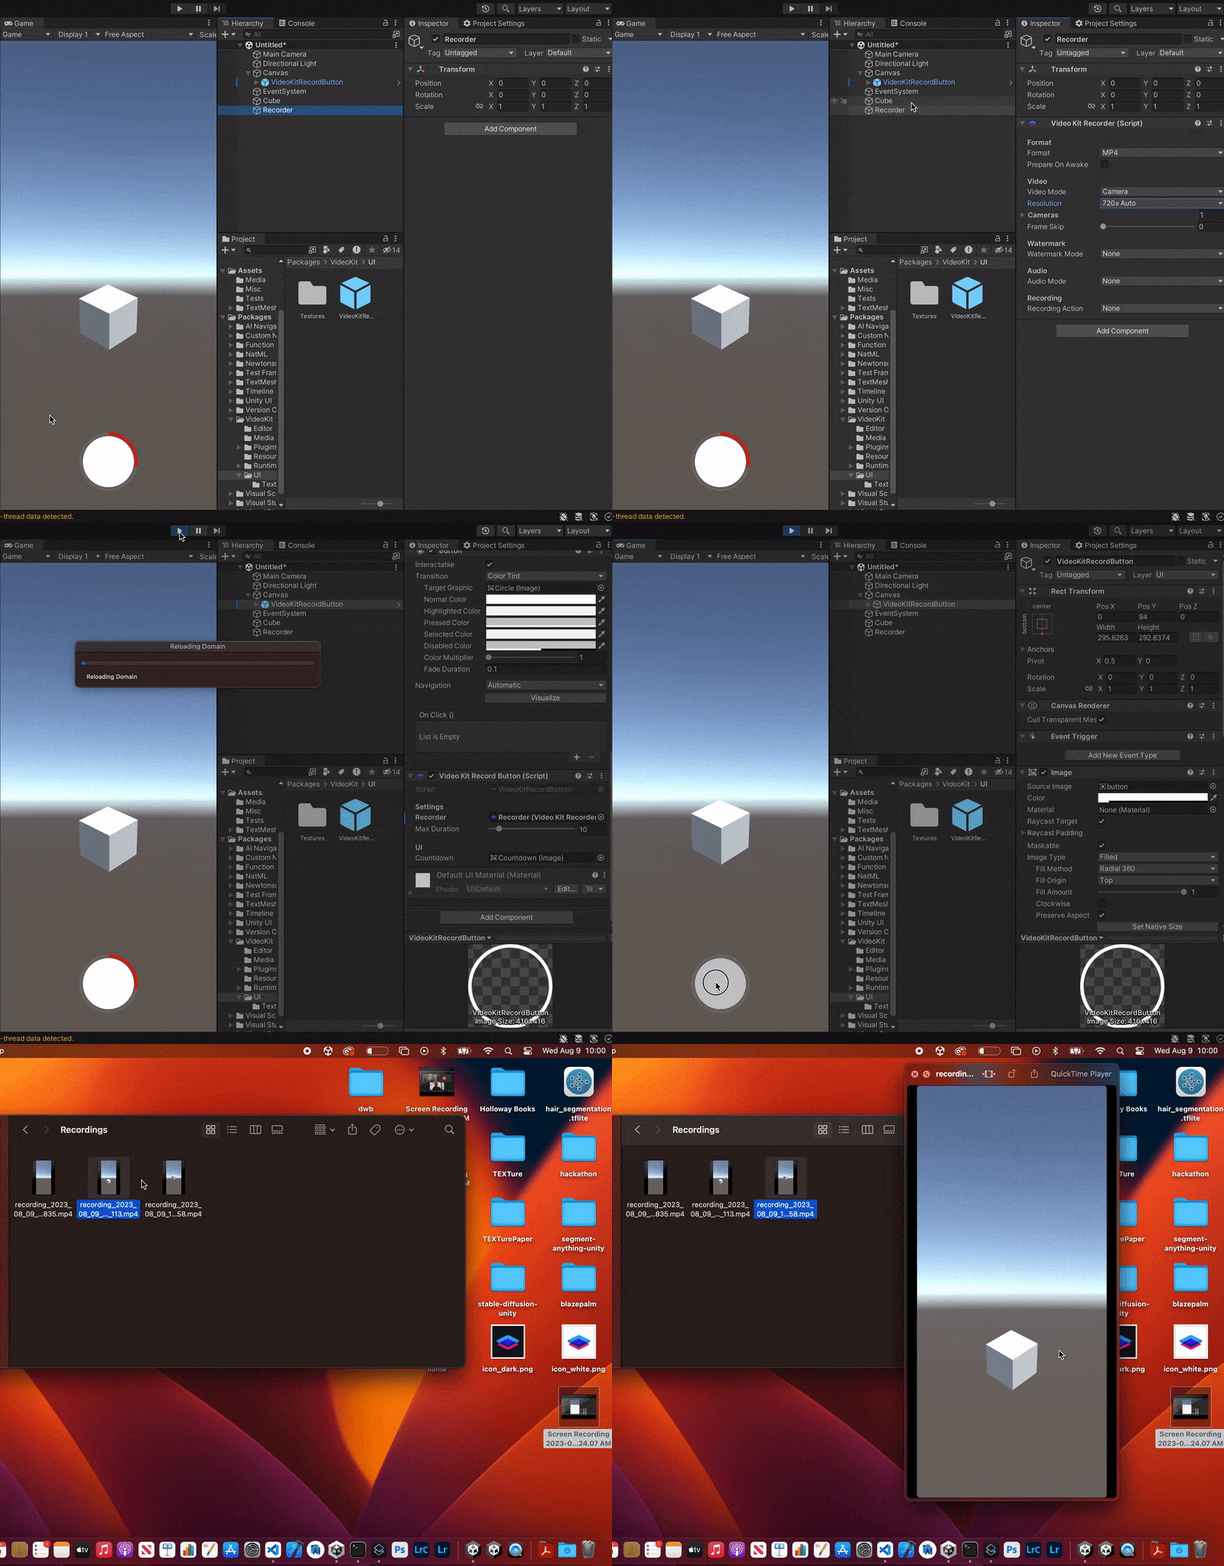
Record MP4, HEVC, WEBM videos; animated GIF images; JPEG image sequences; and WAV audio files with the VideoKitRecorder component:
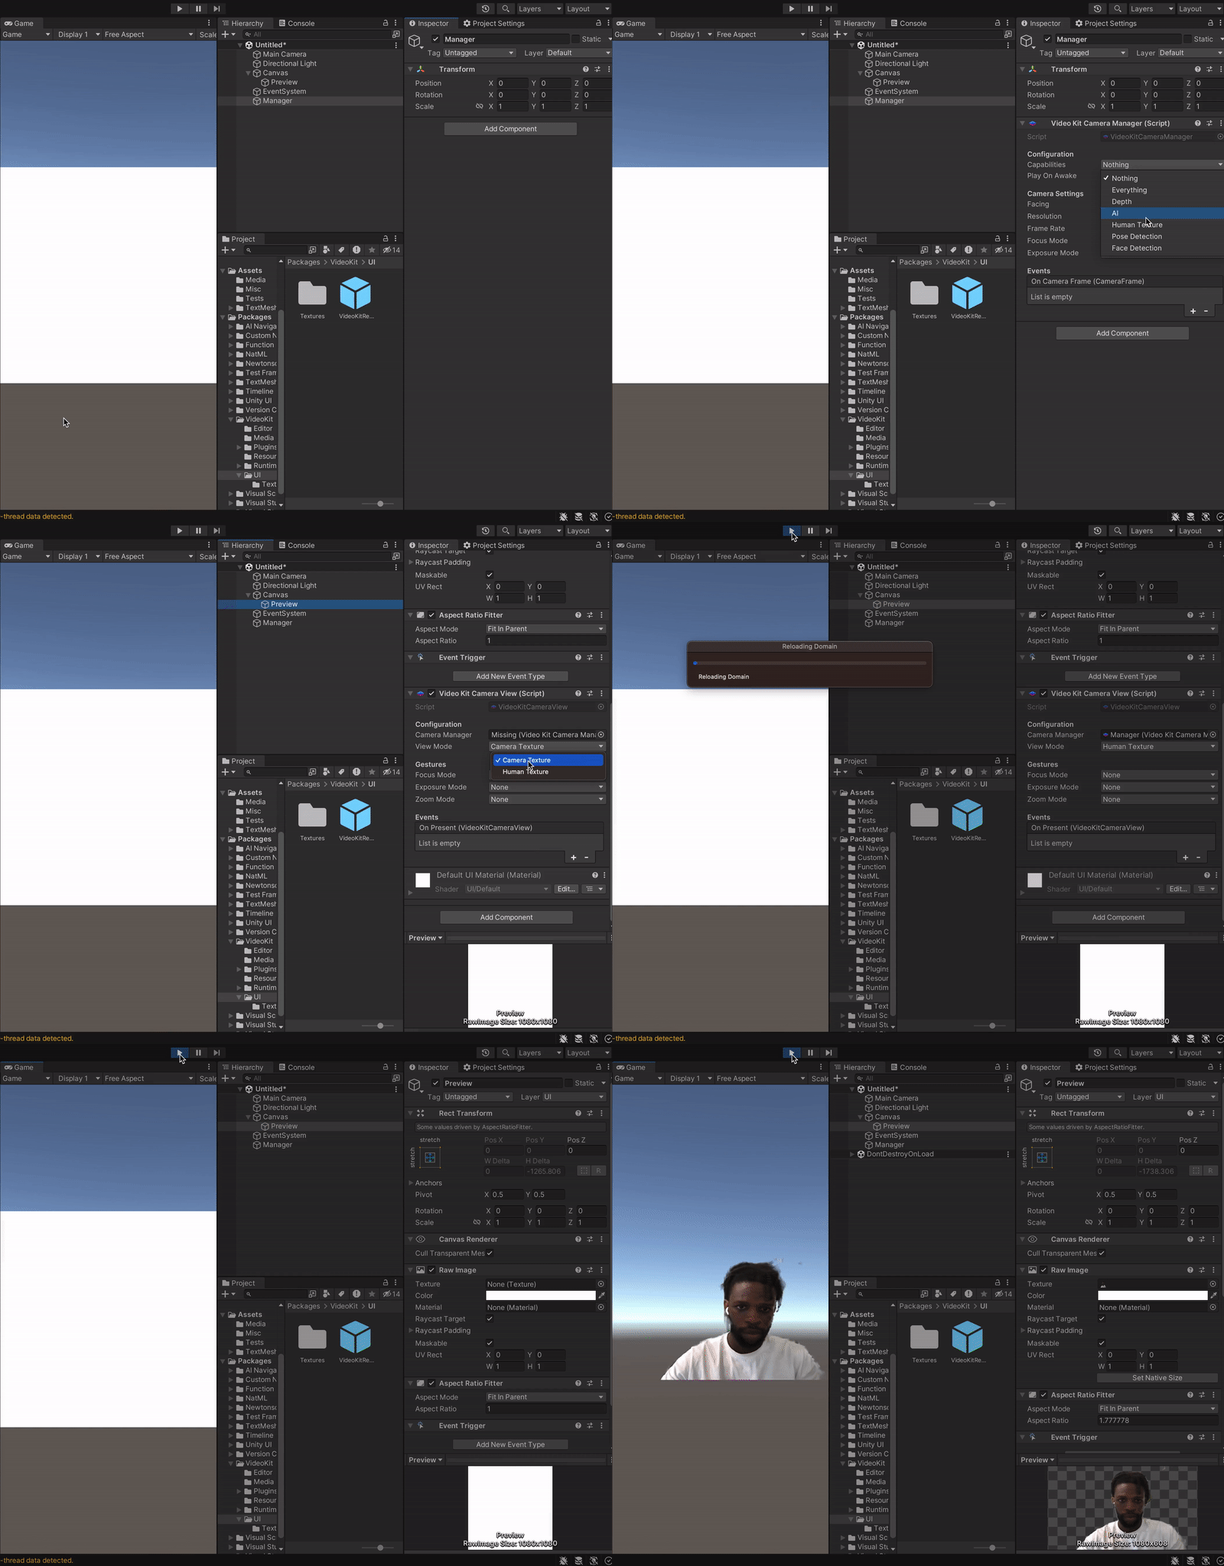
Remove the background from the camera preview with the VideoKitCameraManager component:
Caption audio with the AudioAsset.Caption method:
AudioClip clip = ...;
var asset = await MediaAsset.FromAudioClip(clip);
var caption = await asset.Caption();
Debug.Log(caption);Convert a natural language prompt into a struct with the TextAsset.To<T> method. This enables features like text commands, and can be combined with audio captioning for voice control:
using System.ComponentModel; // for `DescriptionAttribute`
using VideoKit.Assets;

struct Command { // Define this however you want

    [Description(@"The user's name")]
    public string name;

    [Description(@"The user's age")]
    public int age;
}

async void ParseCommand () {
    var prompt = "My name is Jake and I'm thirteen years old.";
    var asset = await MediaAsset.FromText(prompt);
    var command = await asset.To<Command>();
    // command = { "name": "Jake", "age": 13 }
}- Unity 2022.3+
- Android API Level 24+
- iOS 14+
- macOS 12+ (Apple Silicon and Intel)
- Windows 10+ (64-bit only)
- WebGL (requires Unity 6):
- Chrome 91+
- Firefox 90+
- Safari 16.4+
- Join the VideoKit community on Discord.
- See the VideoKit documentation.
- Check out VideoKit on GitHub.
- Contact us at [email protected].
Thank you very much!


