Developed with the software and tools below.
This is a Sendbird Chat AI Widget implemented on top of React UiKit.
NOTE: Proper utilization through code build is available starting from the "AI Chatbot Pro" plan or higher of the Sendbird AI Chatbot pricing plan.
-
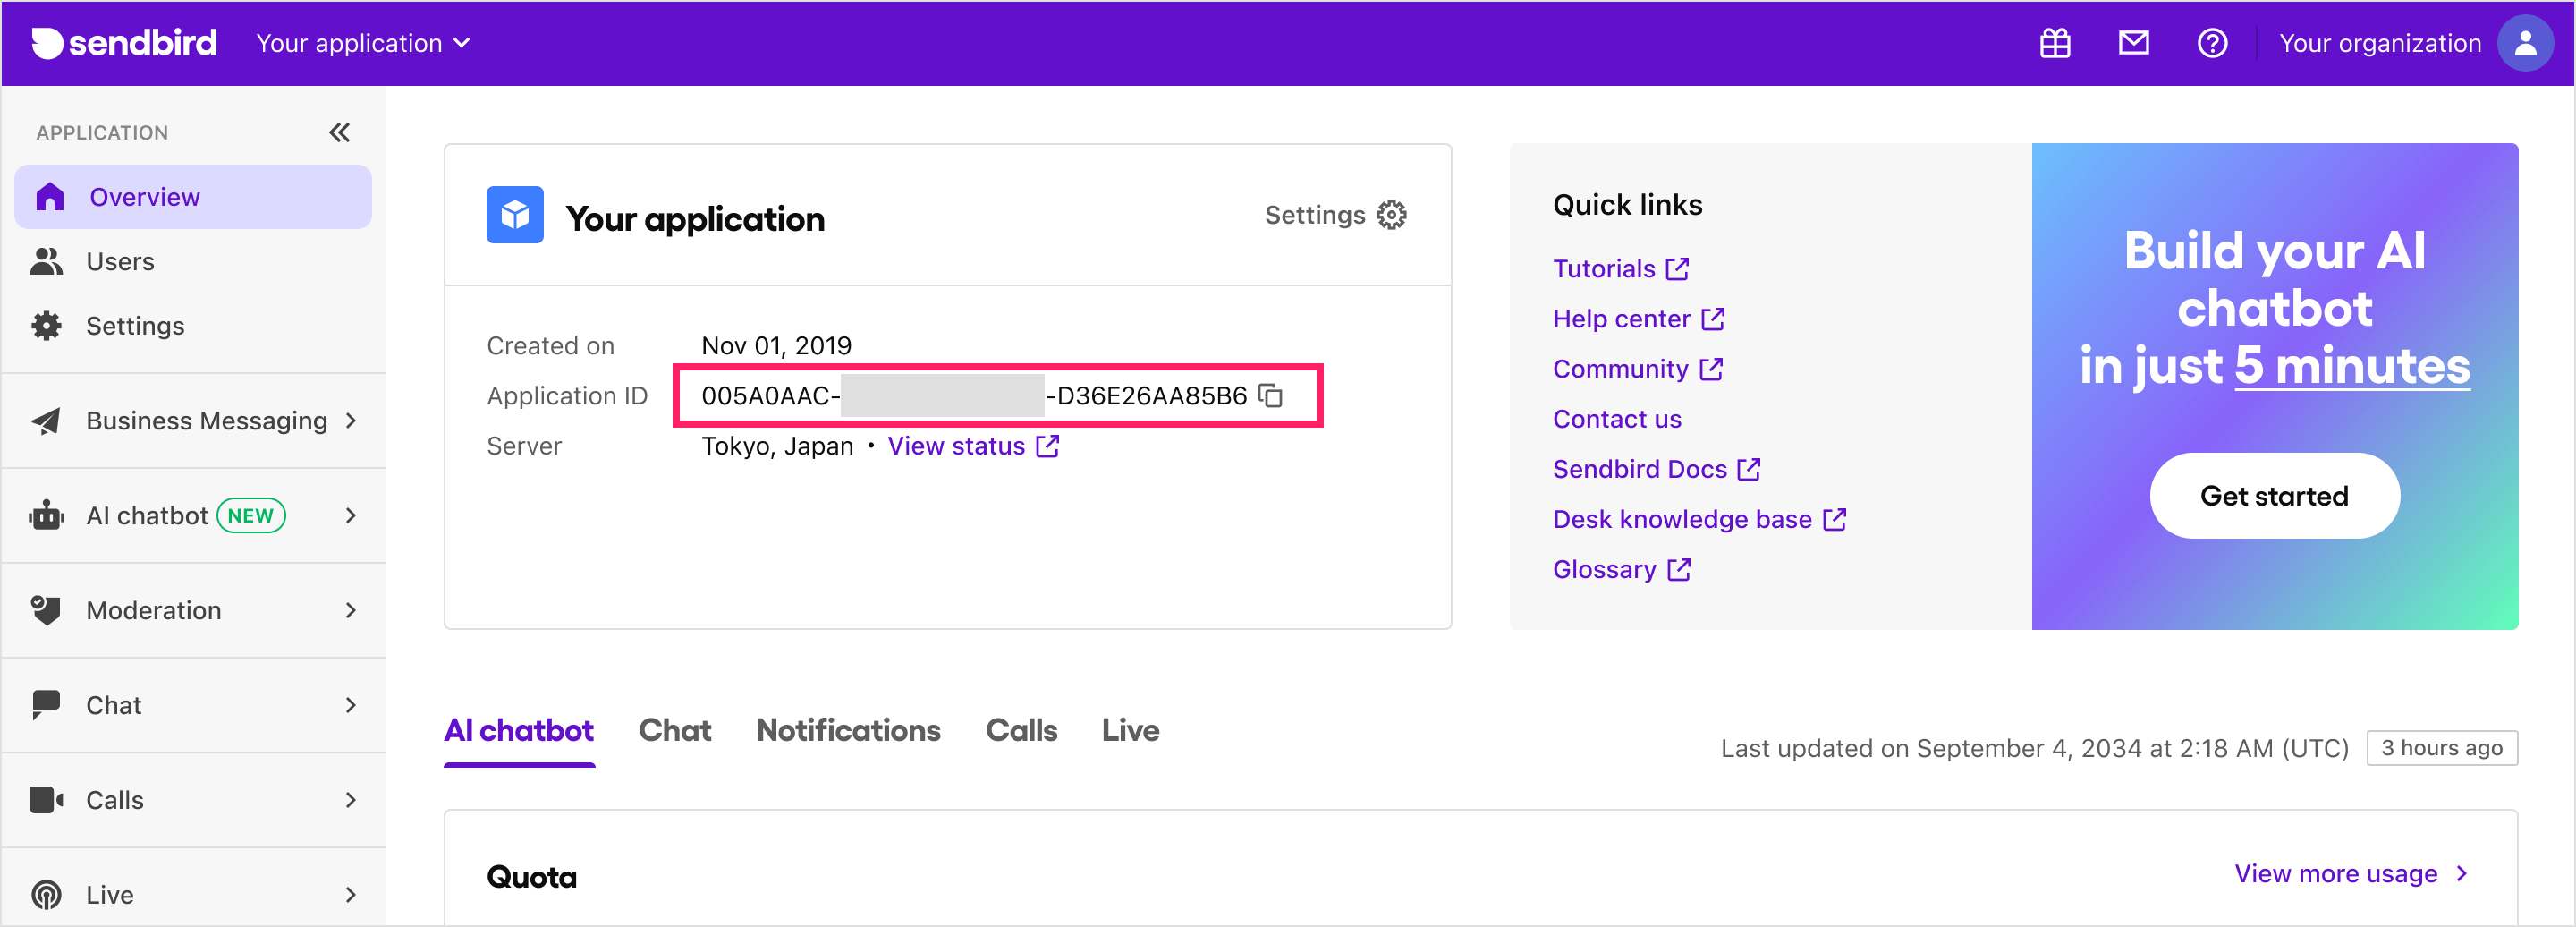
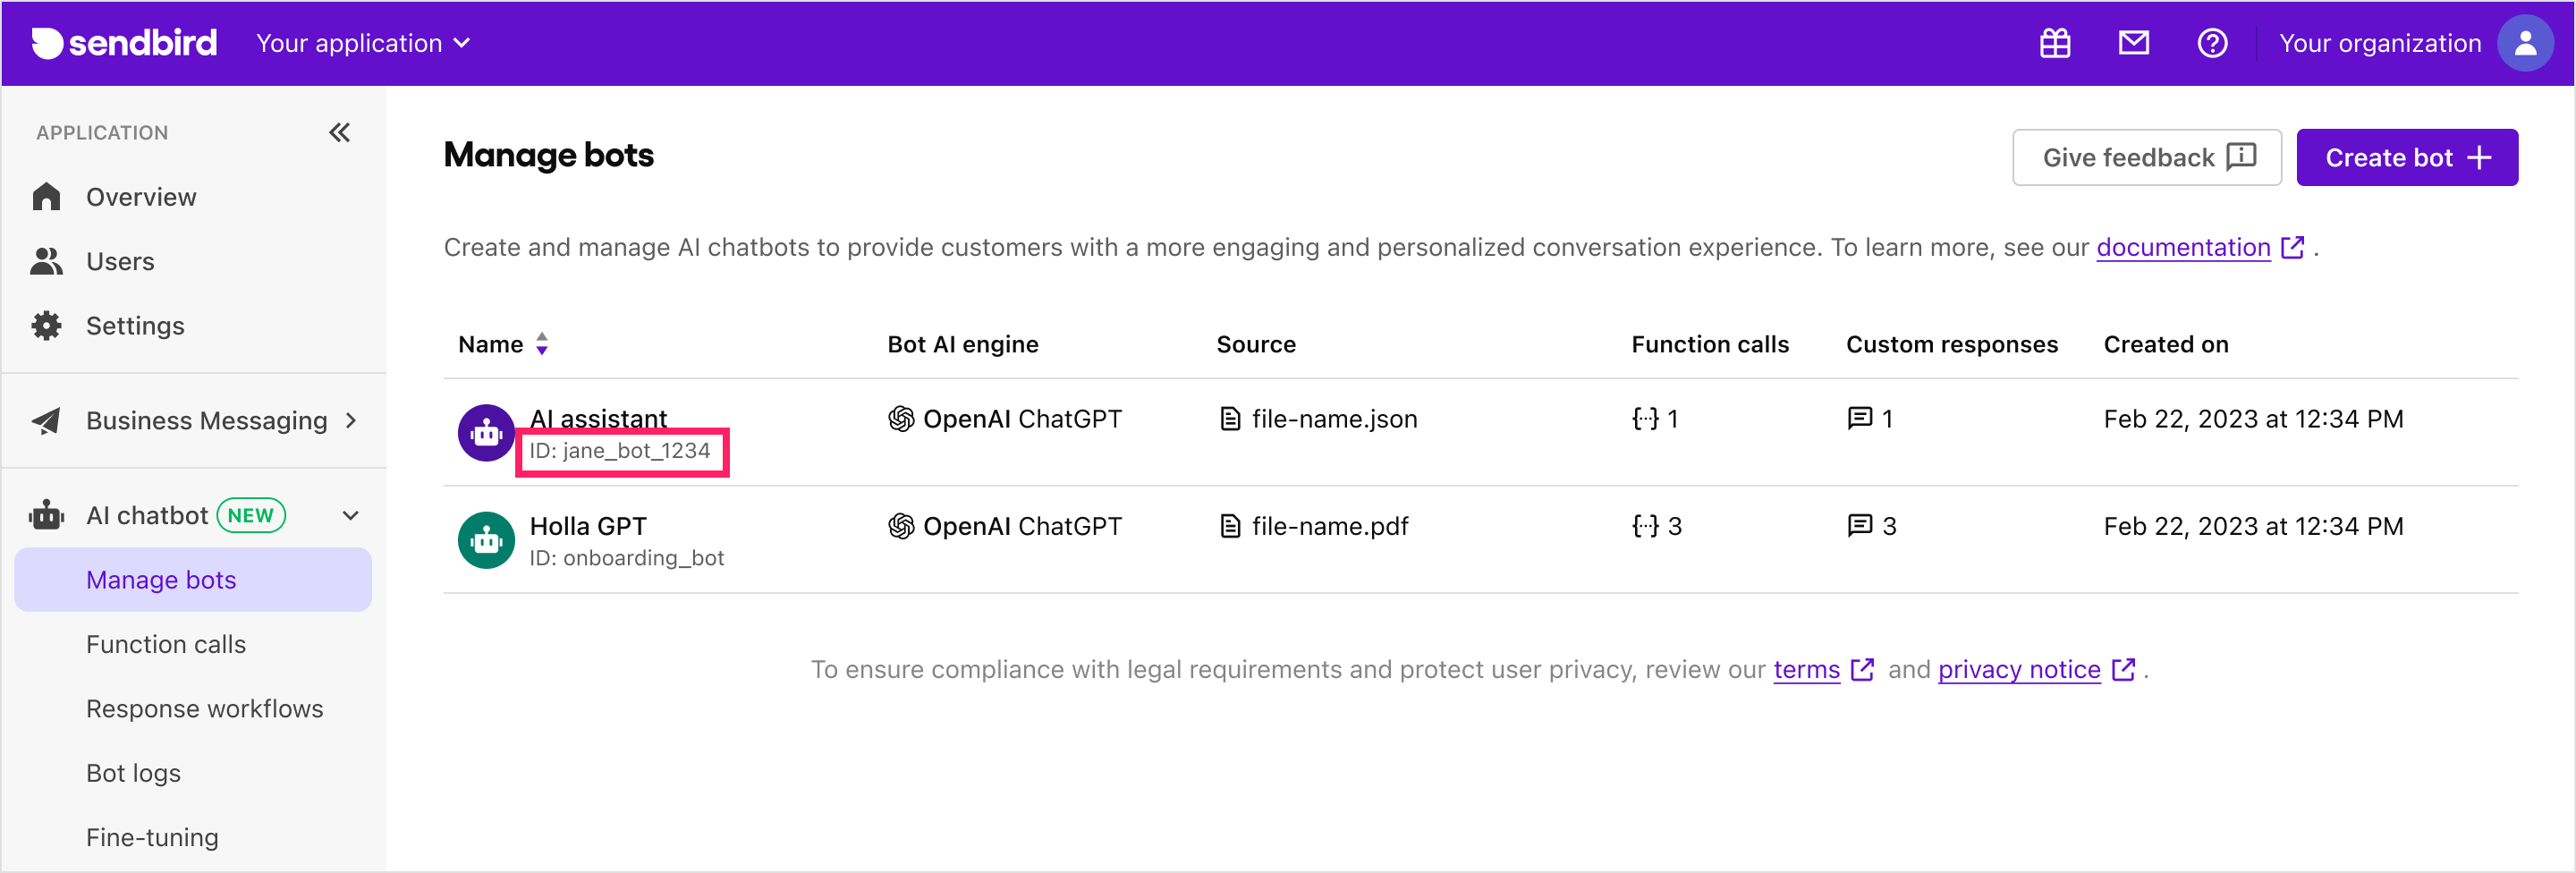
Prepare Sendbird Application ID and Bot ID. Here's how you can get them:
-
Application ID: If you don't have an account, sign up on the Sendbird Dashboard and create a new application.
-
Bot ID: If you don't have a bot, create one on the Sendbird Dashboard under AI Chatbot > Manage Bots > Create Bot.
-
You can also find your application ID and bot ID in the Sendbird Dashboard under AI Chatbot > Manage Bots > Bot Settings > Add to My Website.
-
-
Install the library:
# With npm
npm install @sendbird/chat-ai-widget
# Or if you're using yarn
yarn add @sendbird/chat-ai-widget
-
Add the import statement and component to your code:
 import { ChatAiWidget } from "@sendbird/chat-ai-widget";
 import "@sendbird/chat-ai-widget/dist/style.css";

 const App = () => {
   return (
     <ChatAiWidget
       applicationId="AE8F7EEA-4555-4F86-AD8B-5E0BD86BFE67" // Your Sendbird Application ID
       botId="khan-academy-bot" // Your Bot ID
     />
   );
 };

 export default App;
Not using React in your environment? You can also load this Chat AI Widget component from an HTML file on your website. Please refer to js-example.html for an example.
yarn install:deps
yarn dev- If you want to change applicationId and botId when running locally, modify the following variables in
.env:# Vite prefix is required for Vite to load the env variables # Plz modify below two env variables on your needs VITE_CHAT_WIDGET_APP_ID=AE8F7EEA-4555-4F86-AD8B-5E0BD86BFE67 VITE_CHAT_WIDGET_BOT_ID=khan-academy-bot
You can customize the UI of the ChatBot by using the ChatAiWidget component. The following are the props that can be used to customize the UI.
import { ChatAiWidget } from "@sendbird/chat-ai-widget";
import '@sendbird/chat-ai-widget/dist/style.css';

const App = () => {
  return (
    <ChatAiWidget
      applicationId="Your Sendbird application ID"
      botId="Your Sendbird bot ID"
      // more available props can be found in the next section
    />
  );
};

export default App;| Prop Name | Type | Required | Default Value | Description |
|---|---|---|---|---|
applicationId |
string |
Yes | N/A | Your Sendbird application ID |
botId |
string |
Yes | N/A | Your Sendbird bot ID |
userNickName |
string |
No | N/A | The nickname of the user |
enableEmojiFeedback |
boolean |
No | true |
Enables emoji feedback functionality. |
enableMention |
boolean |
No | true |
Enables mention functionality. |
deviceType |
'desktop' | 'mobile' |
No | N/A | Device type to be used in the widget |
stringSet |
{ [key: string]: string } |
No | N/A | Customizable string set. Available string sets can be found here. |
customRefreshComponent |
{ icon: string, style: React.CSSProperties, width: string, height: string, onClick: () => void } |
No | N/A | Customizable refresh component. You can set properties such as icon, style, width, height, and onClick. |
userId |
string |
No | N/A | User ID to be used in the widget connect. Must be used with sessionToken and configureSession. The example usage can be found here. |
sessionToken |
string |
No | N/A | Session token to be used in the widget connect. Must be used with userId and configureSession. The example usage can be found here. |
configureSession |
() => SessionHandler |
No | N/A | Session configuration function. Must be used with userId and sessionToken. The example usage can be found here. |
autoOpen |
boolean |
No | N/A | Determines whether the chatbot widget automatically opens when the browser window is opened. This property is being ignored in mobile view. |
enableResetHistoryOnConnect |
boolean |
No | false |
Determines whether the chatbot widget history is reset when the user connects. |
messageInputControls.blockWhileBotResponding |
boolean | number |
No | N/A | Allows to control enabled/disabled state of the message input for waiting for the bot's reply mesage. If number value is given, a timer will be set to force unblock the message input. |
dateLocale |
Locale |
No | enUS |
Locale value to be applied to string values of message timestamp and date separator. Locale values must be imported from date-fns. |
enableHideWidgetForDeactivatedUser |
boolean |
No | false |
Determines whether the chatbot widget is hidden when the user is deactivated. |
enableWidgetExpandButton |
boolean |
No | false |
Determines whether the expand button is displayed in the chatbot widget. |


