This is a simple APP for iOS developers that shows how to use thethings.iO API for building their own APP. This demo App is far from a production ready app.
The App covers the following API endpints:
- Register a new app user
- Login an app user
- Link a think. This operation asociates an user's thing to the user app.
- Get the values of a resource
- Post resource values
You can get a thethings.iO freemium account. All the documentation is at APP development Dev Docs.
This project works with cocoapods. You should install cocoapods gem and the libraries using the following commands:
gem install cocoapods
pod install
Once installed you should open the .xcworkspace file instead of .xccodeproj.
To get working this demo app you need to configure your Panel Account as follows:
- Create a product with a temperature resource.
- Activate a thing for this product and get the
thingTokenand thethingID. - Create an App with a temperature resource. Get the
AppId. - Annotate at the
Constants.hfile the AppId,thingToken and thingID.
Currently, to build a mobile app you need a premium account. If you have a freemium account and you are interested in building an App, please contact to the team at hello @ thethings.io
If you need help to complete any of this steps, you have a detailed description documented at Premium Panel Dev Docs.
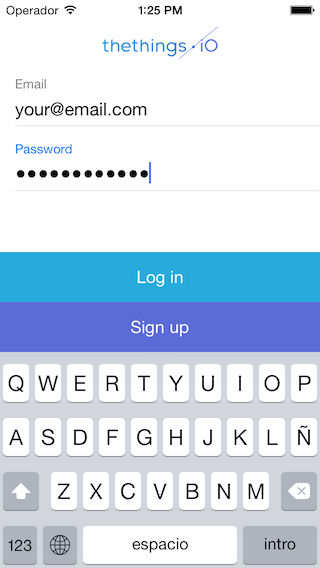
Your first task is to implement a registration/login form. When you register a new user at thethings.iO Platform, the user is automatically logged in into the system, so a session token is returned. You will need to send this session token every time you make a call to our API from an APP.
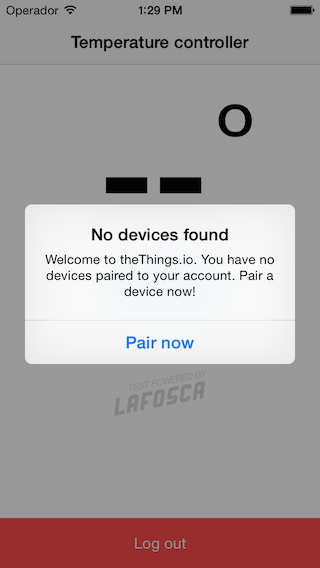
Once the user gets access to the app, he has to associate their things in order to have access to the device data.
This procedure needs a thingToken (or the thingId) and a sessionToken. And it requires some kind of direct communication
between the app and the thing. For example, when setting up the wifi for the thing and the ssid and password are sent to
the thing, it’s a good moment to ask for the thingToken of the thing. With this thingToken, the App will be able to do the
REST call to link the think to the user and store the relation at the platform.
Note that in order to link the thing the user must be logged in and the thing must be activated (i.e. have a thingToken)
At this demo, we have simplified this procedure hardcoding a thingToken at the constants.h file. On a production App, you'll have
to ask the user for the thingToken or use other strategies to get the token (this is a decision of the product designer,
contact at hello @ thethings.io for support on this topic).
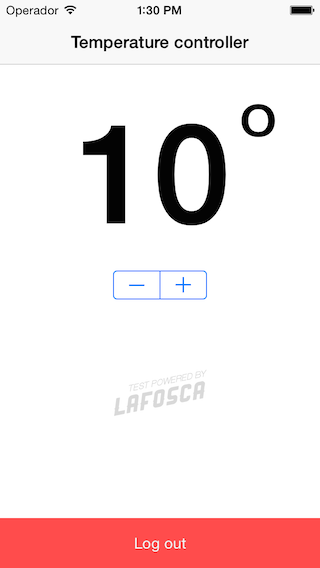
The App is a simple Thermostat temperature controller. You can increase or decrease the temperature of your recently created virtual Thermostast. Once you have linked your device, the app reads the last value stored and then you can modify the temperature. Every time you click on the + or - button the app sends to our cloud the new value.
You can see at our panel a graph that shows the evolution of the temperature.
At this demo, the thingId that you need to do the POST is harcoded at the Constants.h file. But the right way to get the device's thingId
from an App is to use the endpoint GET Resources: https://api.thethings.io/v2/me/resources. This endpoint lists
the user's resources and thingsId. ex:
[
  {
    "name" : "temperature",
    "things" : ["thingId1", "thingId2"]
  },
  {
    "name": "another resource name",
    "things" : ["thingId2", "thingId3", ...]
  },
  ...
]


