-
Notifications
You must be signed in to change notification settings - Fork 2
Changing File Properties
These are instructions for setting the file properties of your Excel toolkit. They are based on instructions published by Chip Pearson.
First, prepare the toolkit for modification.
Open the VBE's Intermediate Window, and enter the statement shown below to print the toolkit's Name and IsAddIn properties.

Set the toolkit's IsAddIn property to False.
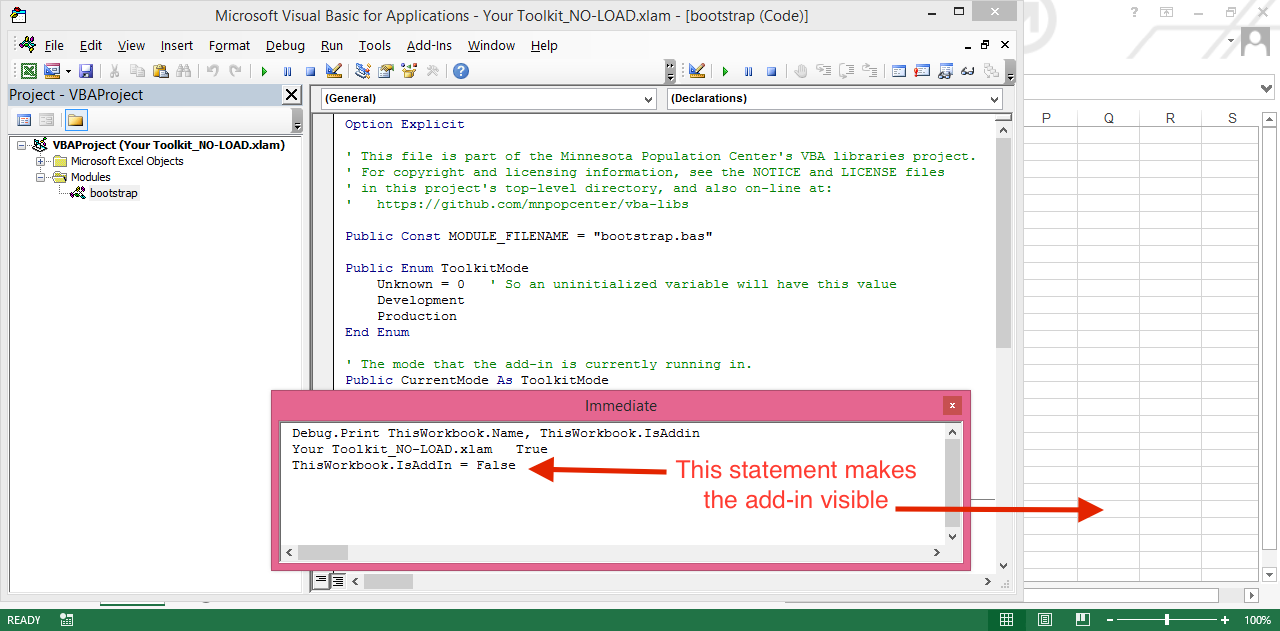
Your toolkit is now displayed in the main Excel window.
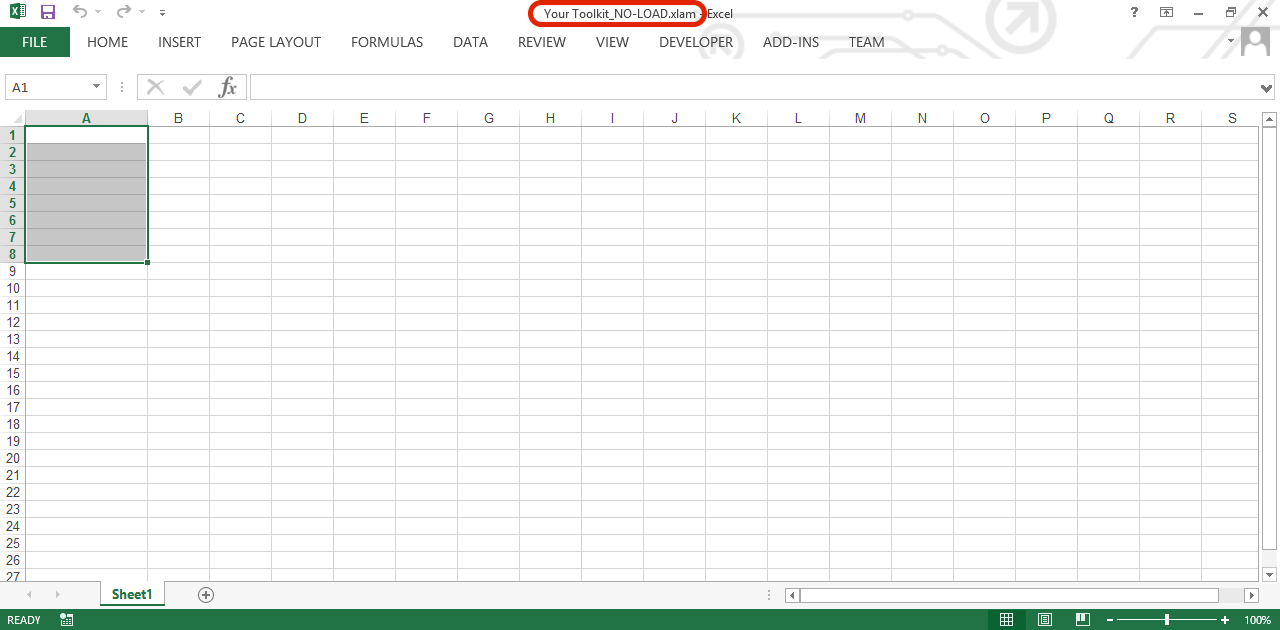
In the main Excel application window, select the File menu to see the Backstage view. In that view, select the Info tab to display the toolkit's file properties (on the right).

Scroll down to the bottom to expose the Show All Properties text in the lower right of the Info tab.

Click the text to expose all the file properties, which will display the Comments property near the top. This property has the descriptive text that's displayed in Windows Explorer when the cursor is positioned on the toolkit file.

To edit the file's Title property, click on the property's text value.

Set the file's Comments property by also clicking and editing its value.
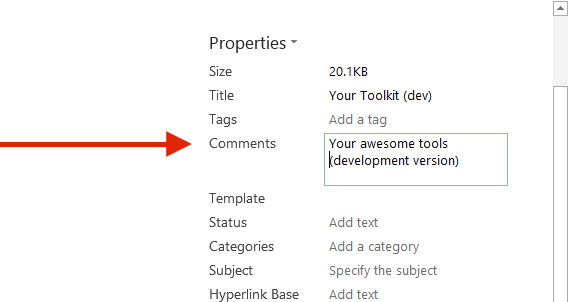
To set the the Author property, RIGHT-click it to open its pop-up context menu. In the menu, select "Edit Property".

In the "Edit person" dialog box, enter your organization's name.

This is an example of how the Properties should appear after you've edited the necessary values.
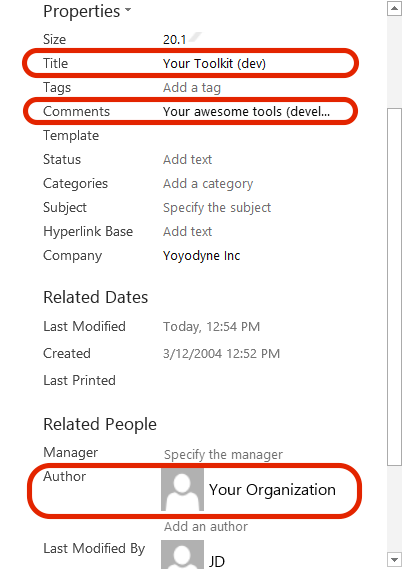
Back in the VBE's Intermediate Window, set the toolkit's IsAddIn property to
its original value (True).
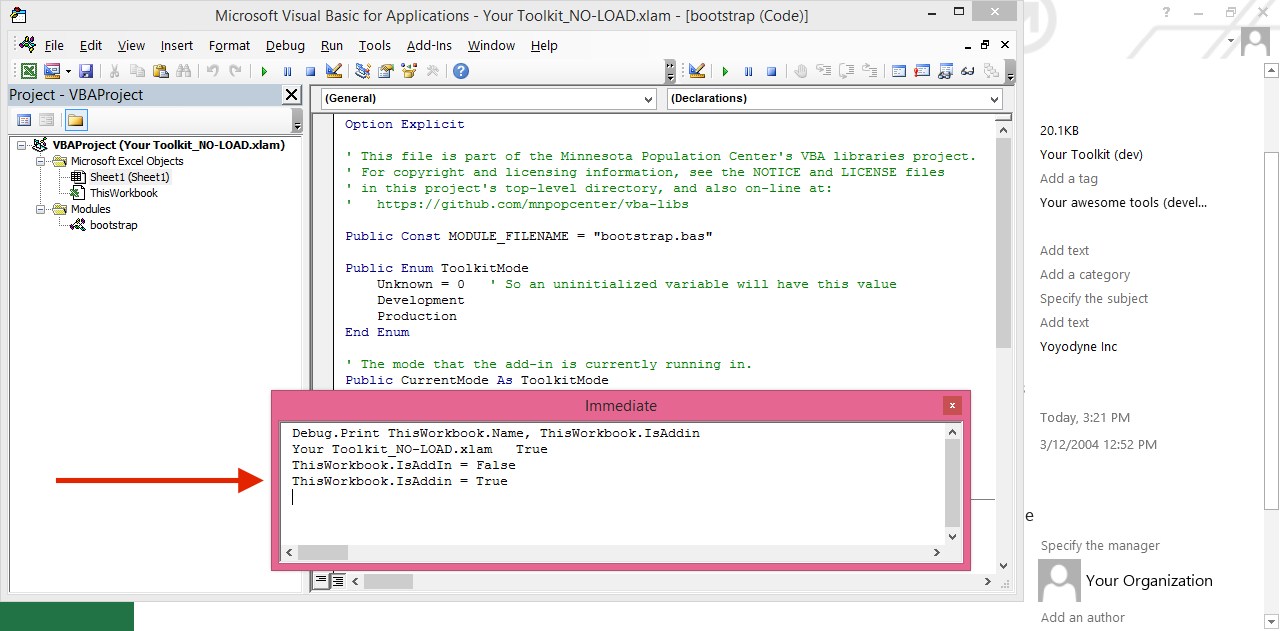
After restoring that property, note that the Save button is disabled in the main Excel window.
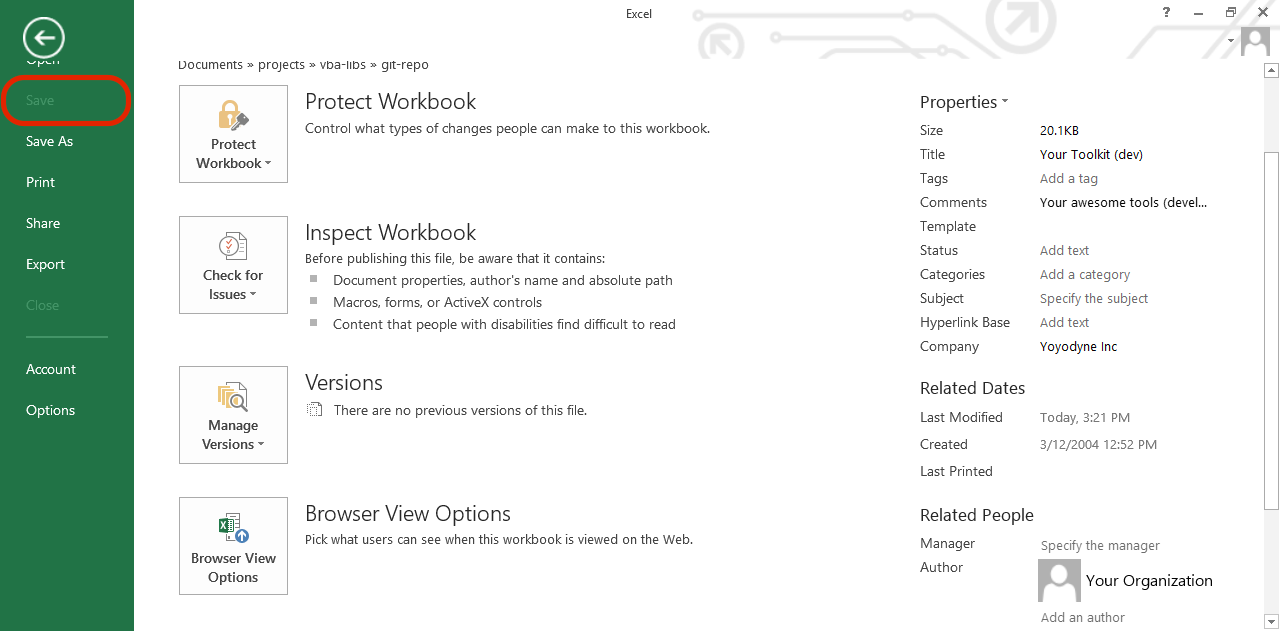
So save the toolkit from the VB Editor.

After exiting the VB editor and Excel, the updated properties should now appear in the pop-up info box for the toolkit file in Windows Explorer.

And finally, restore the file name of the toolkit's development edition.