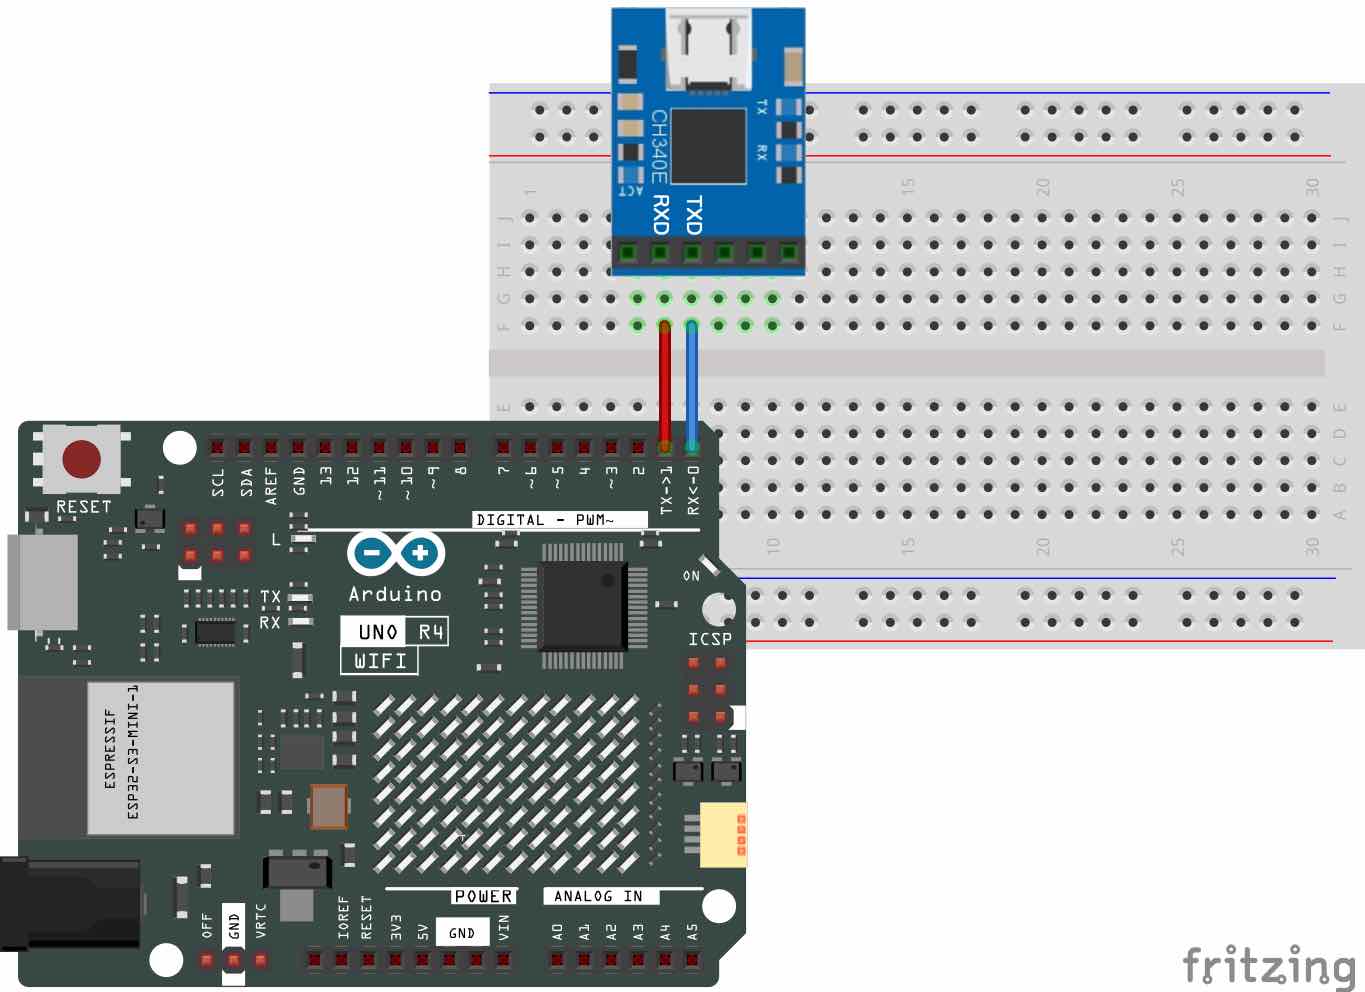
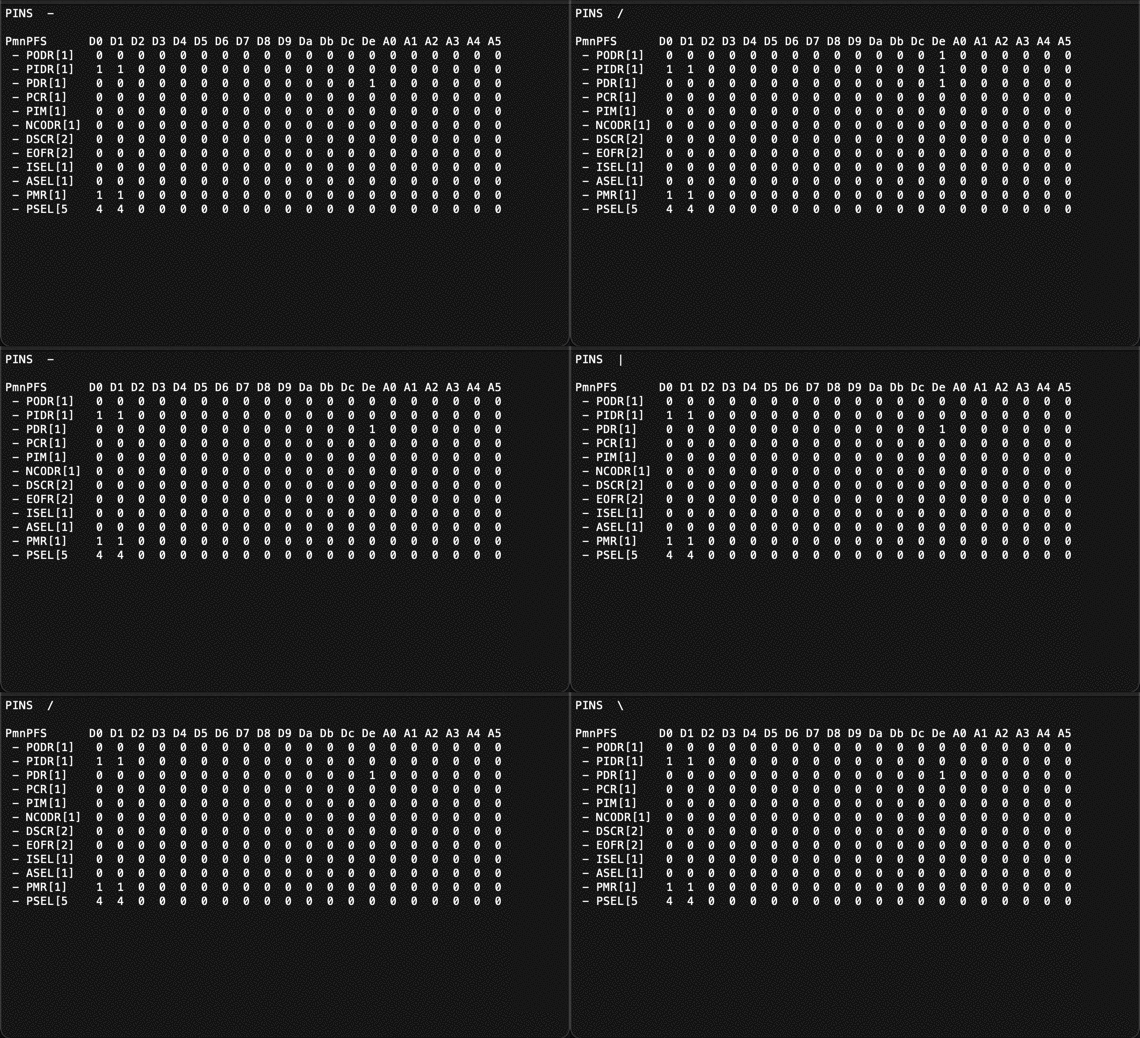
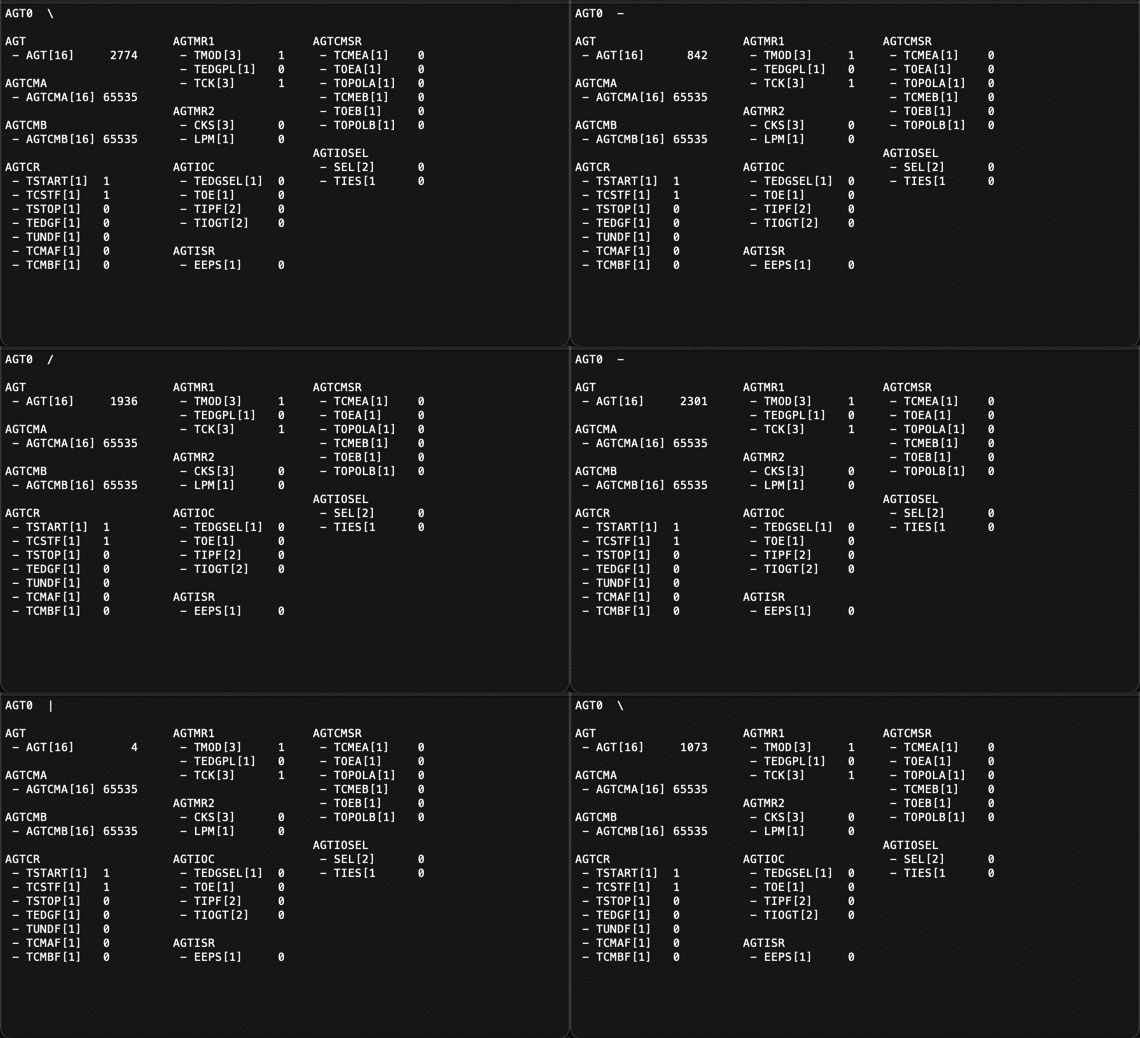
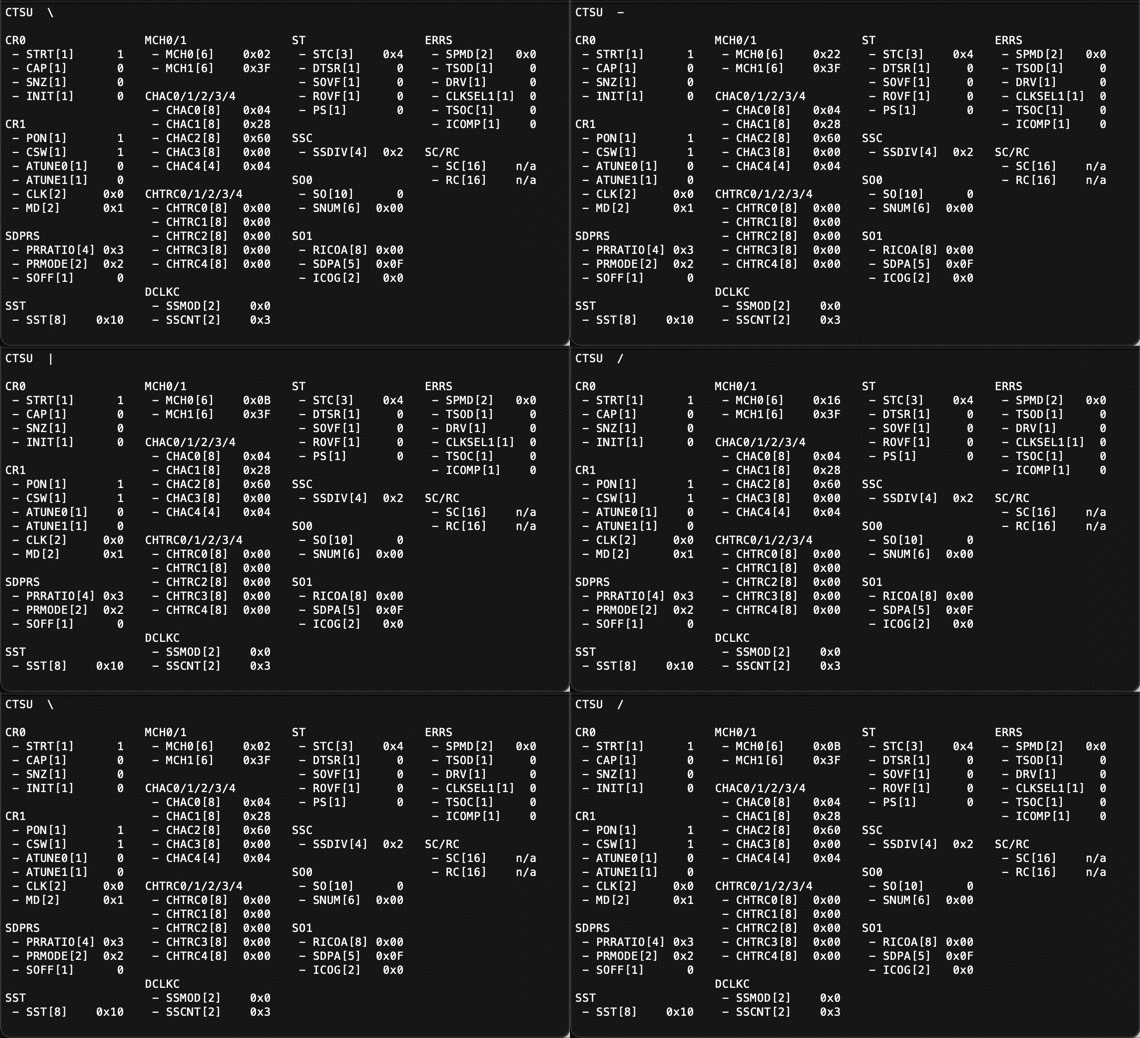
For the purpose of learning the RA4M1, this program monitors peripheral registers through the Arduino Minima/WiFe external serial I/F at D0(RX)/D1(TX).
- Connect to your host PC with Minima/WiFi board via usb serial converter module.
- Run the VT100 terminal emulator software such as Tera Term on your Windows PC. The configuration of serial communication protocol parameters such as the data, parity, and stop bits should be same as
SERIAL_8N1.
In case of Mac, please follow the instructions below:
- Run the Termina.app
- Type
ls -l /dev/tty.*to find the USB serial device file. - Type
screen /dev/tty.usbserialxxxxx 230400, where/dev/tty.usbserialxxxxxis the name of your USB serial device file and,230400is baud rate. - To quit the
screencommand, typeCTRL-a+k. - To reset your Terminal.app, type
reset.
-
Download the latest version of this program from latest release, and install it from Sketch → Include Library → Add .ZIP Library… on Arduino IDE.
-
Open the example sketch from File → Examples → PeripheralMonitor → monitor_by_rtc in Examples from Custom Libraries.
-
Click
Uploadbutton to compile, upload and execute the program.
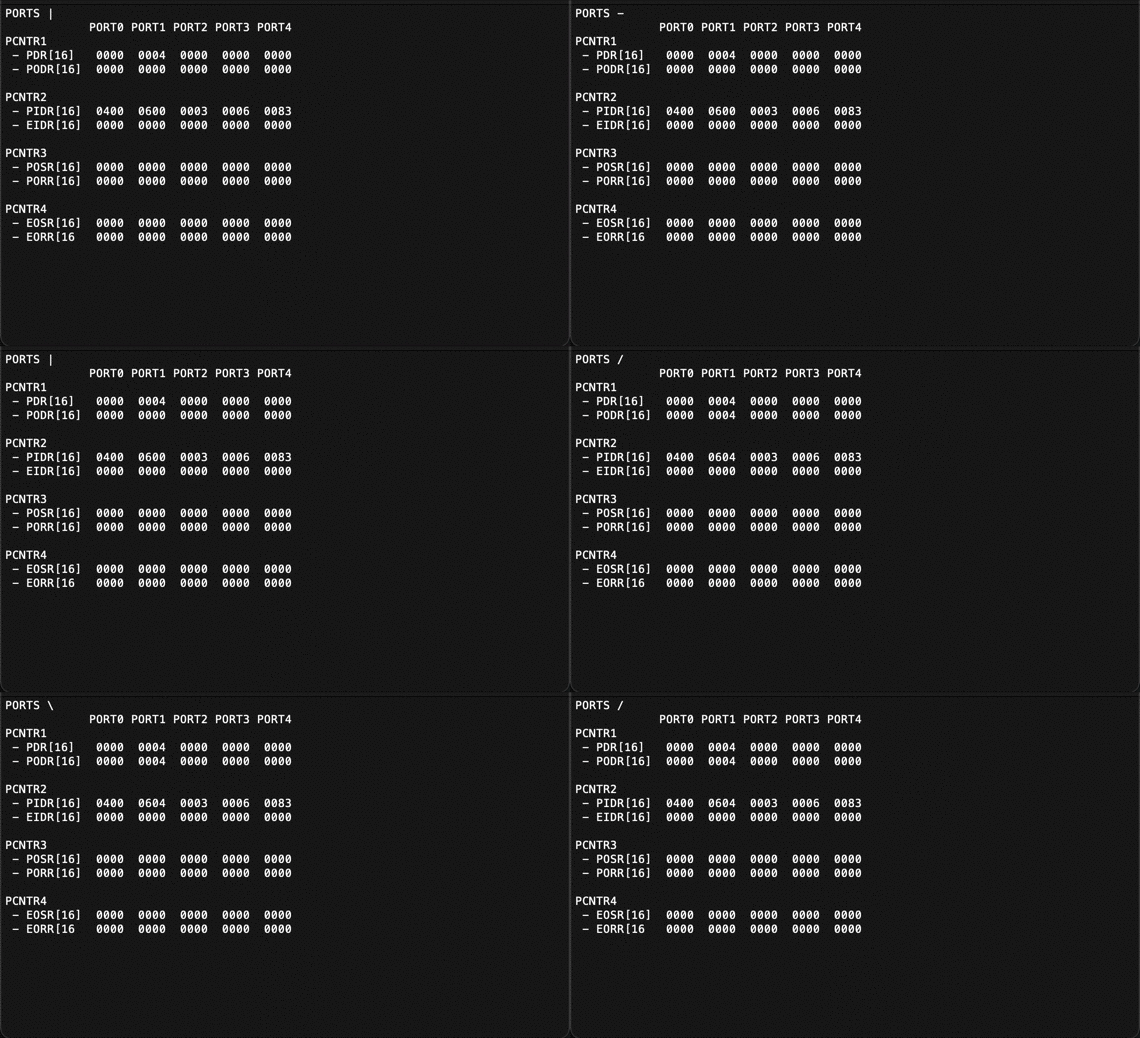
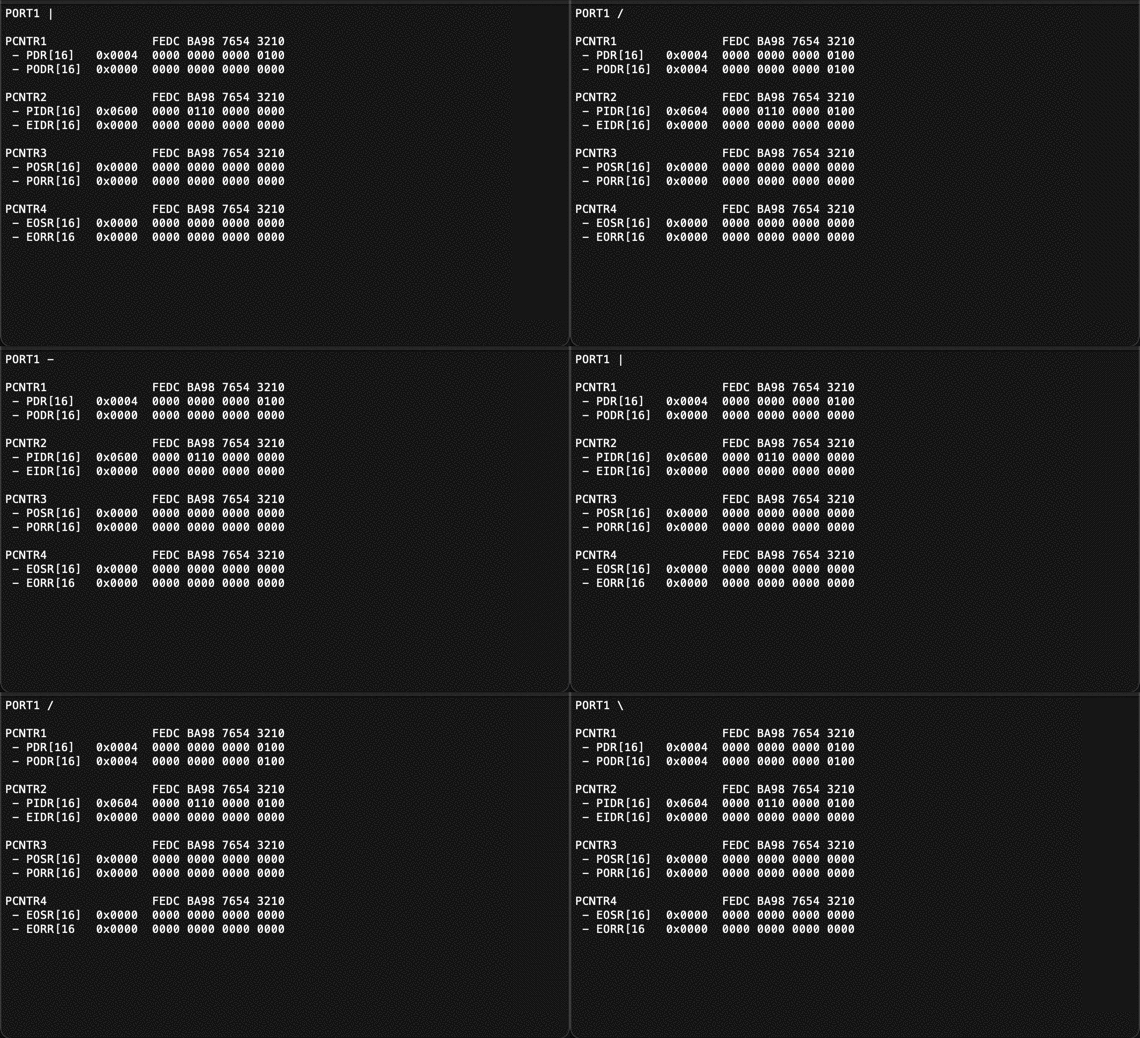
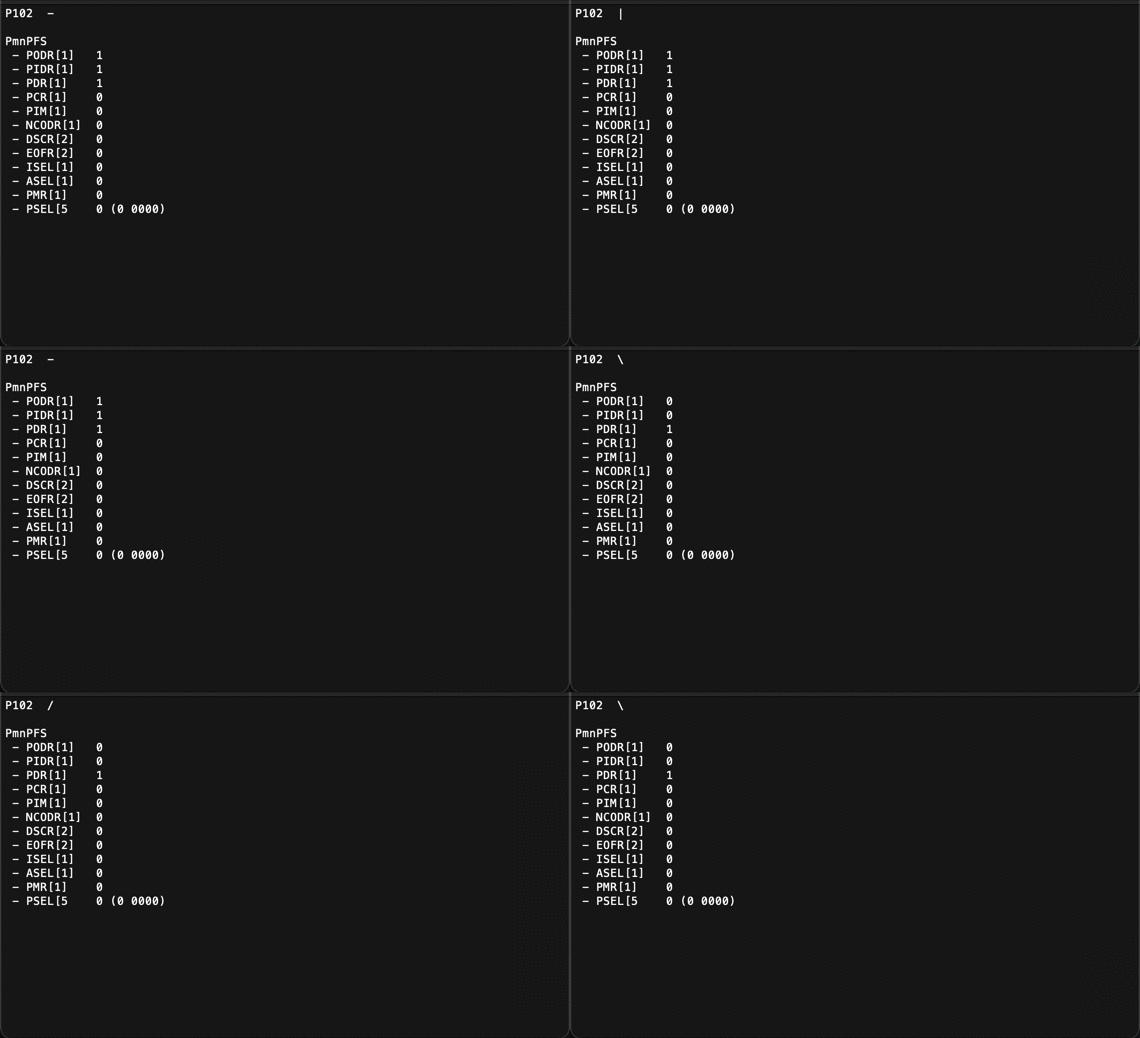
You can see the following five screens through the terminal emulator on your host PC.
- PORTS
Port Control register from PORT1 to PORT4
- PORT n
Port Control register of PORT n where n is0to9, such asPORT1 - P mn
Port Function Select register of P mn where m is0to9and n is00to15, such asP102 - PINS
Port Function Select register fromD0toD19of Arduino pins - AGT n
Asynchronous General-Purpose Timer register of AGT n where n is
0or1, such asAGT0 - CTSU
Capacitive Touch Sensing Unit registers
bool begin(int baud_rate, PeripheralType_t type = PERIPHERAL_PORTS, int arg = 0)This method initializes the Serial1 object and sets the initial screen.
int baud_rate
It must match the settings in the terminal emulator.PeripheralType_t type
To set the initial screen, specify one of the following enumeration numbers:
/*----------------------------------------------------------------------
 * Peripheral types
 *----------------------------------------------------------------------*/
typedef enum {
  PERIPHERAL_PORTS, // PORT0 〜 PORT9 (default)
  PERIPHERAL_PORT,  // PORT0 〜 PORT9
  PERIPHERAL_PFS,   // PmnPFS (P000 〜 P915)
  PERIPHERAL_PINS,  // D0 〜 D19 (A0 〜 A5)
  PERIPHERAL_AGT,   // AGT0 〜 AGT1
  PERIPHERAL_CTSU,  // CTSU
} PeripheralType_t;
int arg
Specify a numerical value according toPeripheralType_t.
void setup_register(PeripheralType_t type = PERIPHERAL_PORTS, int arg = 0)This method, like the method begin, changes the type of a peripheral.
void show_caption(void)This method sends to the table caption to your host PC.
void show_register(void)This method dump the registers into your host PC.
void scan_command(void)This method accepts your commands from Arduino IDE Serial Monitor.
You can type ? or help into the Serial Monitor to see the following result:
Possible commands: ports, port, pins, p, agt, a, d, ctsu, ?, helpFor example, you can type such as port1, p102, agt0, a0 and d13.
When you type only return key without any commands, show_caption method is executed.
See monitor_by_rtc.ino using RTC for periodic monitoring in the examples directory.
