⚠️ If you create a private repository: You need to add the organization secrets to the repository secrets since our current plan does not allow for organization secrets in private repositories!
- Create a new repository using this template
- This will copy workflows and issue templates
- Link the dqualizer project to the repository


- Navigate to the project
View show the data in a readable format. There are 3 different views - board, table and roadmap.

Shows columns of data. Mostly the columns will be created in Settings/Custom fields.

Shows data grouped by properties (assignees, milestones, labels, ...)

Shows data associated with a date or an iteration.

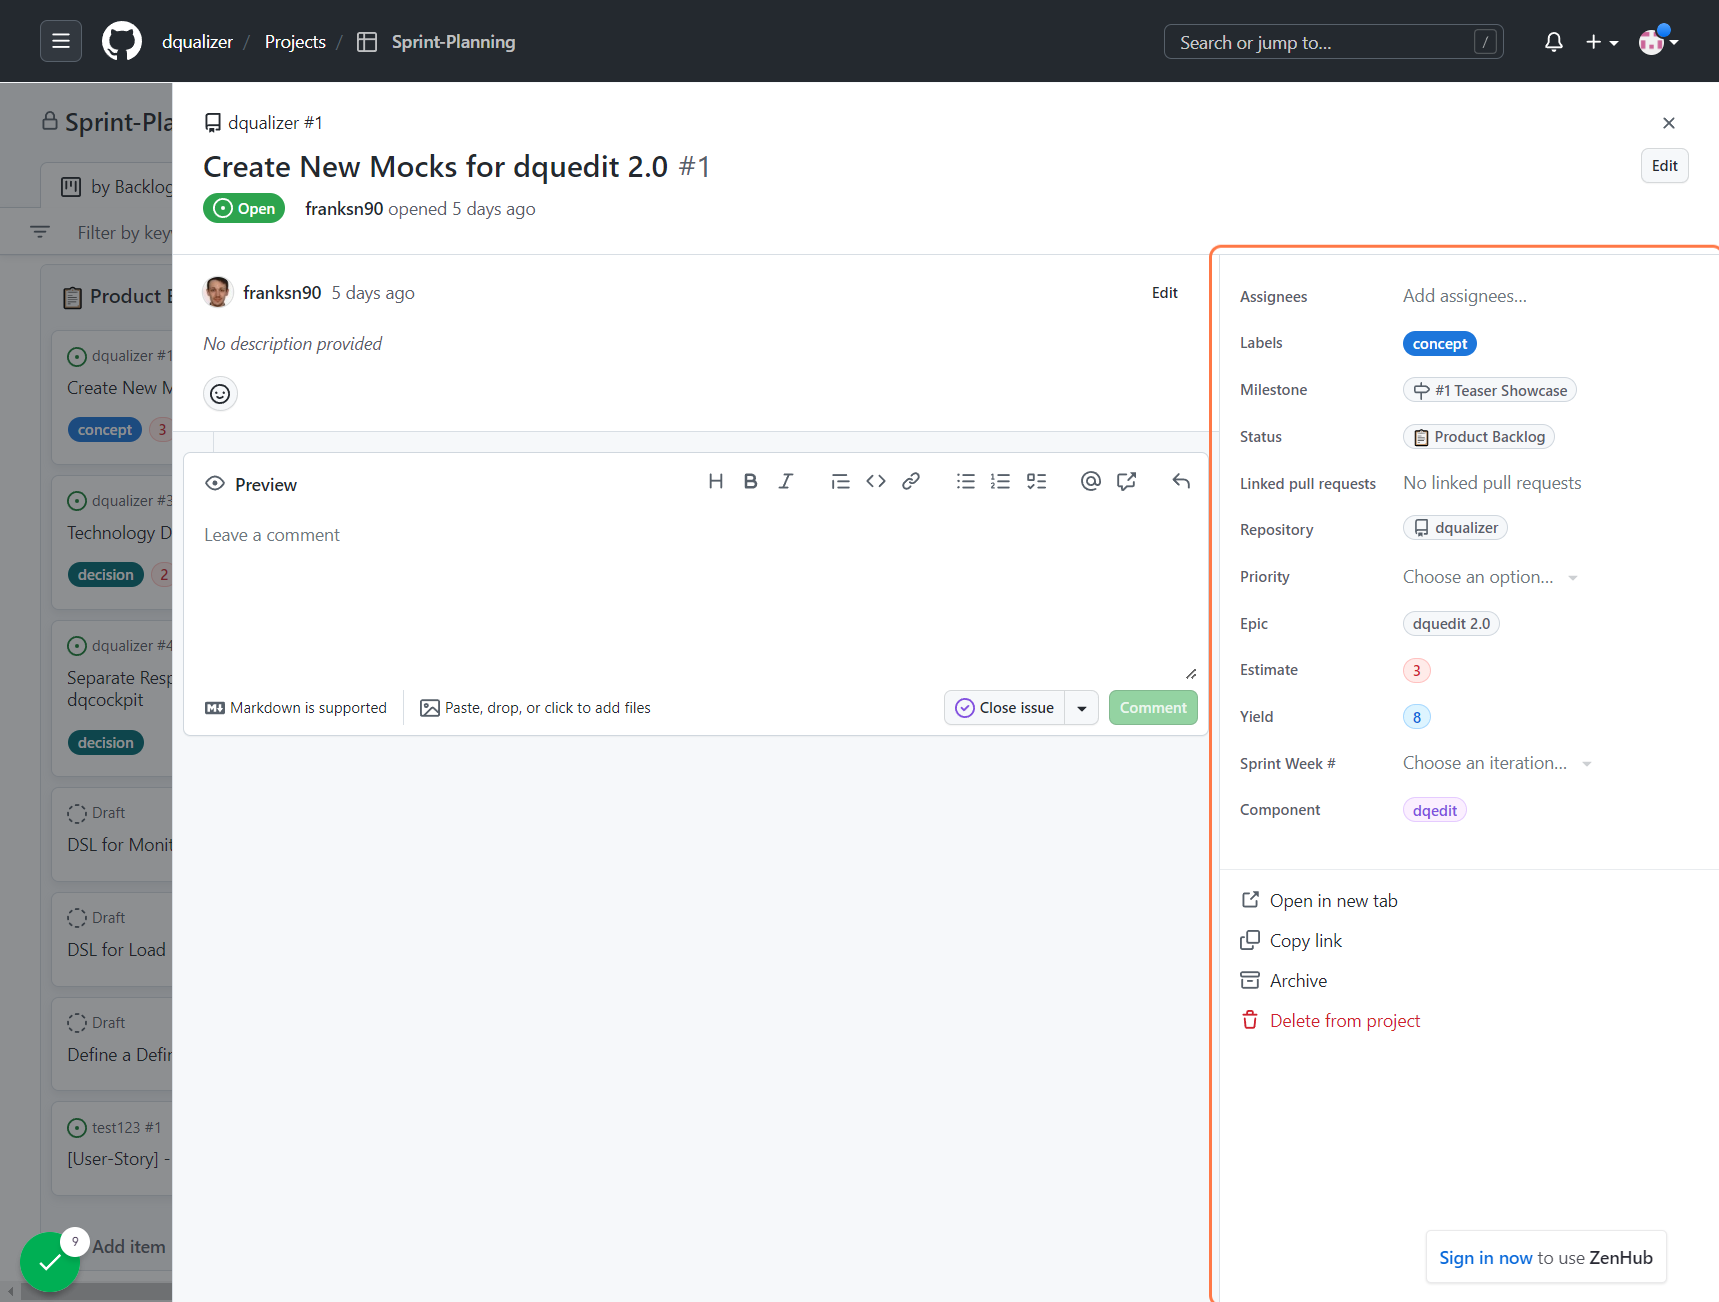
Click on the item to get an overview over an issue.


Just drag and drop items into the specific colmuns or rows.
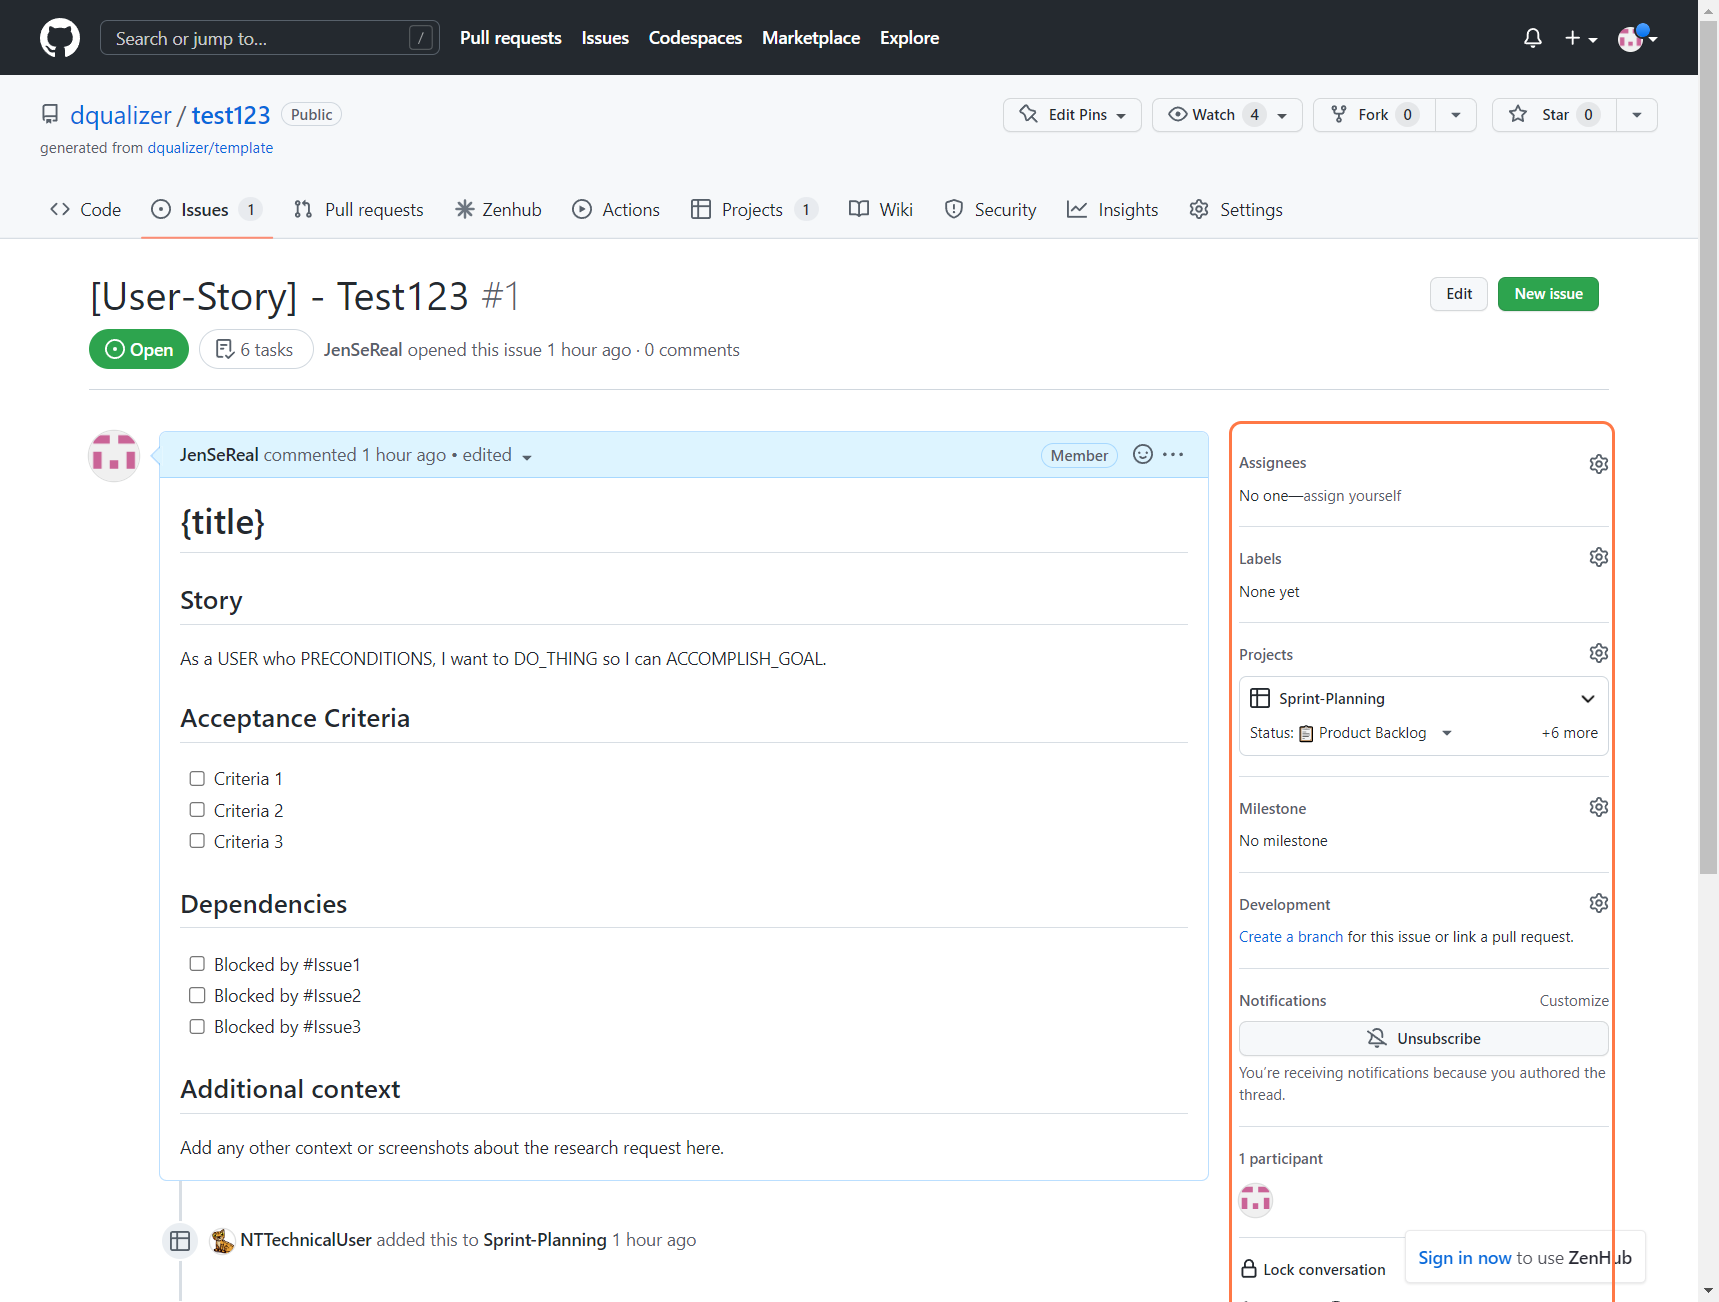
Navigate to the issue. On the right select the project and choose the values. This is equivalent to dragging and dropping items in the views.

Click on the arrow next to a view

Change visible fields (assignees, labels, ...)

Change the field that is used to display the columns

Filter the issues that are shown in the view. (e.g. filter by field status:"🏃 Sprint Backlog" estimate:* or filter by label label:concept)

Activate a workflow to get an automation on specific events. More workflows
 More customization
Edit a custom field by clicking on it and setting new values in field settings.


Create a selection with options that can be used to create kanban boards in the project (used for status, planning poker, ...).


Creates an iteration with a date range (for example 2 weeks). Each iteration gets its own field. Can be used for planning sprint weeks. In the roadmap an iteration can be used to define a date range.

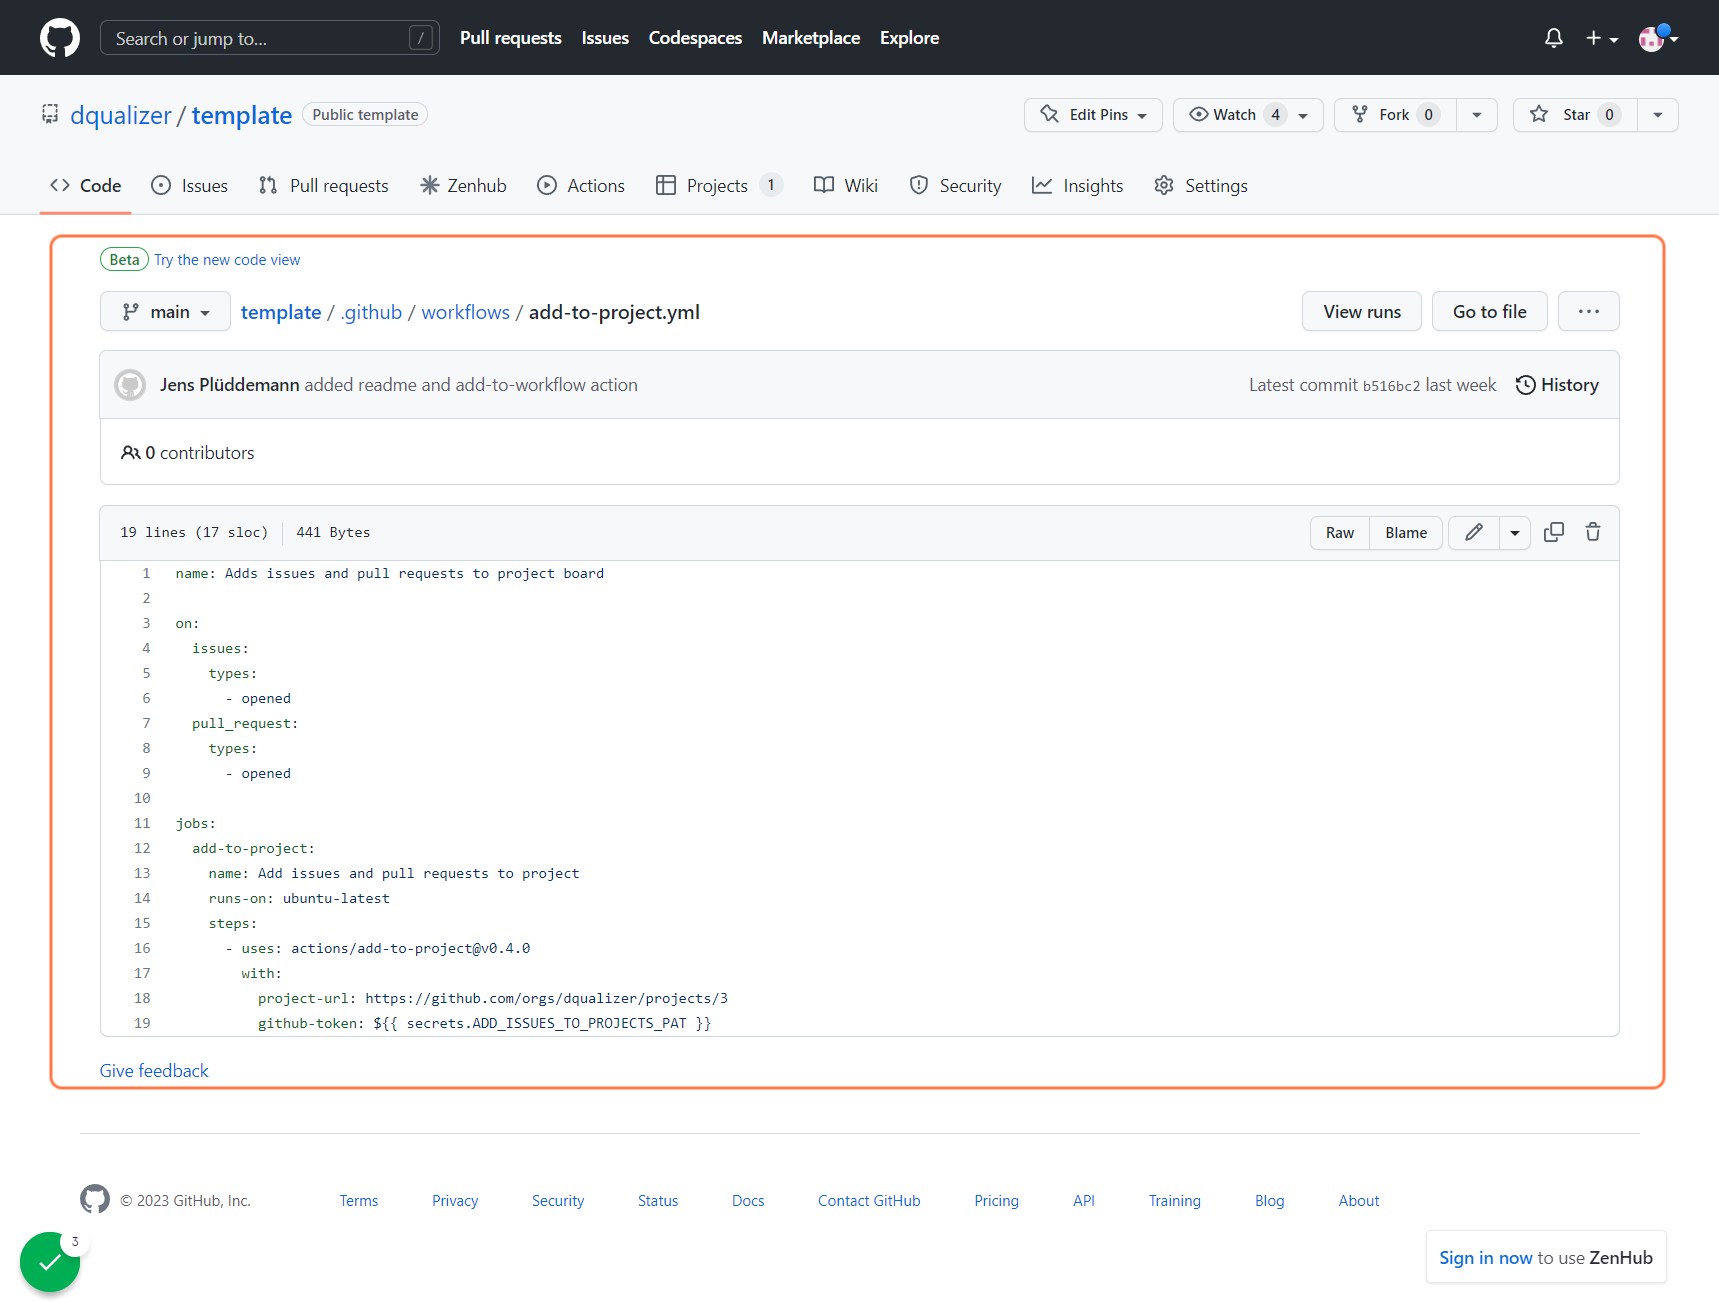
Due to the workflows issues are automatically added to the project with the respective labels and in the right column.

There are several issue templates that kind of automate issues. They give a structure and add labels to the issues.
Issues can be linked with - [ ] #{issue_number}

Issues can be dependent. To show which issues are dependent to just type Blocked by #{issue_number} (without the braces)


- Navigate to issues

- Create an issue

- Select the epic template

- Fill out the form

- Go to the project
- Navigate to by epic

- Scroll to the right to the plus sign

- Add the epic title

- Drop the user-stories into the epic columns
- Go to project settings
- Select custom fields => Epic

- Add a new option with the title

- Add the option

- Edit the epic

- Give it a description and a color if you want

- Drop the user-stories into the epic columns
- Navigate to issues

- Add a new issue

- Select the user-story template

- Fill out the form

- Link issues with - [ ] #{issue_number}
- Add dependencies with - Blocked by #{issue_number}
Same as user-stories
- Just drag and drop the issues into the the respective column
- Just drag and drop the issues into the the respective column
- Just drag and drop the issues into the the respective row
- Just drag and drop the issues into the the respective column


