- Used to update mods from a specific Minecraft server and display update logs.
- Provides players with an unobtrusive update experience that is more closely aligned with the original version.
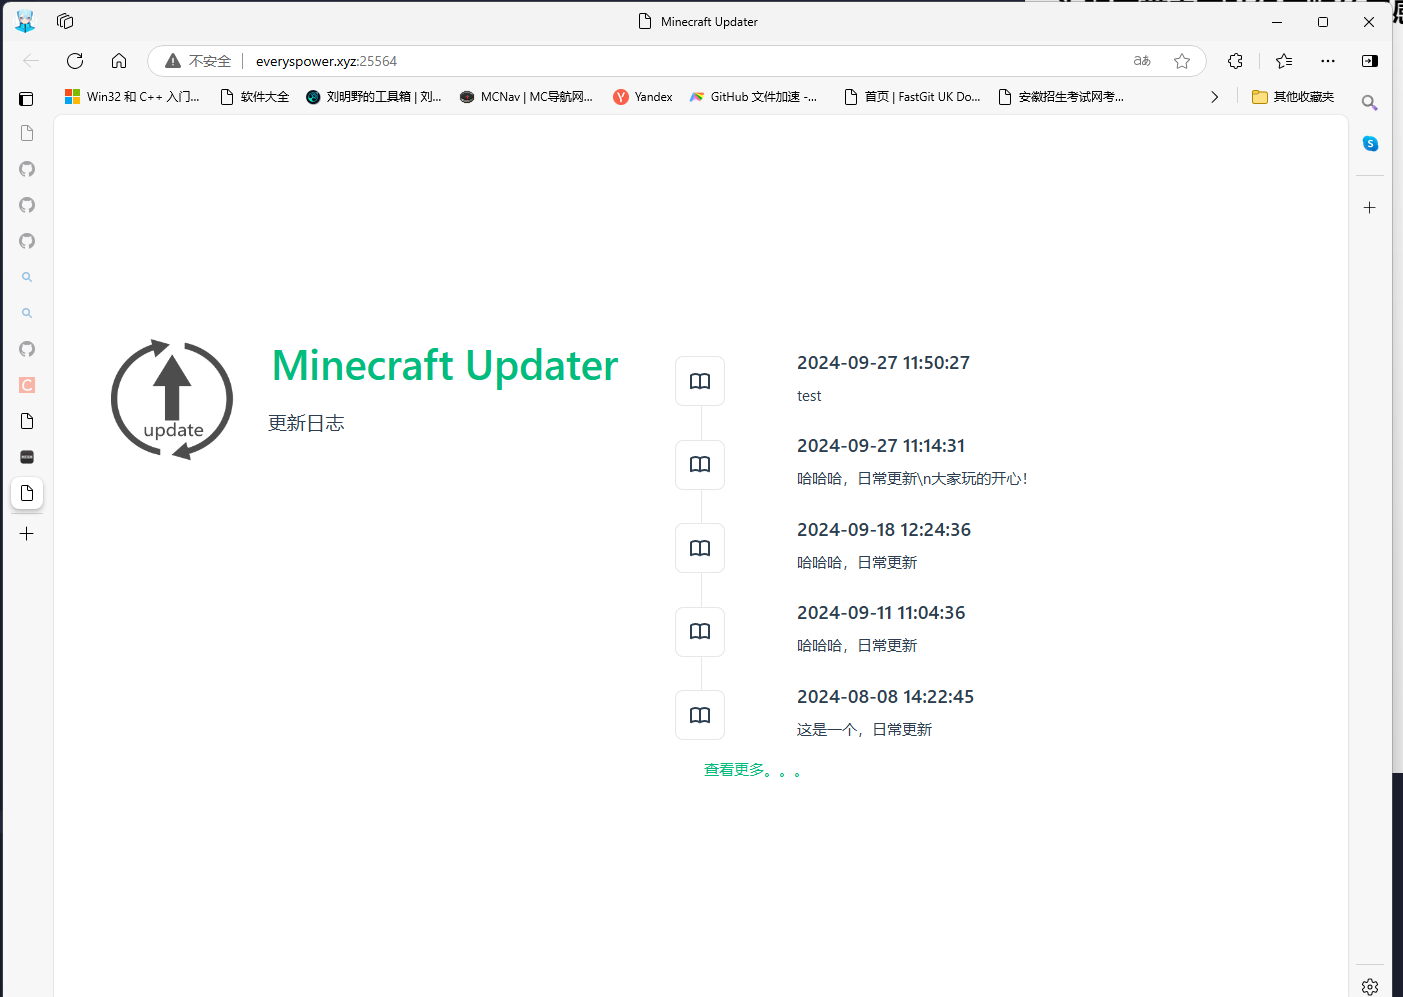
- Provides a web page to view the history of update logs.
Senseless updates close to the original
Automatically displays the update when it's available at startup.


- Place the mod in the mod folder and start the game once to generate a config file in
game changer/clientupdater-client.toml. - Edit the configuration file
# Synchronize the server url
server_address = “http://server‘s ip or hostname:25564/”
#last_update_time (automatically generated, do not change)
last_update_time = “”
- Start the game (if there are any updates or mods missing, it will show a new line page)
The server side of this mod is written in python, so there is no need to put clientupdater-x.x.x.jar into the server side mod folder.
- Install the python runtime environment, and install the
FlaskandFlask_Corslibraries.
    pip install Flask
    pip install Flask_Cors
- Unzip the server
server.zipinto the server root directory - Open port 25564, or modify the PORT in
ClientUpdaterServer.py - create the folders
clientmodsandclientconfigin the server root directory - Put the
Clientupdater-x.x.x.jarmod into clientmodsGame change directory |-mods(use mirror mode) |-clientmods(client side mods only, use mirror mode) | |-Clientupdater-x.x.x.jar(must put this mod in) | |-clientconfig(client config file, same structure as client, use override mode) | | - Run the script
ClientUpdaterServer.py.~~~~ - Type
commit single line update descriptionor usecommit -f text file with update information.txtto submit the update, after submitting the change line the client will receive the update push when restarting. - Use the above command to update the mod list after each mod change.
- Use
statusto view the list of mods that have been submitted.
| Commands | Usage |
|---|---|
| commit | commit <single line update log> Commit single line log only commit -t <multi-line update log in .txt> Commit multi-line log |
| status | You can check the status of the current update |
Translated with DeepL.com (free version)
- 用于从指定的我的世界服务器上更新mod和显示更新日志
- 为玩家带来更贴经原版的无感更新体验
- 提供了网页可供查看历史更新日志
贴近原版风格的无感更新
启动时如获取到更新自动显示


- 将mod放入mod文件夹,启动一次游戏生成配置文件,在
游戏更目录/clientupdater-client.toml - 编辑配置文件
#同步服务器url
server_address = "http://服务器的ip或者域名:25564/"
#最后更新时间(自动生成请勿更改)
last_update_time = ""
- 启动游戏(如果有更新或mod有缺失都会显示更行页面)
此mod的服务端使用python编写,因此不需要将clientupdater-x.x.x.jar放进服务端的mod文件夹
- 安装python运行环境,并安装
Flask和Flask_Cors库
    pip install Flask
    pip install Flask_Cors
- 解压服务端
server.zip到服务端根目录 - 开放25564端口,或者修改
ClientUpdaterServer.py中的PORT - 在服务器根目录下创建文件夹
clientmods和clientconfig - 将
Clientupdater-x.x.x.jarmod放入clientmods游戏更目录 |-mods(使用镜像模式) |-clientmods(仅客户端侧mod,使用镜像模式) | |-Clientupdater-x.x.x.jar(必须将此mod放入) | |-clientconfig(客户端配置文件,文件结构同客户端,使用覆盖模式) | - 运行脚本
ClientUpdaterServer.py - 输入
commit 单行更新说明或者使用commit -f 写有更新信息的文本文件.txt来提交更新,提交完更行后客户端重启时就会收到更新推送 - 每次改变mod后用上方命令即可更新mod列表
- 使用
status可以查看已提交的mod列表
| 指令 | 用法 |
|---|---|
| commit | commit <单行的更新日志>仅可提交单行日志 commit -t <多行更新日志所在.txt>可提交多行日志 |
| status | 可查看当前的更新的内容状态 |
